Fix: Nvidia Control Panel Won’t Open
If you are unable to open the Nvidia control panel, there are some fixes you need to try, such as end task all processes related to the Nvidia control panel and software, restarting Nvidia services, running the Nvidia control panel with administrator privileges, installing or updating Microsoft Visual C++ Redistributable, reinstalling graphics driver and Nvidia control panel. These are some of the common fixes that have worked for the users.
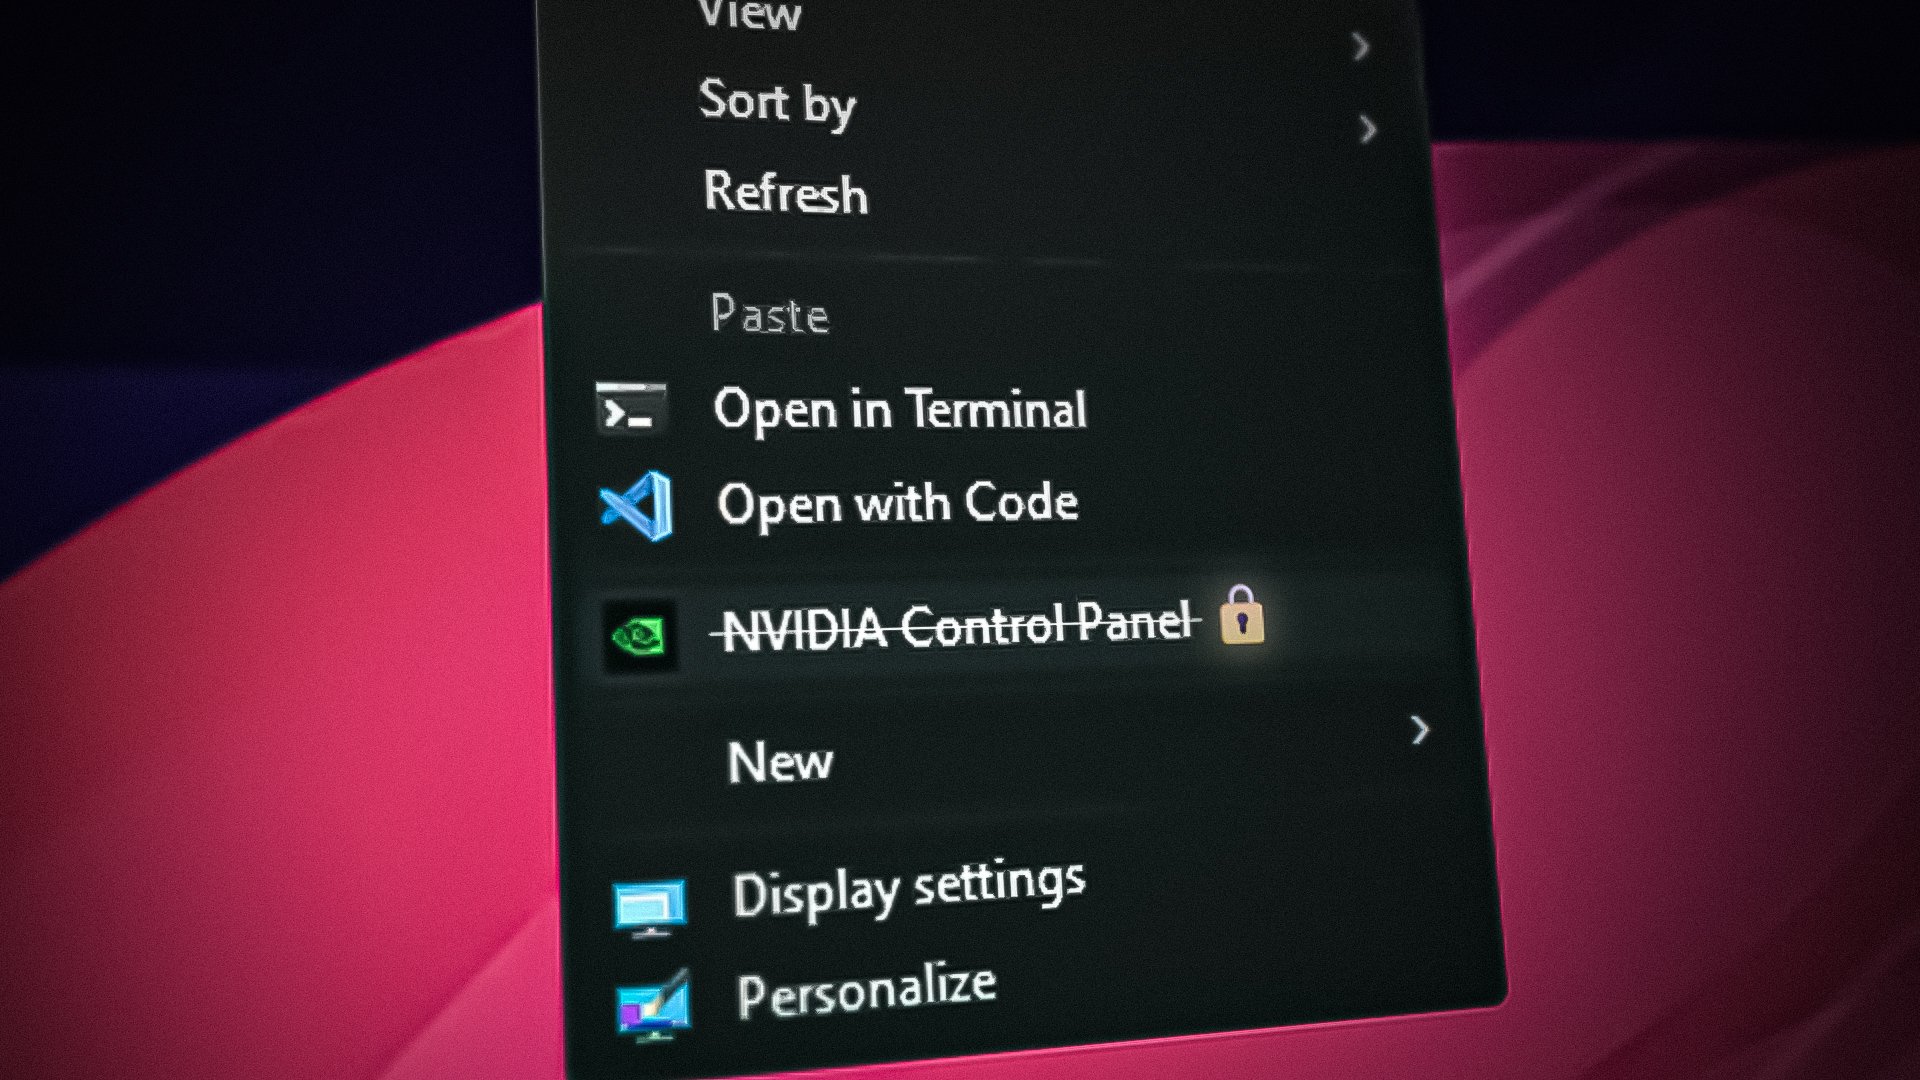
There are many factors that can cause this issue. One of the common factors is already running the Nvidia control panel in the background. Sometimes the application does not open on the screen but silently starts running in the background.
Another common factor is not having Microsoft Visual C++ Redistributable. It is a vital component of Windows and third-party programs because it works like a compiler for C++-based applications. Even if you have Microsoft Visual C++ installed, you need to ensure that it is updated.
Besides, the corrupted Graphics driver also plays a major role in preventing the Nvidia control panel from opening. So it is also possible that the driver you have is downloaded from third-party software or website that might not contain the Nvidia control panel. Another important reason could be not running the Nvidia services that are responsible for running Nvidia control panel. If that’s the case, the Nvidia control panel won’t open until the services start running properly again.
Before applying the following methods, we recommend restarting your computer because it could be possible that some Nvidia services did not start correctly at the startup, causing this issue. You can also encounter this issue if the Nvidia software and tasks are already running in the background.
Therefore, restarting the computer is a simple solution to eliminate all the tasks related to Nvidia. However, if you do not want to restart, you can manually close all the tasks by following the next method.
1. End task Nvidia Control Panel and software
When this issue happens, the application launches multiple times and runs in the task manager, so you cannot see it on the screen. Therefore, close all the processes related to Nvidia to fix this issue. Follow the steps to end the task Nvidia Control Panel and software:
- Right-click the taskbar and select Task Manager to open.
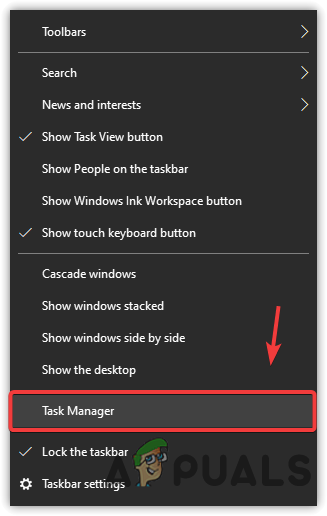
Opening Task Manager - Select the Nvidia Tasks one by one and then click End Task.
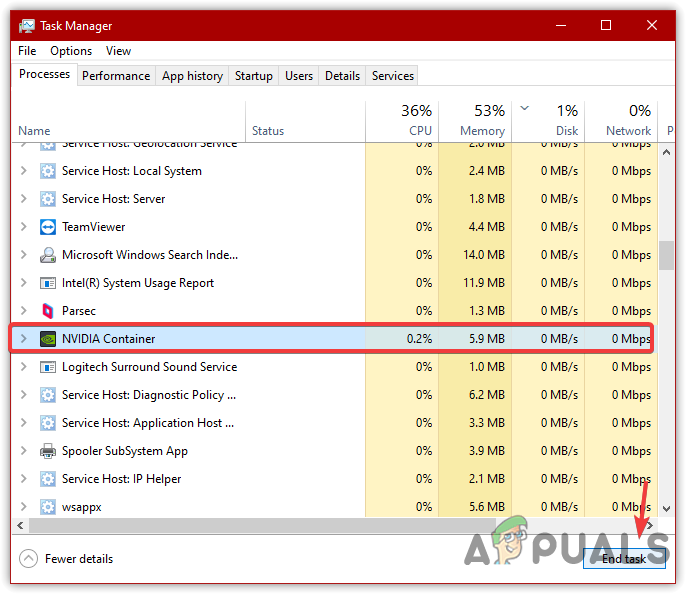
End Tasking Nvidia Services - After that, select File Explorer and then click Restart.
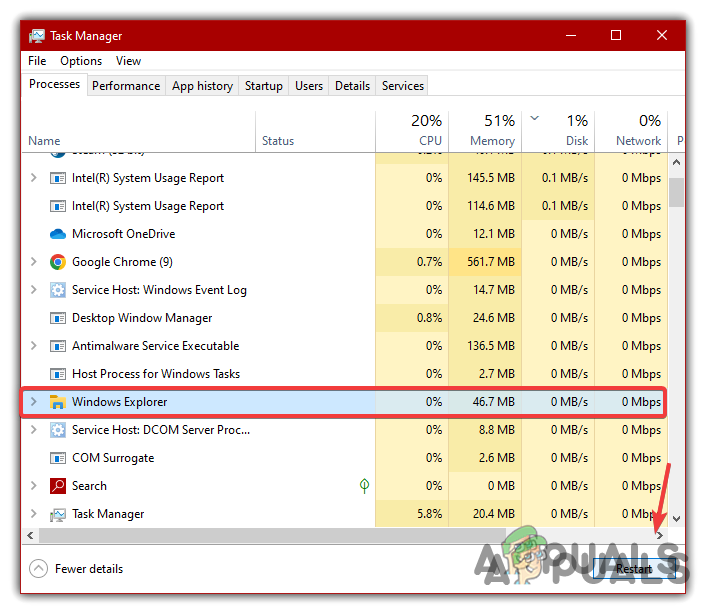
Restarting Windows Explorer - Once done, now check if Nvidia Control Panel is launching.
2. Restart Nvidia services
Nvidia services work efficiently to manage various tasks, such as sending information to the server and fetching the relevant data according to the requirements. It also helps launch GPU-accelerated applications and also manages other Nvidia processes.
Nvidia services are compulsory for the Nvidia control panel to work properly, and if they aren’t running in the background, this issue will occur. Therefore, follow the steps to restart Nvidia services:
- Open the Run program by pressing the Windows + R keys simultaneously.
- Enter the services.msc command and click OK to navigate into the Services Window.
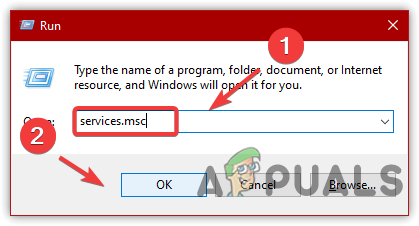
Opening Services Page - Now select and right-click the Nvidia Service and select Properties.
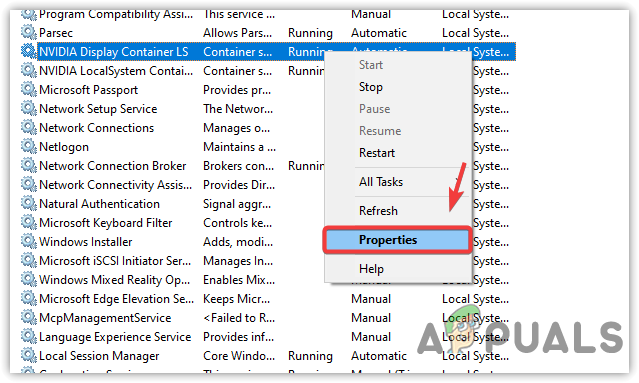
Opening Nvidia Service Properties - Change the startup type from Manual to Automatic.
- Then, click Apply and then restart the service by clicking the Stop and Start buttons.
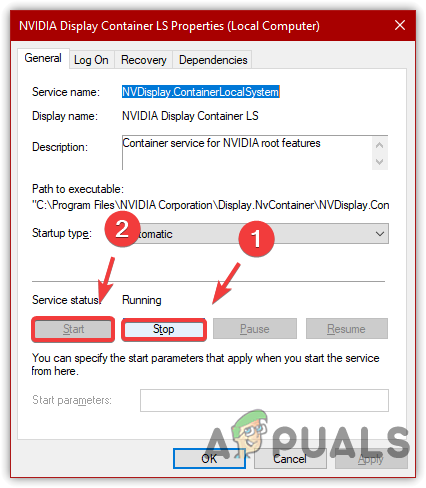
Restarting Nvidia Display Container LS Service - Once done, repeat the same process with the remaining Nvidia services.
- Once you restart all the services, check if the issue is resolved.
3. Try to run Nvidia Control Panel as an administrator
If you have not tried running the Nvidia control panel as an administrator, you might need to try this solution. When you run an application as an administrator, the application will have access to use the required components.
So if the Nvidia control panel does not have permission to access the components required to launch, you could encounter this issue. Therefore, give it a try and run the Nvidia control panel with administrator privileges. Follow the steps to run To Nvidia control panel as an administrator:
- To open the File Explorer, press Win + E on the keyboard.
- Paste the following directory in the address bar and hit Enter
C:\Program Files\NVIDIA Corporation\Control Panel Client
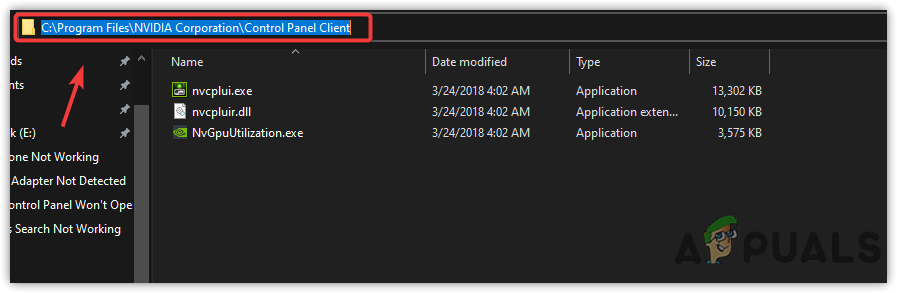
Navigating To Nvidia Control Panel Directory - Right-click the nvcplui.exe and select Run As Administrator

Running Nvidia control panel As Administrator - Once done, now check if the Nvidia control panel is launching. If it is not launching, follow the remaining methods.
4. Install or update Microsoft Visual C++ Redistributable
The Microsoft Visual C++ Redistributable is a Dynamic Link Library (DLL) that runs programs developed in Microsoft’s Visual Studio. Nvidia requires Microsoft Visual C++ Redistributable to run properly. If you do not have Microsoft Visual C++ Redistributable, you will encounter this issue. Therefore, download or update Microsoft Visual C++ Redistributable.
- Download Microsoft Visual C++ Redistributable.
- Once the downloading is finished, run the setup to install or update the latest Microsoft Visual C++ Redistributable.
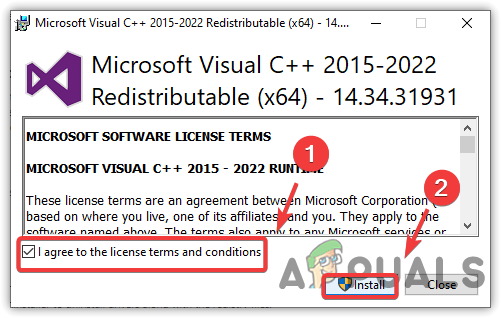
Installing Microsoft Visual C ++ - Once done, check if the issue is resolved.
5. Reinstall the Graphics Driver
If the problem persists, you can try reinstalling the Graphics driver with its software, which will probably fix this issue. We recommend DDU, also called Display Driver Uninstaller to uninstall drivers along with the registry files. This means it will remove all the driver traces that can cause this issue. Below are the steps you can follow:
- Download Display Driver Uninstaller.
- Once it is finished, right-click the DDU zip folder and click Extract to “[Guru3D.com]-DDU\”.
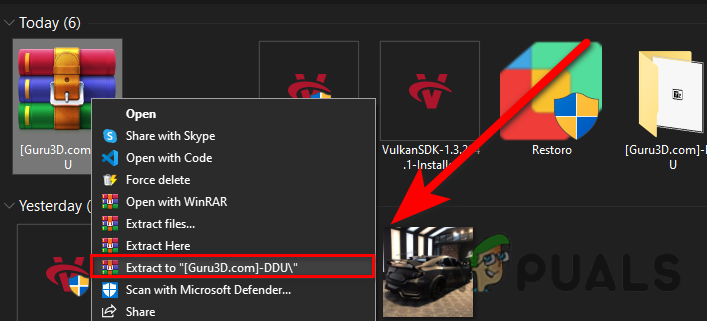
Extracting DDU Zip Folder - Navigate to the extracted folder, and double-click the DDU application.
- Click Extract and then go to the extracted folder.
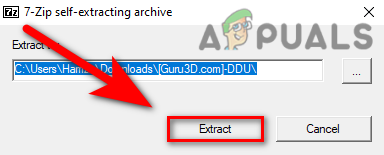
Extracting Display Driver Uninstaller Application - Run the Display Driver Uninstaller application
- Select the Device type and the Device from the right pane
- Click Clean and do NOT restart
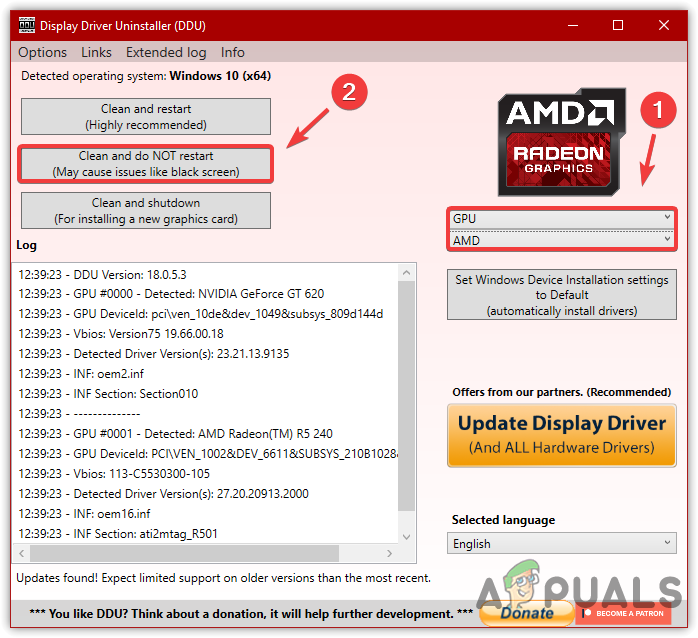
Uninstalling Graphics Driver With Registry Files - Once the driver is uninstalled, now go to the official Nvidia website.
- Select the driver according to your Graphics Card.
- Click Search to find the latest driver.
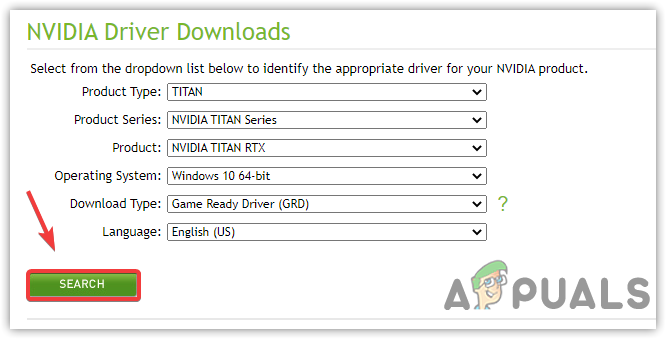
Searching For Latest Driver - Then, click on the Download button

Downloading Latest Graphics Driver - Once the driver is downloaded, open your Downloads directory and install the driver by following the on-screen instructions. You can also download the Geforce Experience to download the Graphics driver.
- Once done, check if your Nvidia control panel is opening or not.
6. Reinstall Nvidia Control Panel
You can download the Nvidia control panel from the Microsoft store and then install it with the help of PowerShell commands if none of the methods works. Follow the steps to reinstall the Nvidia control panel:
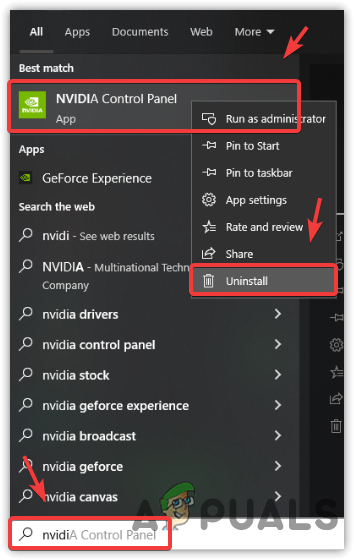
- Click Start Menu and type Nvidia Control Panel.
- Right-click on it and select Uninstall.
Uninstalling the Nvidia control panel - Once the Nvidia control panel is uninstalled, restart your computer.
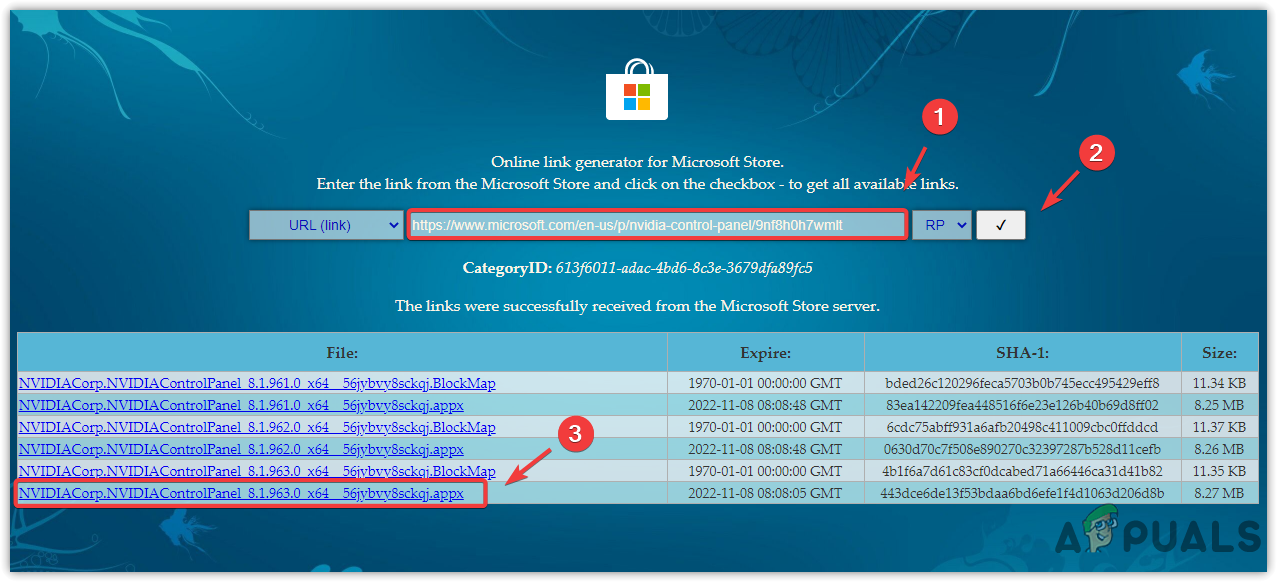
- After that, go to the Microsoft Store online link generator website and paste the following link into the search bar.
https://www.microsoft.com/fr-fr/fr-fr/fr-fr/en-us/p/nvidia-control-panel/9nf8h0h7wmlt
- After that, click on the tick button to see the results.
- Then, download the Nvidia control panel Appx version by double-clicking on the link.
Downloading Nvidia control panel From Microsoft Store - Once the downloading is finished, double-click the setup and then click Install.
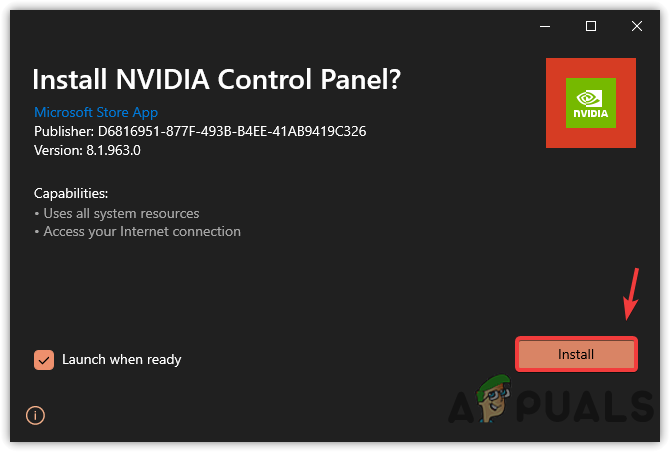
Installing Nvidia control panel - Once done, restart your computer, and Nvidia control panel should be installed. If it is not installed, then follow the remaining steps.
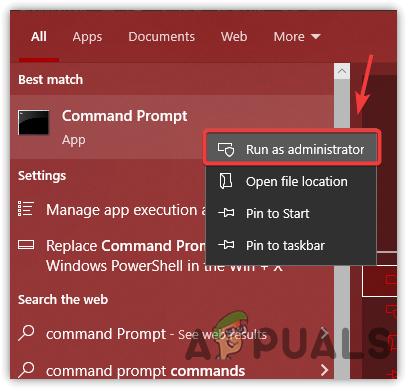
- Click Start Menu and enter Command Prompt.
- Right-click the command prompt and select Run as administrator.
Opening Command Prompt With Administrator - Once the terminal is opened, paste the following commands one by one and hit enter.
REG ADD "HKLM\SYSTEM\CurrentControlSet\Services\AppXSvc" /v Start /d 2 /f
REG ADD “HKLM\SYSTEM\CurrentControlSet\Services\ClipSVC” /v Start /d 2 /f
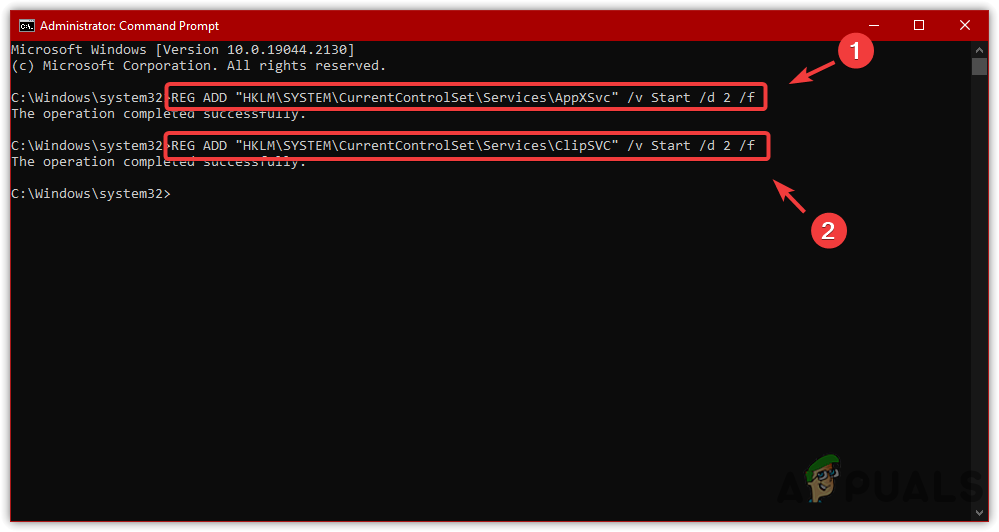
Editing Registry Values - Restart your computer for the registry changes to take effect.
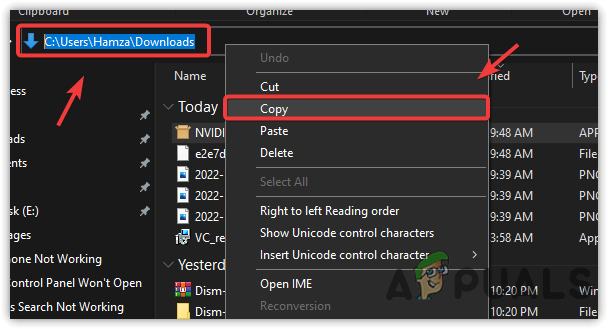
- Then, open File Explorer and navigate to the directory where you have downloaded the Nvidia control panel Appx file.
- Copy the file path from the address bar.
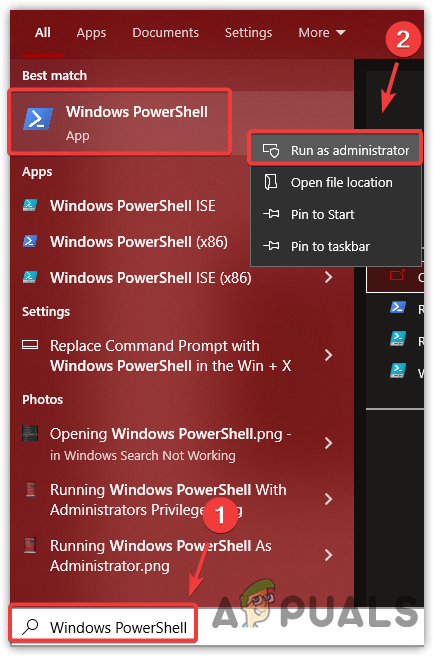
Copying Nvidia control panel Setup Path - Click Start Menu and type Windows PowerShell.
- Right-click the powershell and select Run As Administrator.
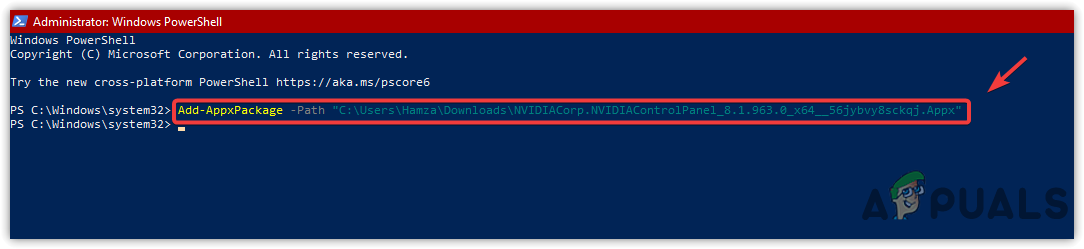
Opening Windows PowerShell As Administrator - After opening the PowerShell, type the following command and replace the Nvidia control panel Appx file path and file name.
Add-AppxPackage -Path "C:\Users\{Your Computer User Name Here}\Downloads\NVIDIACorp.NVIDIAControlPanel_X.X.XXX.X_xXX__XXXXXXXXX.Appx"Note: Carefully put the Nvidia control panel location in to the path section and replace the Nvidia control panel setup name with the actual setup file name. Otherwise, the command won’t work.
- Then hit Enter to install Nvidia control panel.
Installing Nvidia control panel Using PowerShell Commands It’s possible that you receive the “Add-AppxPackage Deployment failed with HRESULT” error message during the process. In that case please follow our dedicated article to resolve this issue. - Once done, check if the issue is fixed.
8. Use the registry editor
You can also use the registry editor to remove and edit the entries related to Nvidia control panel, which often fixes the not launching issue. Follow the steps:
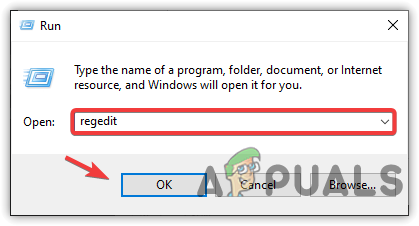
- Press the Win + R keys simultaneously to launch Run Window.
- Here enter regedit and click OK to launch the Registry Editor.
Opening Registry Editor - Once it is opened, navigate to the following path.
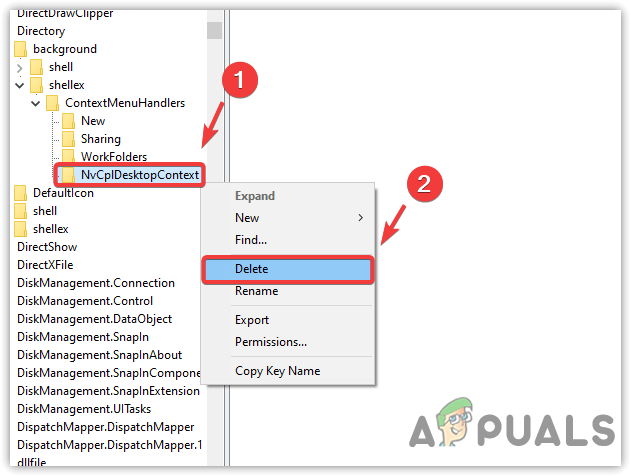
Computer\HKEY_LOCAL_MACHINE\SOFTWARE\Classes\Directory\background\shellex\ContextMenuHandlers
- Right-click the NvCplDesktopContext folder under ContextMenuHandlers and select Delete to remove the entry.
Removing NvCplDesktopContext From Registry Editor - Once you have removed the entry, now again navigate to the following path.
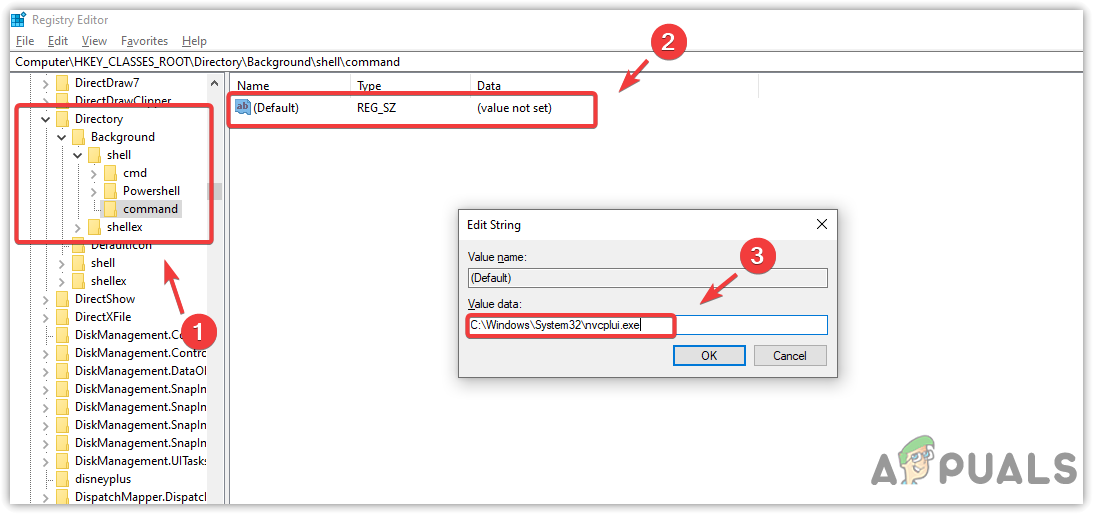
Computer\HKEY_CLASSES_ROOT\Directory\Background\shell
- Right-click the Shell, hover New, and then select Key to make a new entry.
- Name it Nvidia Control Panel and then right-click on it.
- Again hover New and click Key, and name it Command.
- Double-click the Default entry from the right pane and paste the following path under Value Data.
C:\Windows\System32\nvcplui.exe
Editing Registry Value - In the end, restart your computer for the changes to take effect and check if it resolves the issue.
9. Use DISM++ to remove bad NCP entries (Advanced users)
DSIM ++ is an advanced utility that offers some features, such as removing bad entries, disk cleanup, and others. You can also use this tool to open the programs without privileges. However, in this case, we will have to use this tool to remove Nvidia control panel bad entries and then reinstall the Nvidia control panel from Microsoft Windows Store. Follow the steps to remove bad entries and reinstall Nvidia control panel:
- Download the DISM++ tool.
- Once the downloading is finished, right-click the Zip folder and select Extract to DISM.
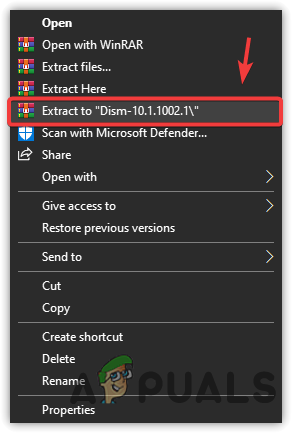
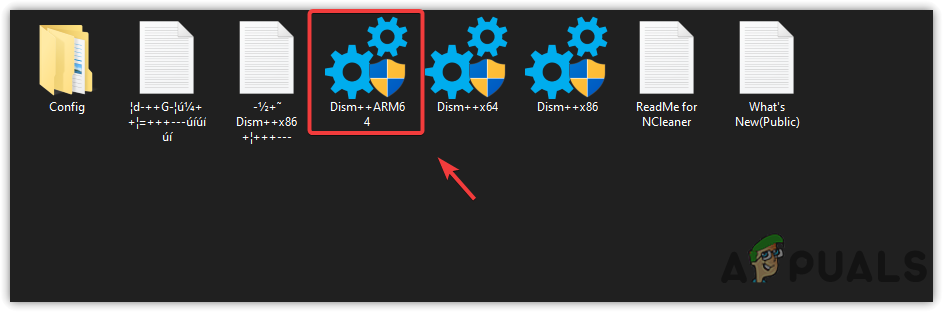
Extracting DISM ++ Zip Folder - Go to the extracted folder, and open the application according to your architecture.
Launching DISM ++ - Navigate to the Appxs from the left sidebar.
- Select the Nvidia Control Panel entry and click Remove from the bottom right.
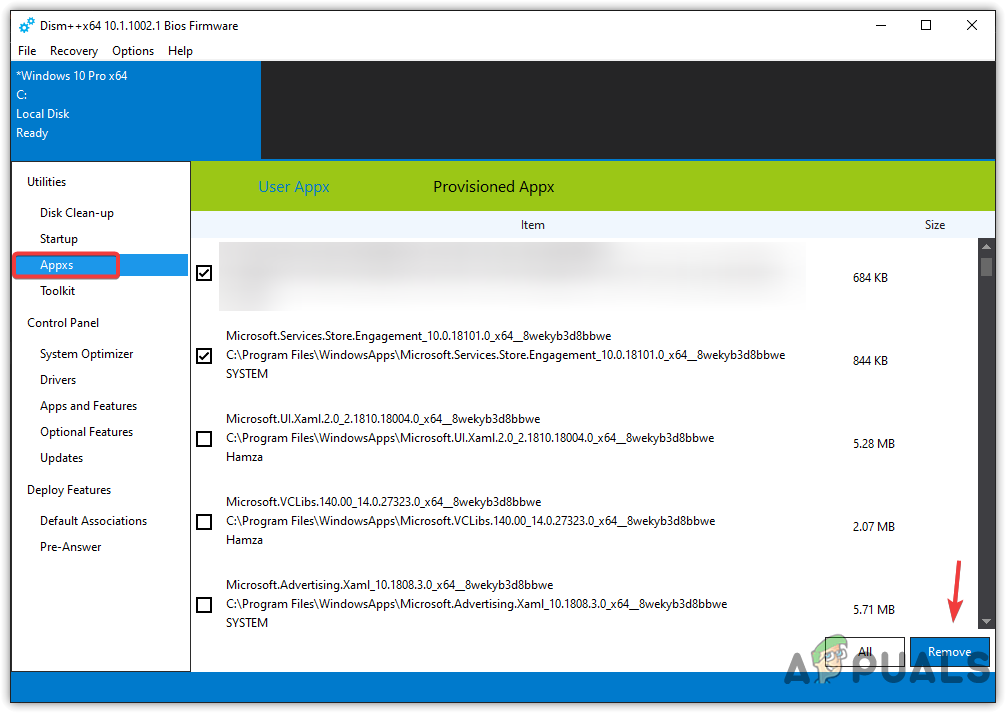
Removing Nvidia control panel Entries - Go to the Provisioned Appx from the top.
- And remove the Nvidia control panel entry from here as well.
- Once done, install the Nvidia control panel from the Microsoft Windows Store.
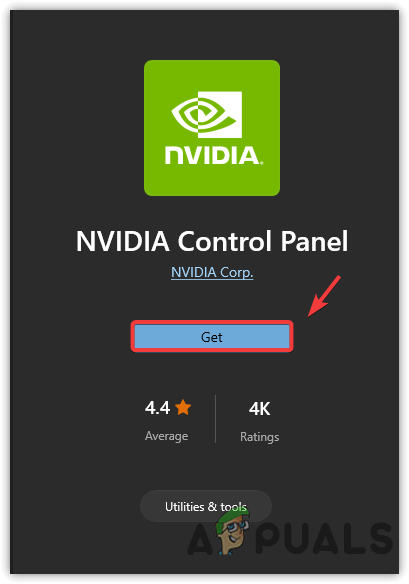
Installing Control Panel - After that, check if the issue is fixed.