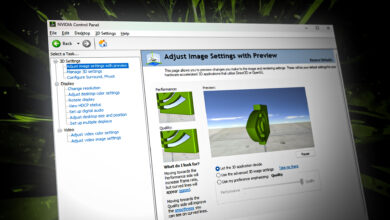
How to Fix Nvidia Control Panel Missing on Windows?
This problem often occurs when the Nvidia Display Container service is not running in the background. If you are facing this issue, you might be able to fix it by starting the service. However, if this does not fix your issue, there are some other ways that we have listed in this article to fix this issue.
1. Restart the Nvidia Display Container LS service
Nvidia Display Container is an essential service as it is responsible for showing Nvidia Control Panel icon in the system tray or context menu. It also runs other Nvidia processes smoothly. Therefore, it is mandatory to check whether the service is running or not. If the service is disabled, running the Nvidia Display Container LS service will fix your issue.
- To restart the Nvidia Display Container LS, press the Win + R keys together.
- Enter services.msc and click OK.
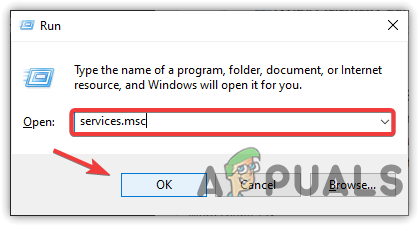
Opening services Window - Find and right-click the Nvidia Display Container LS and select Properties.
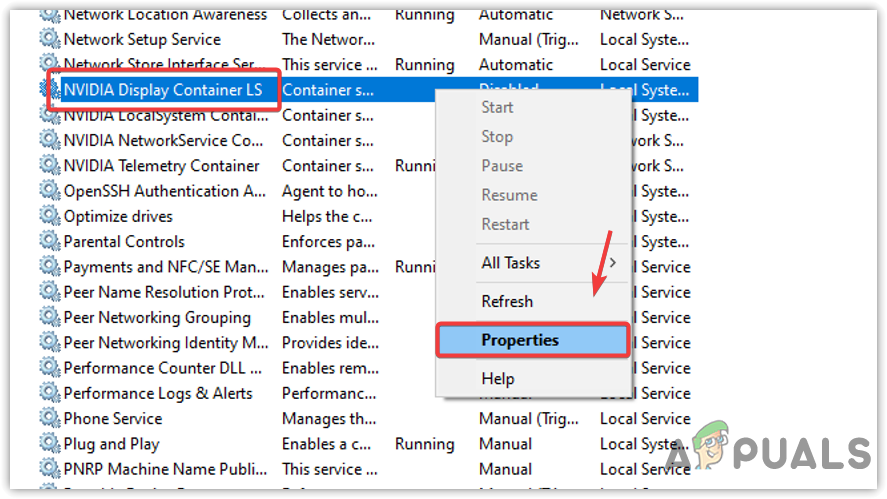
Opening Nvidia Display Container LS service properties - Change startup type from Manual or Disabled to Automatic.
- Then, click Apply and then click the Start button to start the service.
- Then, click OK and close all the Windows.
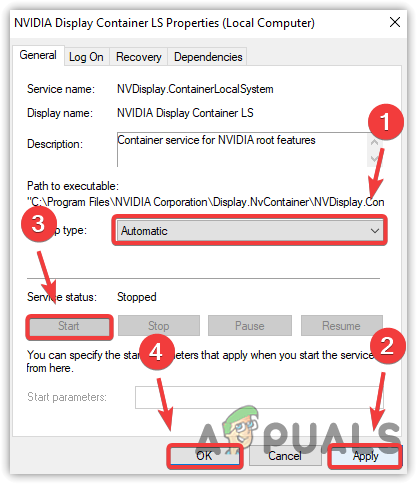
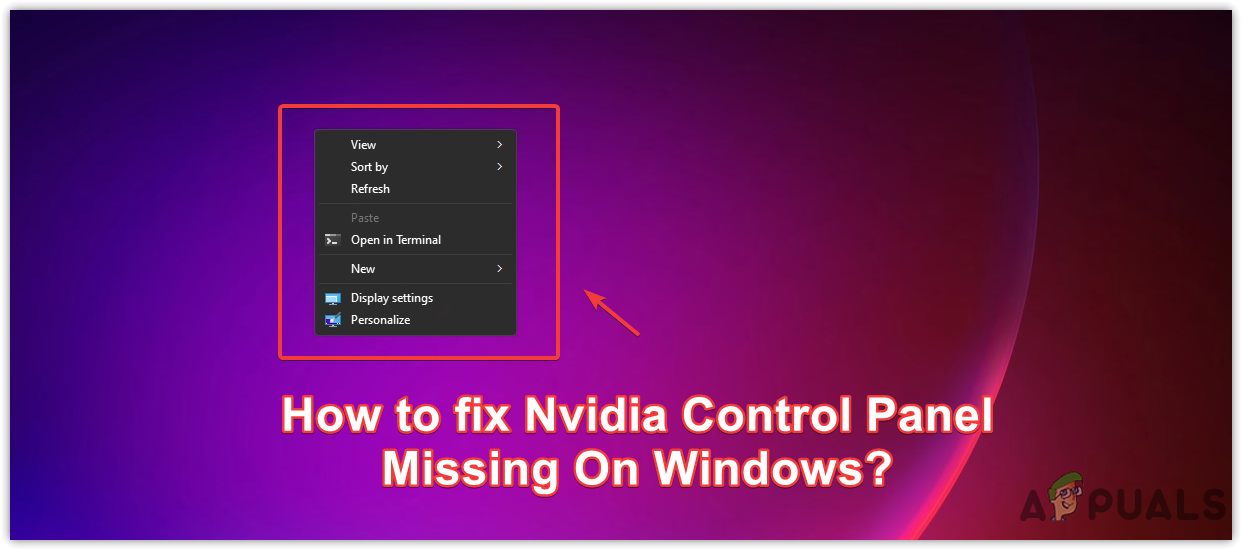
Restarting the Nvidia Display Container LS service - Once done, right-click the desktop to open the context menu and check if the Nvidia control panel missing issue is fixed.
2. Reinstall Nvidia Control Panel
You will also encounter this issue if the Nvidia control panel is not installed correctly with the driver. Therefore, reinstalling the Nvidia control panel in both scenarios can fix this issue. Follow the steps listed here to reinstall the Nvidia control panel:
- Click Start Menu and type Settings to open it.
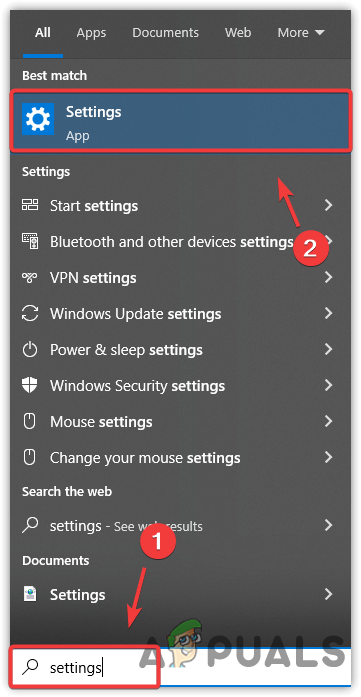
Opening Windows settings - Go to Apps & features.
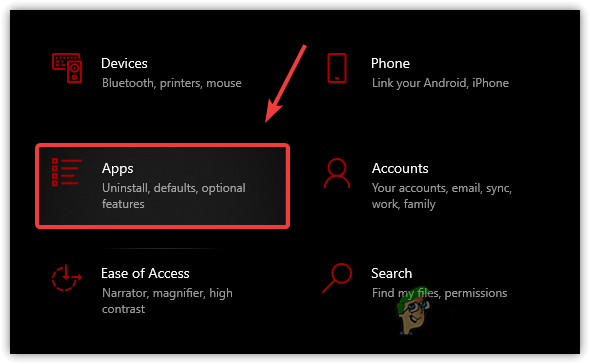
Navigating to Apps and features - Find the Nvidia control panel.
- Then, select the Nvidia Control Panel to click Uninstall.
- After that, again click Uninstall and wait for the Nvidia control panel to be fully uninstalled.

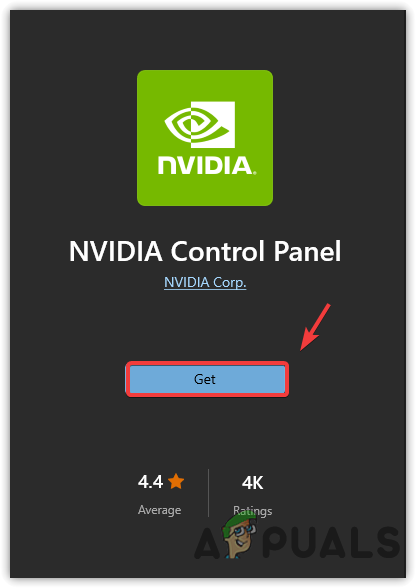
Uninstalling Nvidia Control Panel - Then, go to the Microsoft Store, search for the Nvidia control panel, and click Install.
Installing Nvidia Control Panel - Once the installation is finished, right-click the desktop and check if the issue is fixed.
3. Add the Nvidia Control Panel to the right-click context menu
If the Nvidia control panel is installed and properly working, then you can add it to the right-click context menu. To do that, you need to add the Nvidia control panel.exe file to the Shell from the registry editor. Just follow the simple instructions to do that:
- Press the Windows + R keys to open a Run program.
- Enter regedit and click OK to open the registry editor.

Launching registry editor - Now go to the following directory by pasting it to the top address bar.
Computer\HKEY_CLASSES_ROOT\Directory\Background\shell
- Then right-click the Shell folder and hover New, and click Key.
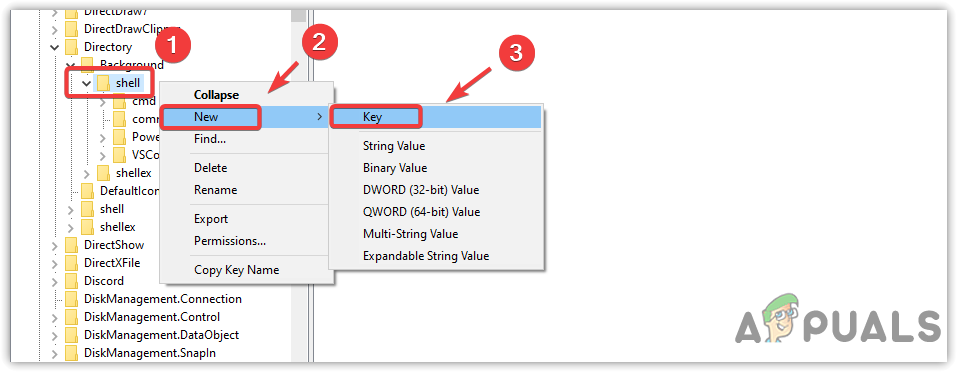
Making a registry key - Name it Nvidia Control Panel.
- Then, right-click the Nvidia Control Panel.
- Hover New, and click Key.
- Name it Command.
- Double-click the Default entry on the right pane.
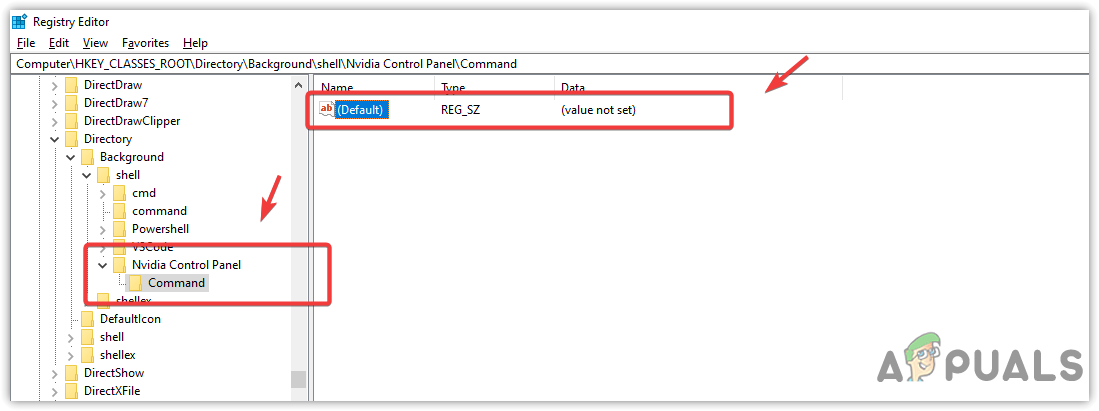
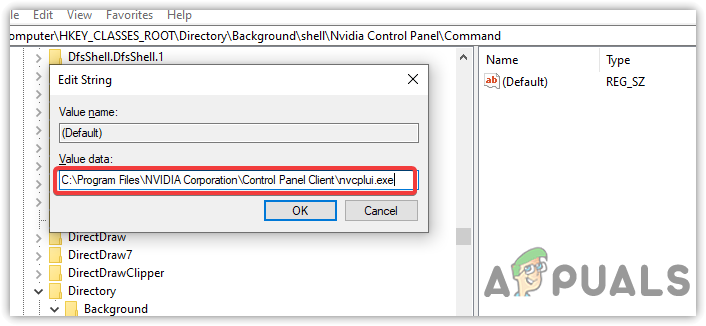
Opening Default registry entry - Enter the following directory as value default in the box, which is the default location of the Nvidia Control Panel.
C:\Program Files\NVIDIA Corporation\Control Panel Client\nvcplui.exe
- Then, click OK and close the registry editor.
Adding Nvidia Control Panel exe file to Shell - Now right-click the desktop, and you will see the Nvidia Control Panel in the right-click context menu.
4. Make a shortcut to the desktop of the Nvidia Control Panel
If the issue remains, the alternative fix for this issue is to use a shortcut of the Nvidia Control Panel to open. You need to navigate the Nvidia control panel directory and create a shortcut. So that you can use it whenever you need it. Follow the steps to create a shortcut for the Nvidia control panel:
- Open the File Explorer and go to the following directory
C:\Program Files\NVIDIA Corporation\Control Panel Client
- Right-click the nvcplui.exe and select Create a shortcut
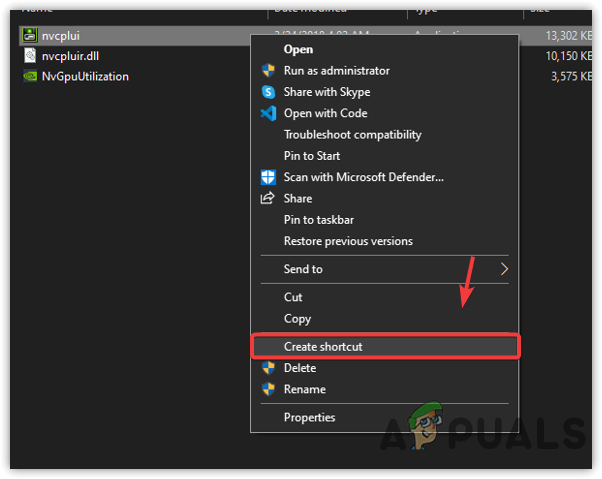
Creating an Nvidia control panel shortcut - You will be asked to create a shortcut on the desktop; click Yes to create a shortcut.
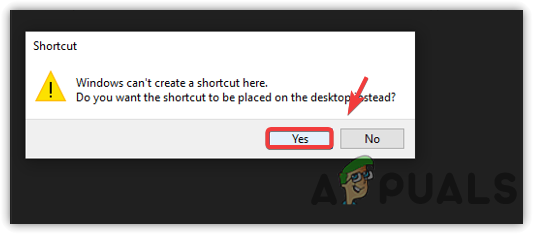
Creating shortcut - Afterward, go to the desktop and open the Nvidia control panel without navigating to the directory.
5. Reinstall your graphics driver
You can try clean reinstalling the graphics driver. If you have installed the graphics driver using third-party software or a website, it might be possible that the Nvidia control panel could not be installed correctly. For that reason, you are frequently encountering this issue. Hence, installing the graphics driver from the official website is recommended to fix this issue.
- To reinstall the graphics driver, right-click the Start Menu and select Device Manager.

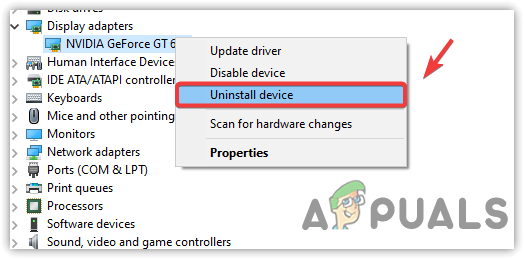
Opening Device Manager - Once the device manager is opened, right-click the graphics driver under Display Adapters.
- Select Uninstall device.

Uninstalling Graphics driver - When the notification Window popups, tick the Delete the driver for this device and then click Uninstall
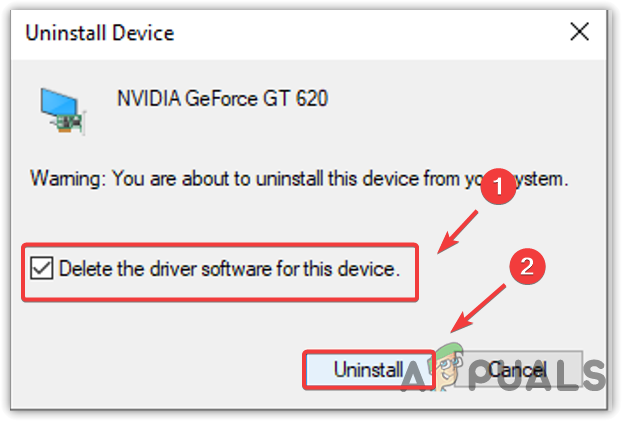
Uninstalling the Nvidia driver with the software - Once done, open your browser and search for Nvidia drivers.
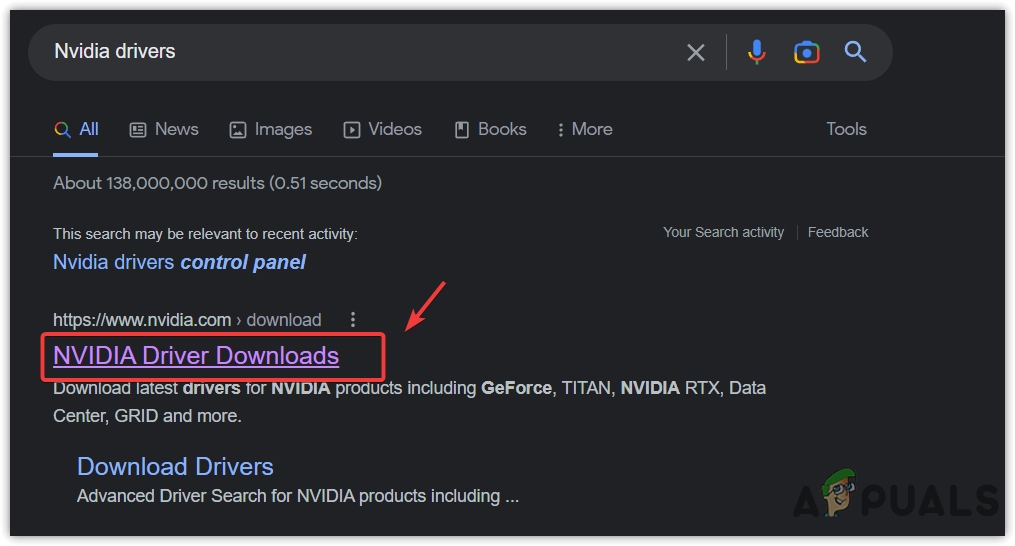
Navigating to the Nvidia drivers section - Go to the official website and choose your driver according to your Graphics card name.
- Then, click Seach to find the latest graphics driver.
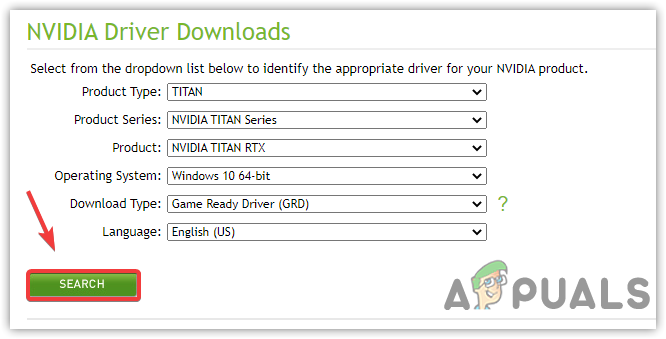
Searching for the latest graphics driver - Once you find the latest driver, click Download.
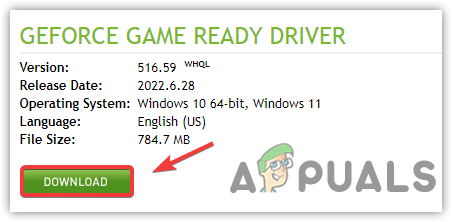
Downloading Graphics Driver from the manufacturer’s website - Once the downloading is finished, double-click the driver setup and click OK.
- Wait for your driver files to save files on your computer. Then, the installer will install the driver on your computer automatically.
- Follow the on-screen instructions to install the graphics driver.

Installing Nvidia Graphics driver - Once done, restart your computer for the Nvidia services to run properly, and then check if your issue is fixed.