Fix: NVIDIA Container High CPU Usage
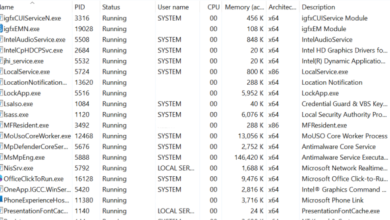
NVIDIA comes with plenty of background processes and sometimes some of them decide to misbehave and cause all sorts of problems to the users. One of such problem is the fact that the NVIDIA Container process uses way too much CPU power which slows down your computer and disrupts other processes.
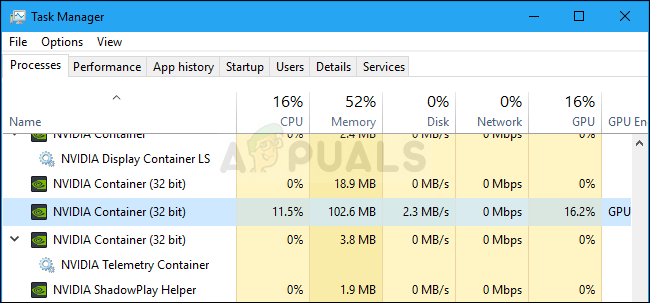
Sometimes this occurs while gaming or while performing specific actions but sometimes it happens while the system is idle and it caused headaches to people all around the world. We have prepared several useful methods for you to check out and hopefully resolve the problem!
There are several distinct causes for this problem which are quite recent and reported for the newest versions of NVIDIA drivers so you don’t have to worry about whether the methods are ancient. Check out the list below:
- Driver Update: New NVIDIA drivers were problematic for everyone and it’s only after people reverted to older versions of NVIDIA’s drivers that the problem ceased to appear.
- Additional Software: GeForce experience is often mentioned as the ultimate cause for this problem and it’s probably good to get rid of it as it doesn’t provide any crucial functions. In some cases, due to incompatibility the software starts up with a black screen and prevents the driver from functioning properly.
- Nvidia Telemetry Container: The NVIDIA Telemetry Container is the usual culprit and the problem can be resolved by disabling its tasks and preventing it from starting up.
How to Stop NVIDIA Container from High CPU Usage
1. Install Older NVIDIA Drivers
A large part of users who encountered this problem have only recently updated their graphics drivers and we can almost tell for certain that something about these drivers is simply not right and it causes the process to take up more resources than necessary. The best thing to do in that situation is to downgrade to the last working set of drivers and wait for a new update to be released by NVIDIA.
- Click the Start menu button, type in “Device Manager” afterwards, and select it from the list of available results by simply clicking the first one. You can also tap the Windows Key + R key combo in order to bring up the Run dialog box. Type in “devmgmgt.msc” in the dialog box and click OK in order to run it.

- Since it’s the video card driver you want to update on your computer, expand the Display adapters section, right-click on your graphics card and choose the Uninstall Device
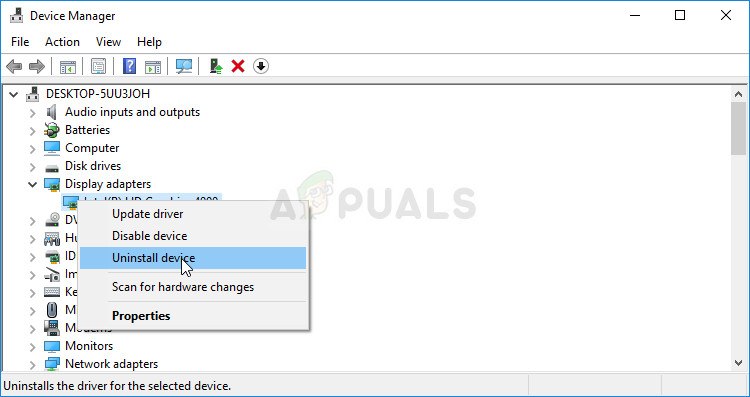
- Confirm any dialogues or prompts which may ask you to confirm the uninstallation of the current graphics device driver and wait for the process to complete.
- Look for your graphics card driver on NVIDIA’s Input the required information about the card and your operating system and click on Search.
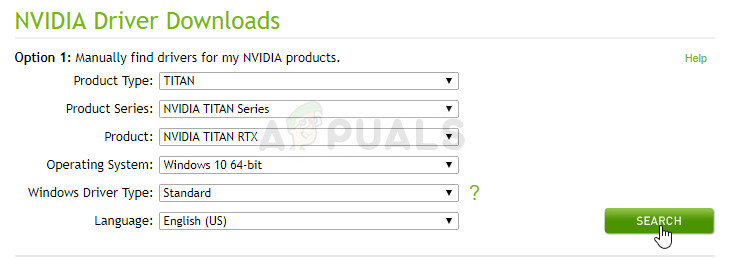
- A list of all available drivers should appear. Make sure you scroll down until you reach the required entry, click on its name and the Download button afterwards. Save it to your computer, open it, and follow the instructions on-screen in order to install it. Check to see if nvidiacontainer.exe still demonstrates high CPU usage!
Note: Also, download the Nvidia Hotfix Driver from here and install it by running the executable.
2. Uninstall GeForce Experience
GeForce Experience is a companion application to your GeForce GTX graphics card and it’s developed by NVIDIA. It keeps your drivers up to date, automatically optimizes your game options, and gives you a way to share gaming screenshots and videos.
That being said, the program is not that important and nothing depends on it to run properly. Additionally, users have reported that simply uninstalling the GeForce Experience program from Control Panel or Settings managed to fix the NVIDIA container high CPU usage problem.
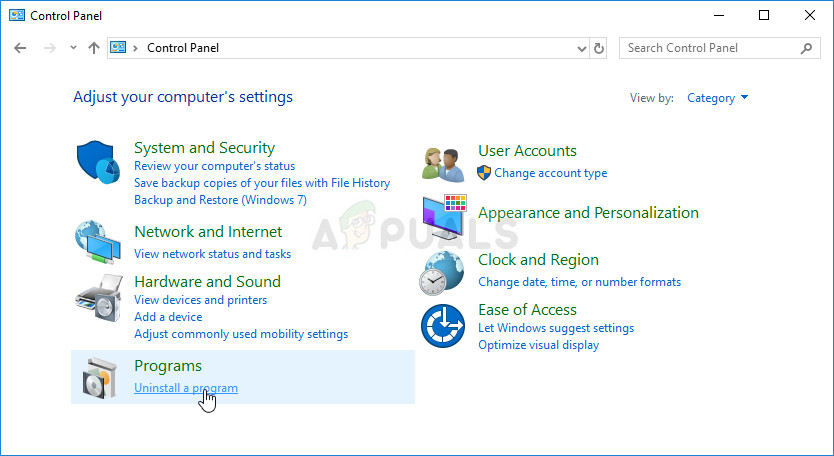
- Click on the Start menu button or the search bar next to it and open Control Panel by searching for it. Alternatively, you can click on the gear icon in order to open Settings if you are a Windows 10 user.
- In Control Panel, change the “View as:” option at the top right part of the window to Category and click on Uninstall a Program under the Programs section.
- If you are using the Settings utility on Windows 10, clicking on Apps should immediately open a list of all installed applications on your PC.
- Locate the GeForce Experience entry on the list and click on it once. Click on the Uninstall button which will appear above the list and confirm any dialog boxes which may show up. Follow the instructions on-screen in order to uninstall GeForce Experience and restart your computer afterward.
3. Disable NVIDIA Schedules Tasks and the NVIDIA Telemetry Container Service
The NVIDIA Telemetry Container is a service installed alongside NVIDIA software which is basically used to keep track of some of your logs, behavior and other similar data on your computer. It can be used to inform the NVIDIA of bugs or to report undesired behavior.
However, users have reported that disabling tasks scheduled by the service and disabling the service completely afterward managed to fully resolve the problem they were experiencing. Check it out!
- Open Control Panel by locating it in the Start menu. You can also search for it using the Start menu’s search button.
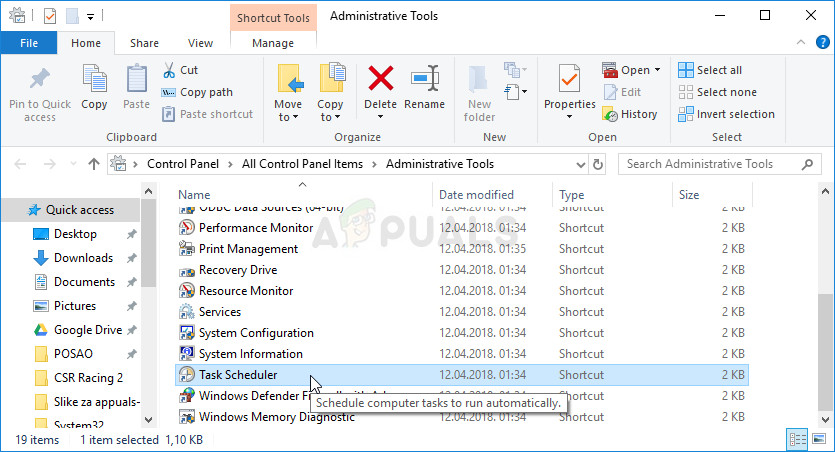
- After the Control Panel window opens, change the “View by” option at the top right part of the window to “Large Icons” and scroll down until you locate the Administrative Tools entry. Click on it and locate the Task Scheduler shortcut at the top. Click on it to open it as well.
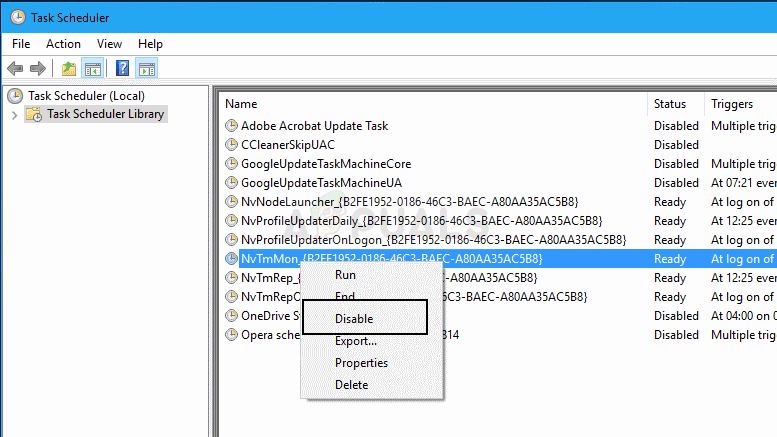
- The task is located under Task Scheduler Library. Locate all tasks whose name begins with ‘NvTm’, right-click on them, and choose Disable from the context menu which will appear. Repeat the same process for each entry.
After disabling the tasks, it’s time to disable the NVIDIA Telemetry Container service from starting up on your computer. This should resolve the problem once and for all!
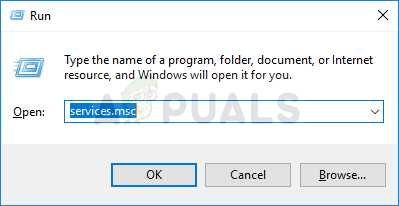
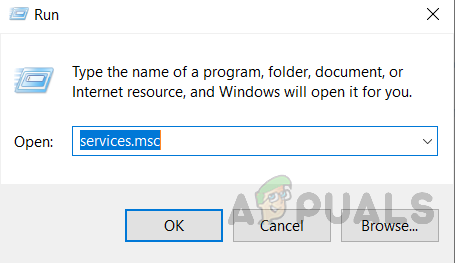
- Open the Run utility by using the Windows Key + R key combination on your keyboard (press these keys at the same time. Type “services.msc” in the newly opened box without the quotation marks and click OK in order to open the Services tool.
- Locate the NVIDIA Telemetry Container service on the list, right-click on it and select Properties from the context menu which appears.
- If the service is started (you can check that just next to the Service status message), you should stop it by clicking the Stop button in the middle of the window.
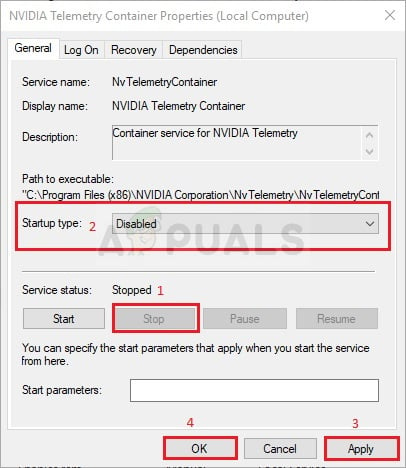
- Make sure that the option under the Startup type menu in the service’s properties window is set to Disabled before you proceed with other steps. Confirm any dialogue boxes which may appear when changing the startup type.
You may receive the following error message when you click on Start:
“Windows could not start the service on Local Computer. Error 1079: The account specified for this service differs from the account specified for other services running in the same process.”
If this happens, follow the instructions below to fix it.
- Follow steps 1-3 from the instructions above in order to open the service’s properties window. Navigate to the Log On tab and click on the Browse… button.
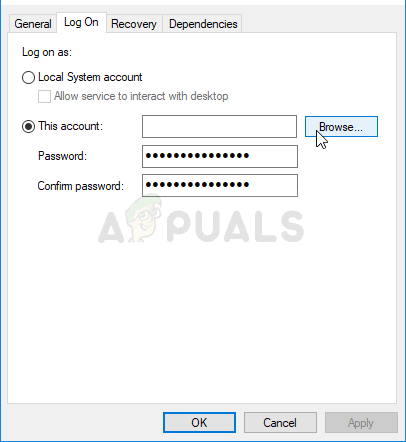
- Under the “Enter the object name to select” entry box, type in your account’s name, click on Check Names and wait for the name to become available.
- Click OK when you are finished and type in the password in the Password box when you are prompted with it, if you have setup a password. It should now start without issues!
4. Disable “nvdisplay.container.exe” Completely
The main culprit behind this can sometimes be a folder that is stored in the directory where the drivers have been installed. This folder doesn’t really affect any functionality of the computer and thus can be deleted. Therefore, in this step, we will first be deleting the folder and then we will restart our computer. For that:
- Navigate to the following location.
C:\Program Files\NVIDIA Corporation\Display.NvContainer\plugins\LocalSystem\
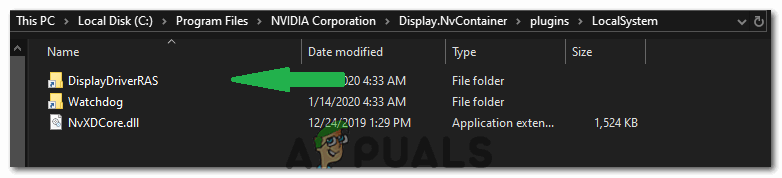
Navigating to the location
Note: The directory may vary if you have installed the driver at a different location. - Select the “DisplayDriverRAS” folder and press “Shift” + “Delete” button on your keyboard.
- Now move to the following directory
C:\Program Files\NVIDIA Corporation\
- Completely remove the “DisplayDriverRAS” folder from here aswell.
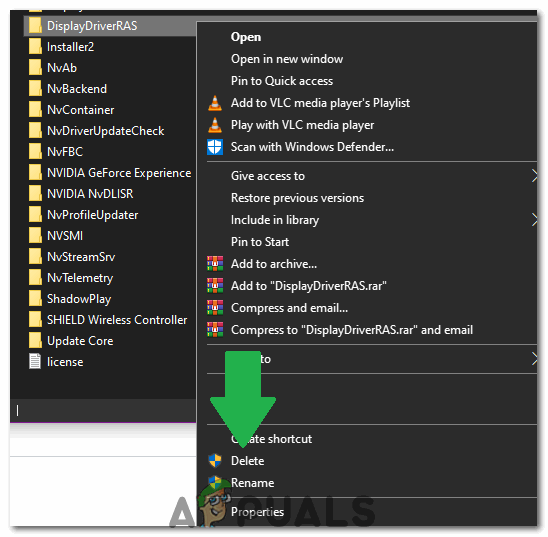
Deleting the folder - Navigate to the “Task Manager” and end the “nvdisplay.container.exe” process.
- Restart the computer and check to see if the issue persists.
5. Restarting Services
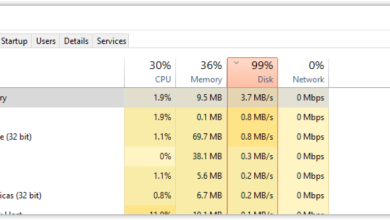
In some cases, certain services need to be restarted to get things up and working. These services can sometimes get glitched and prevent the GPU from achieving its full functionality and cause High CPU Usage. Therefore, in this step, we will be restarting them completely. For that:
- Press “Windows” + “R” to open the Run prompt.
- Type in “Services.msc” and press “Enter” to open the service management window.
Opening services by typing “services.msc” in the RUN command. - Right-click on the “Nvidia Display Container Local System” option and select the “Stop” option.
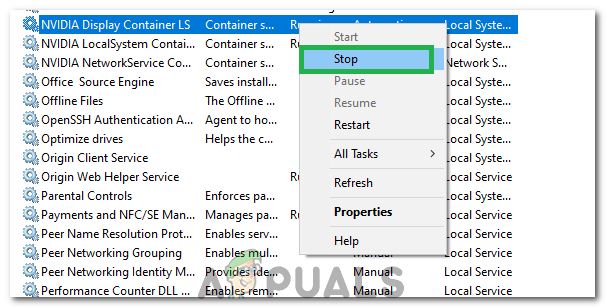
Clicking on the “Stop” button - Right-click on it again after some time and select the “Start” button.
- This restarts the service and it might get rid of the glitch for you.
- Check to see if the issue persists.
- If the issue goes away but it comes back after restarting your computer, you can create a “.bat” file that runs these commands for you automatically.
- In order to do so, right-click anywhere on the desktop and select “New>Text Document” option.
- Paste the following commands inside this text document.
net stop NVDisplay.ContainerLocalSystem
net start NVDisplay.ContainerLocalSystem
- Click on “File>Save As”, select “All Files” from the file type dropdown and type in “Restartservice.bat” in the File name option.

Saving as “RestartService.bat” - Click on “Save” and now you can run this file after restarting to refresh this service automatically.
6. Delete a File
In some cases, deleting a file from the Nvidia Folder fixes this issue and the High CPU Usage goes away. Perform this at your own risk because deleting important driver files can sometimes damage the system as well so make sure to create a restore point before continuing. In order to delete the file:
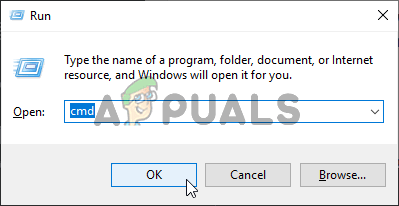
- Press “Windows” + “R” to open the Run prompt.
- Type in “cmd” and press “Shift” + “Ctrl” + “Enter” to grant administrative privileges.
Running the Command Prompt - Type in the following command and press “Enter” to execute it.
rundll32 "%PROGRAMFILES%\NVIDIA Corporation\Installer2\InstallerCore\NVI2.DLL",UninstallPackage NvTelemetryContainer
- Check to see if the issue persists.
7. Disable Shadowplay
In some cases, the Shadowplay feature of the Geforce experience might be interfering with important components of the game due to which this error is being received. Therefore, in this step, we will be disabling it completely from the settings. For that:
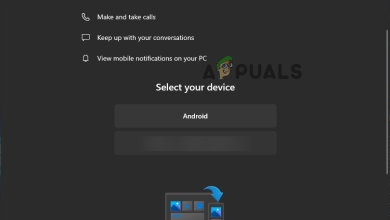
- Click on the “search bar” and type Geforce Experience.
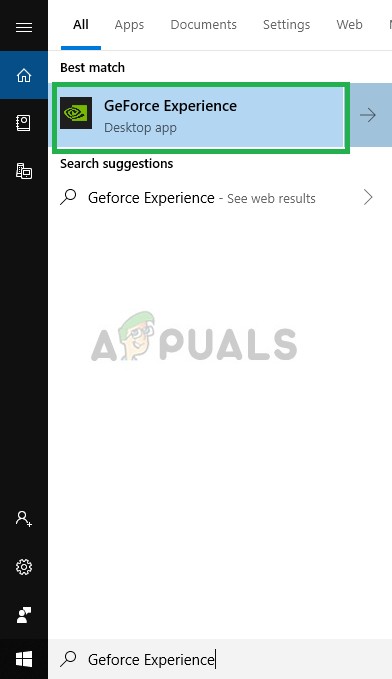
Opening Geforce Experience - Once Geforce Experience opens, sign in with your account credentials and wait for it to detect your GPU and settings.
- Click on the “Settings” cog from the top right and select the “General” tab from the left pane.
- Click on the “In-game Overlay” toggle to turn it off.
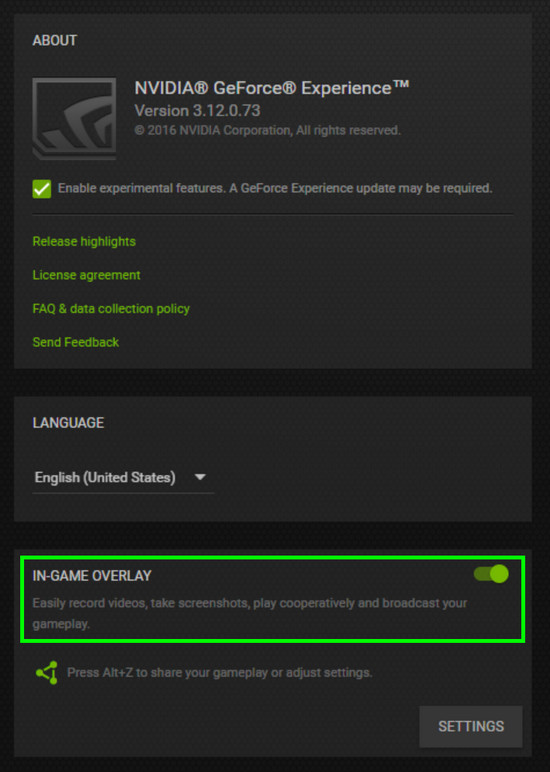
Disable In-Game Overlay of GeForce Experience - Check to see if the issue persists.