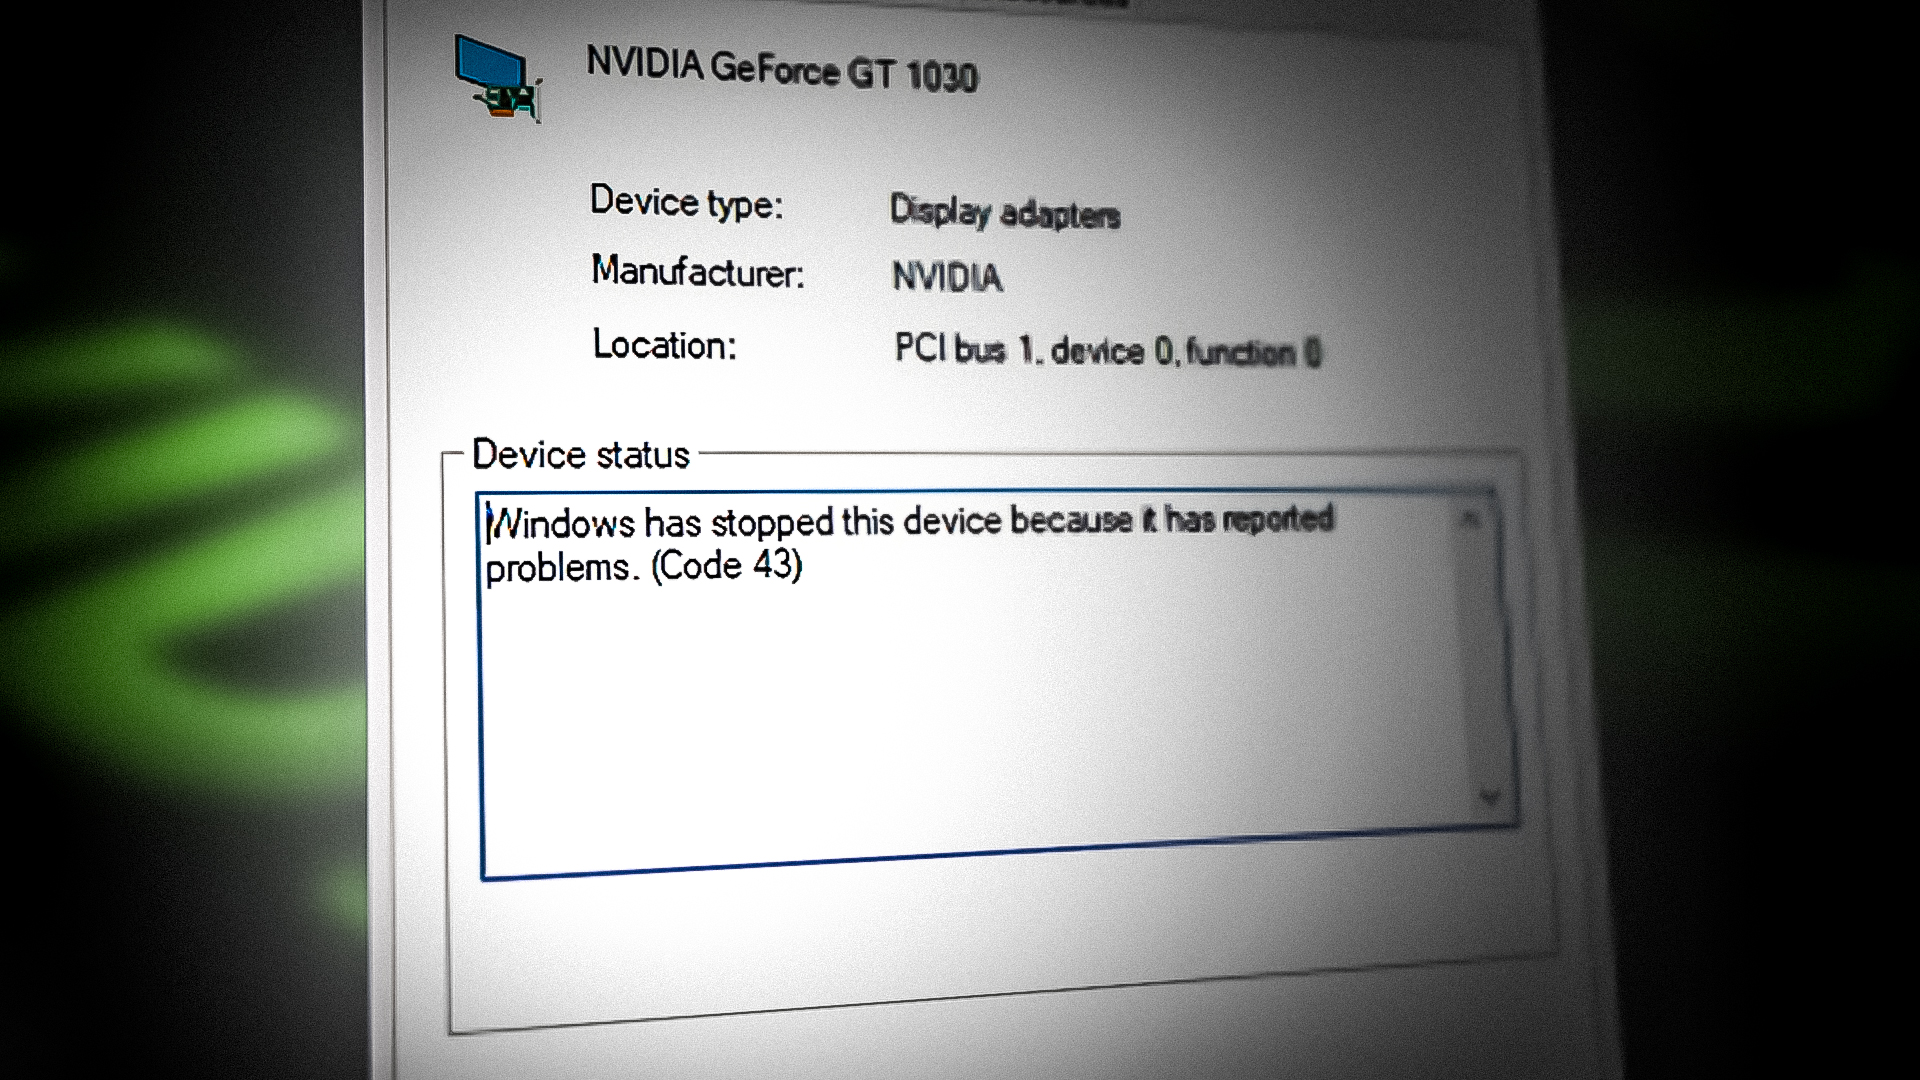
Fix: NVIDIA Code 43 (Windows has stopped this device because it has reported problems)
If you are encountering Nvidia Error Code 43, there are two possible reasons for this error. Perhaps it might be the hardware problem of your graphics card, or it can be the software issue that causes Error Code 43. High temperature, having VIRTU MVP Application, improper connected PCI-E 6 pin cable, and corrupted drivers seem to be the main contributors to this issue.
We had research on this and discovered the error could be caused due to several reasons, including those mentioned below:-
- Lucid VIRTU MVP Software- Lucid VIRTU MVP is software that offers computer visuals with a faster response time but as per the Nvidia reports, using Lucid VIRTU MVP can bring many errors, including this one.
- Hardware Issue– The error could appear due to the hardware issues such as a wrong inserted graphics card and its cables. So before moving out, make sure to check that the graphics card and cables are correctly connected. You can also check the minimum watt of your power supply and how much your graphics card takes from it.
- Outdated Motherboard Bios- Having outdated bios can be one of the main reasons as it can cause errors.
- Outdated and Wrong Installed Drivers- If you have installed your graphics driver incorrectly, you may encounter this error. Please ensure the drivers you have are not obsolete or missing, as it can trigger error code 43.
- Defective System Files- If your Windows has corrupted files that cause error code 43, you must run some system commands to repair them.
1. Run a Batch File To Resolve Error Code 43
We have found an effective method that worked for almost every user encountering Error Code 43. Below we attached a batch file created explicitly for fixing error code 43 against Nvidia eGPU running on a mPCIe, EC, M.2, LUA interface, or desktop PCIe slot. Below are the steps to run a batch file.
- Download the batch file from Here
- Once the downloading is finished
- Right-click on it and select Extract to nvidia-error43-fixer_113
Note: You can use WinRar to extract the folder
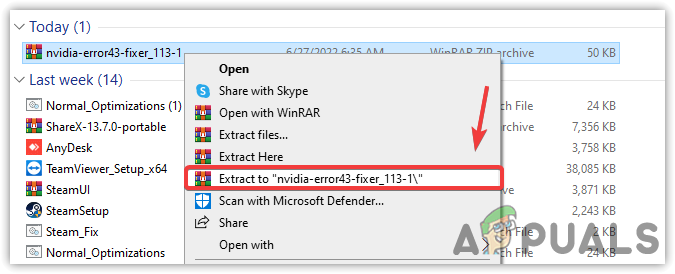
Extracting Zip Folder - Once you have extracted it, navigate to the folder
- Right-click on nvidia-error43-fixer and click Run As Administrator
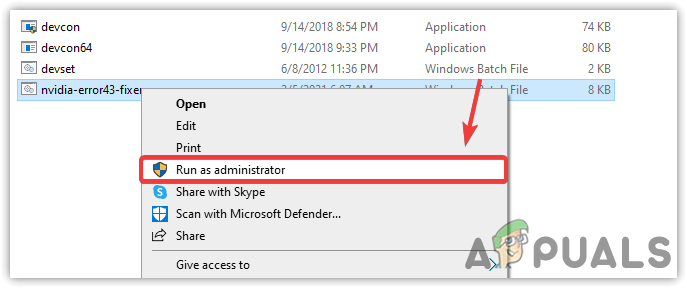
Run This File As Administrator - Once done, close the terminal and check if the error persists.
2. Uninstall VIRTU MVP Application
VIRTU MVP Application allows users to optimize their computers for the best gaming experience. The application offers faster response time, video processing, and smoother media playback. However, Nvidia does not support the VIRTU MVP Application, which can be why you are getting Error Code 43.
To uninstall the VIRTUP MVP application, press the Windows + R keys at the same time
- Type appwiz.cpl and press Enter
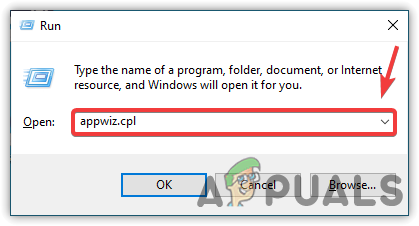
Inserting Command - Now find the VIRTU MVP application and right-click on it
- Click Uninstall from the listed options

Inserting Command - Once done, check if the error still causing.
3. Reinstall NVIDIA Drivers
As it turns out, a corrupted graphics driver can be the sole reason for this issue. Having corrupted drivers decreases GPU performance and brings many errors such as this one. So first, we need to remove the graphics driver properly. Many users use the device manager to remove their drivers. Still, some files cannot be removed properly and are being left behind, which can cause errors because when we remove drivers, we want to delete them permanently. Apparently, From the device manager, it does not happen, and when we install new drivers, they conflict with each other, which is terrible and can cause problems. To remove drivers properly, we use DDU (Display Driver Uninstaller), allowing us to remove drivers without any files left behind.
3.1 Uninstall Graphics Driver
- To uninstall Graphics Driver completely, Download Display Driver Uninstaller
- Once done, now boot your Windows in safe mode, as recommended by DDU. For that click the Start-Menu and click the Power button then select Restart While holding the shift key on the keyboard

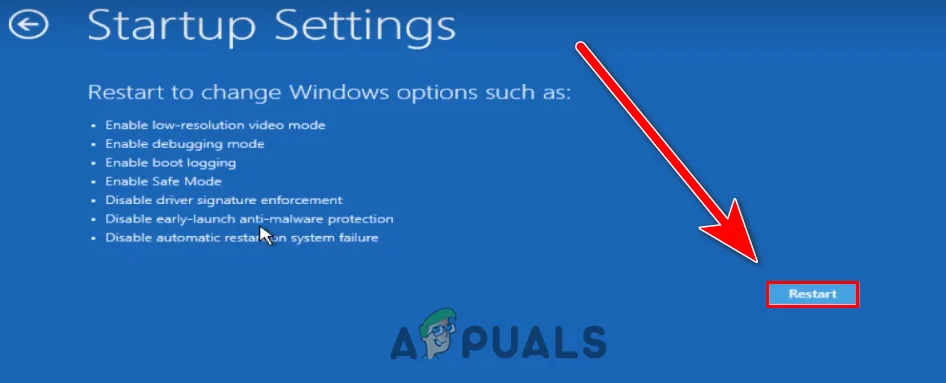
Restart Computer to Open Windows in Safe Mode - You will be redirected to the Windows options screen, where you will navigate to the Troubleshoot>Advanced option>Startup Settings
- Then, click Restart from the bottom right and wait for the Windows to boot up in the safe mode
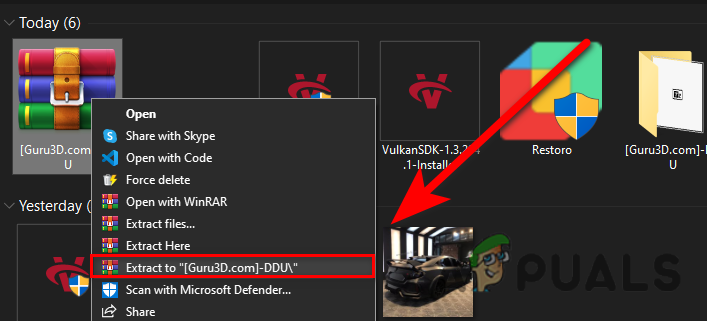
Restarting Computer - Then, go to the downloads directory, right-click the zip folder and click Extract to [Guru3D.com] Note: You can use WinRar for this process to extract the zip folders.
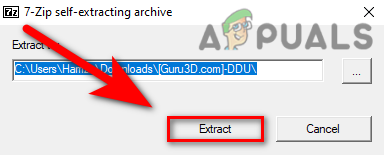
Extracting DDU Zip Folder - Navigate to the extracted folder, and double click DDUv18.0.4.9
- A short Window will come up, click Extract
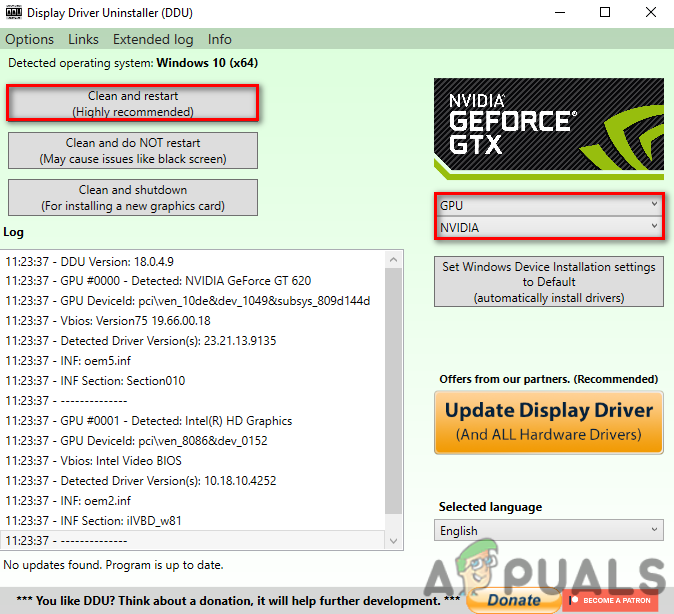
Extracting DDU Application - Again navigate to the extracted folder and launch the DDU application
- Now choose your device type and select the respective GPU vendor
- Once you selected, click Clean & Restart
Selecting Graphics Card Driver For the Uninstallation Process
3.2 Install Graphics Driver
We have mentioned the almost similar steps for installing the graphics driver, if you have AMD or INTEL graphics card, you either follow the below steps:-
- To install the latest Graphics driver, go to the respective GPU manufacturer’s website
- Choose the Graphics Card according to its specification and click on the Search button
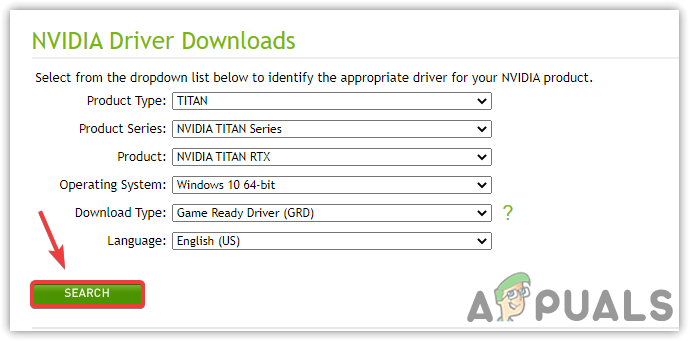
Searching For Latest Graphics Drivers - Click Download to start the downloading process of the drivers
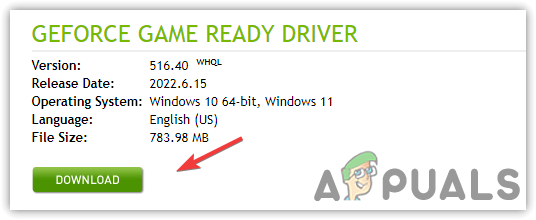
Downloading Graphics Driver - Once done, launch the installer and follow the on-screen instructions to install the drivers
- After the drivers’ installation, restart your computer for the changes to take effect
- Then, navigate to the device manager to check if the error is fixed.
4. Check legitimateness Of Nvidia Card
If the issue is still there, you may need to check the legitimacy of your Nvidia Card, if your card is fake, this error could arise until you change the graphics card. In this case, you need to ensure that your card is legit. For that, you have to install GPU-Z, an application that provides vital graphics card information. If your graphics card is fake, you will get a yellow warning with the [FAKE] before the model name of your graphics card.
- To check the legitimateness of the graphics card, Download GPU-Z
- After the downloading open the installer and follow the instruction to install it
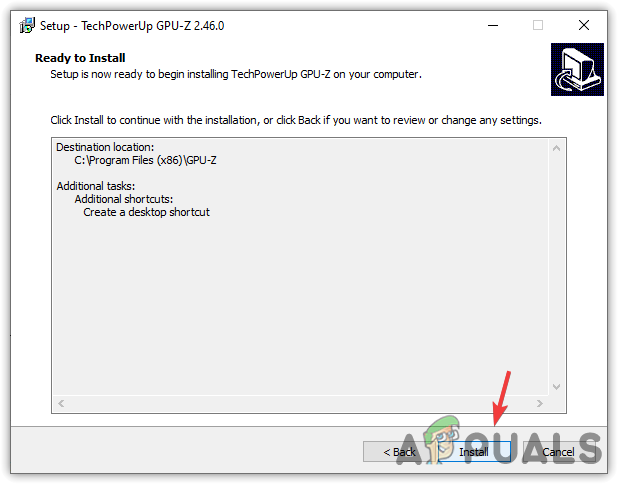
Installing GPU-Z - Once done, launch the application and check your graphics card is legit.
5. Disable Automatically Updating Drivers From Windows
Another solution for this error is to disable automatic updates from windows as it can cause a conflict of drivers, which occurs when windows think it is the latest driver and install the outdated one. The driver you have already installed can conflict with a driver that windows installed. It is called driver conflict that can cause Error Code 43. To avoid this, you have to disable automatic driver updates from the Local Group Policy Editor.
Below are the steps that will help you to disable automatic updates:-
- Press the Windows + R keys simultaneously to open a Run dialogue box
- Type gpedit.msc and hit Enter to open Local Group Policy Editor
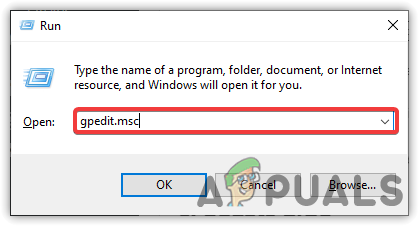
Launching Local Group Policy Editor - Once you are in the Group Policy Editor, navigate to the following directory
Computer Configuration > Administrative Templates > Windows Components > Windows Update
- For Windows 11 users, expand the Windows Update folder and navigate to Manage updates Offered From Windows Updates
- Now on the right pane, double click on Do not include drivers with Windows Update
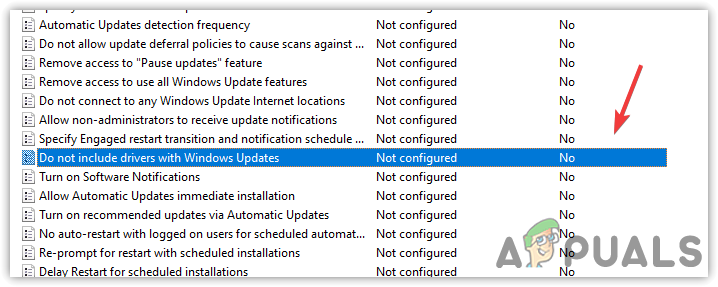
Open Driver Setting - A short Window will appear, click Enabled then click Apply
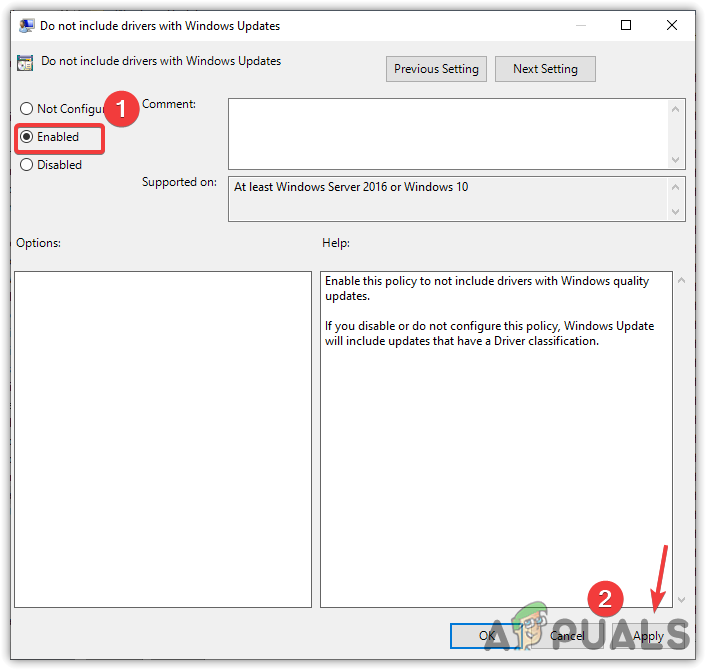
Preventing Drivers From installing With Windows Updates - Once done, reinstall the drivers by following the above method.
6. Update BIOS
If the issue is still there, try updating bios as it can aid in fixing the problem. If your bios is outdated, try to update it from the manufacturer’s website and follow all the instructions they mentioned.
7. Run SFC and DISM Commands
Corrupted or missing system files are also included in causing Error Code 43. The easy way to repair corrupted files is by running commands to restore Windows images and files. These commands contain the DLL package and the files that will replace with the corrupted or missing ones.
- To run SFC and DISM commands, click Start Menu and type Command Prompt
- Right-click on the command prompt and choose Run As Administrator
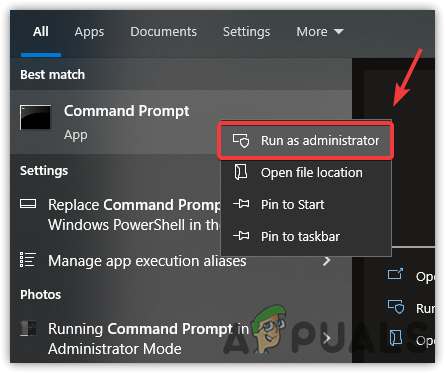
Running Command Prompt As Administrator - Once the terminal is launched, insert the following commands one by one and hit Enter
DISM /Online /Cleanup-Image /RestoreHealth
sfc /scannow
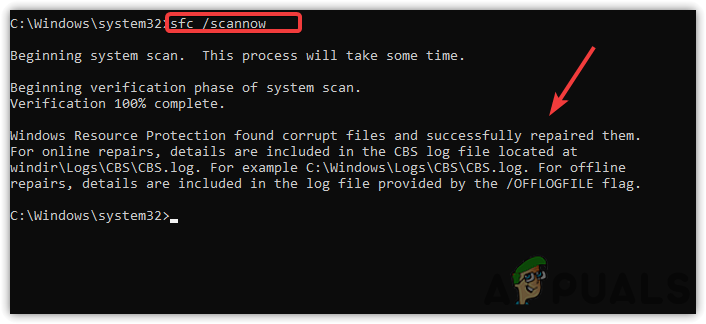
Repairing Corrupted Files - Once it is finished, go to the device manager and check if Error Code 43 persists.
8. Revert System to Previous Restore Point
If none of the methods has worked, we recommend you restore Windows to a working condition. It requires a restore point created before you encounter the error message.
- To utilize a restore point, click Start Menu and type rstrui, and press enter to launch the restore settings
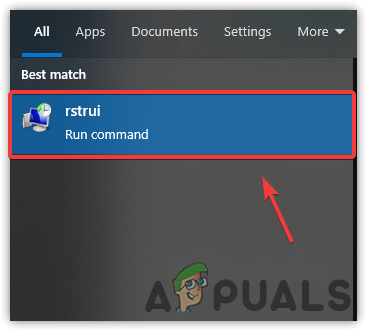
Launching System Restore Settings - Click Next and select a restore point then click Next
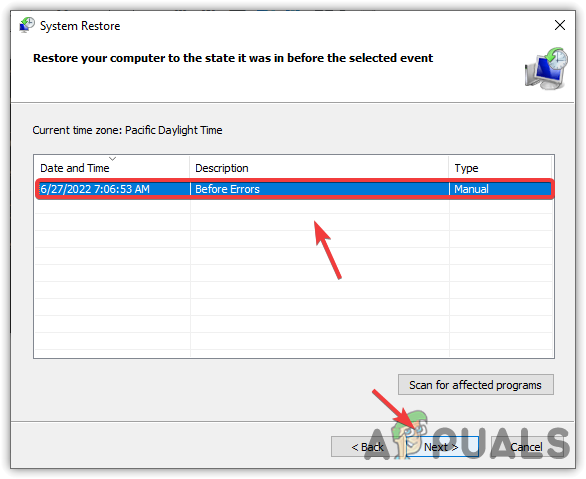
Selecting Restore Point - In the end, click Finish to start the restore process.
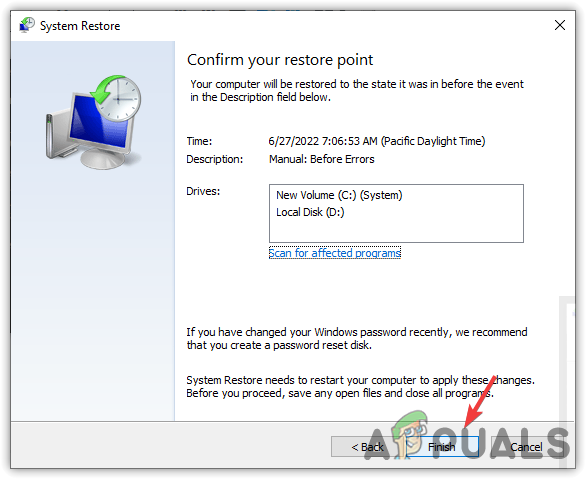
Click Finish To Proceed
Above, we have compiled all the solutions that have the potential to fix Error Code 43. If none of the methods worked, we recommend you take your laptop or computer to a repair shop as the problem might come from the hardware.