Fix: Logitech G430 Microphone Not Working on Windows
Logitech’s inventory encompasses a wide variety of personal peripherals (both cordless and corded), with special emphasis on products for PC navigation, gaming, Internet communications, digital music, and home-entertainment control. One such product is the Logitech G430 Headset, the product was loved by a lot of users due to the affordable price tag and adequate performance.
However, quite recently we have had many reports of an issue with the microphone in Windows 10. The microphone would simply stop working although it was plugged in correctly and there was no issue with the hardware. In this article, we will inform you of the causes of this error and try to solve them in a step by step process.
What causes Microphone not to Work in G403?
The cause of the error is not specific and can be triggered due to a number of general reasons. However, some of the major causes are:
- Windows Updates: Windows 10 after updates automatically changes your privacy settings after an update which prohibits a certain app from having access to your microphone
- Corrupt Drivers: Sometimes, a bug or an update causes the drivers of the microphone to get corrupted which can be the cause of the problem
- Corrupted Software: In some cases, the official Logitech software that comes with the headphones might be causing the issue. It might be corrupt due to a conflict or a bug and might be causing errors with device configuration
Now that you have a basic understanding of the nature of the problem and its causes we will move on towards the solutions. Make sure to download and install the Logitech Software before continuing with the steps below.
Before You Start: Make sure to check if the microphone isn’t muted from the physical button on the headset. Try to switch your USB ports and try connecting the microphone directly from the 3.5mm cable.
Solution 1: Reinstalling the Device Drivers
Before we start configuring the settings, you can try reinstalling G403’s drivers. This step will make sure you don’t have any issues with the drivers or the plugging in of your device since there are numerous cases where because of improper drivers, Windows is unable to detect or recognize the device.
- Click on the Start Menu

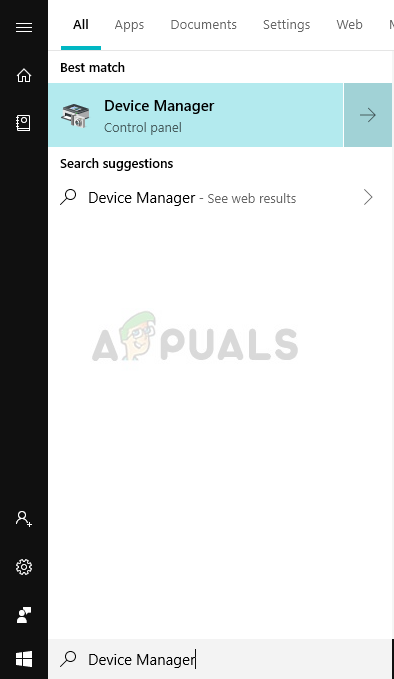
Clicking on the start menu - Search For Device Manager
Searching for Device Manager - Now that you are in the device manager Click on Audio Inputs & Outputs.

Navigating to Audio inputs and outputs in Device Manager - Then Right-Click ON the Microphone and select Uninstall Device

Uninstalling the Blue Snowball Drivers - Similarly, Navigate to Sound, Video and Games Controller.
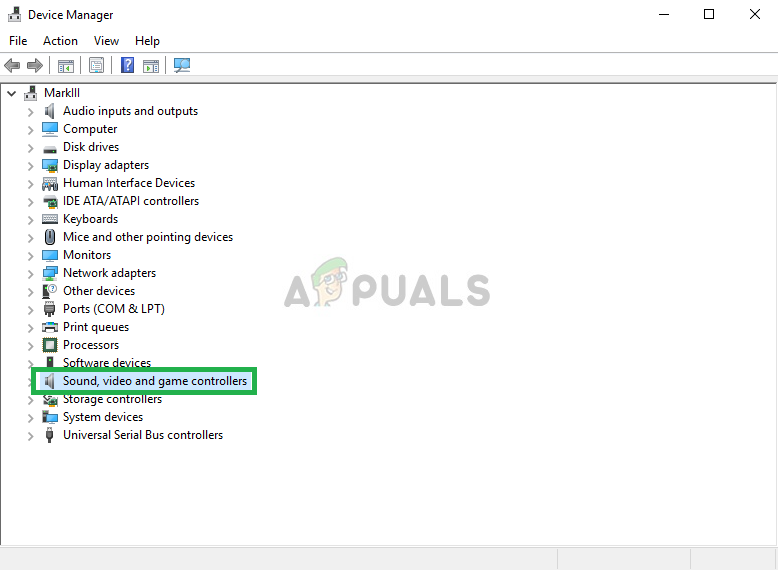
Navigating to Sound, video and game controllers - Now Uninstall the Microphone Drivers from here as well.
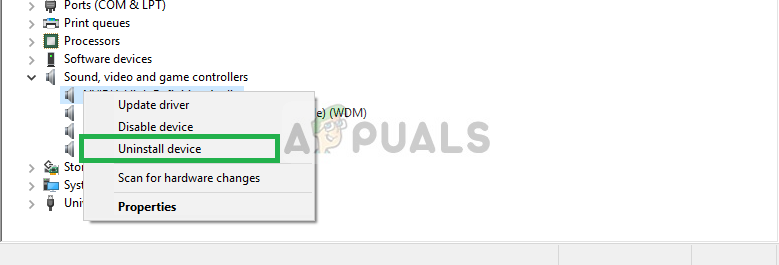
Navigating to Sound, video and game controllers - Now simply unplug and replug the microphone into your computer and the windows will reinstall these drivers If you had an issue with the drivers it should now be fixed.
Solution 2: Changing Windows Privacy Settings
After an update on Windows 10, the privacy settings were automatically changed and some apps were not allowed to use the microphone, while in some cases the microphone was disabled entirely. We will be changing those settings in the following process.
- Click ON the Start Menu and Click on the Settings icon
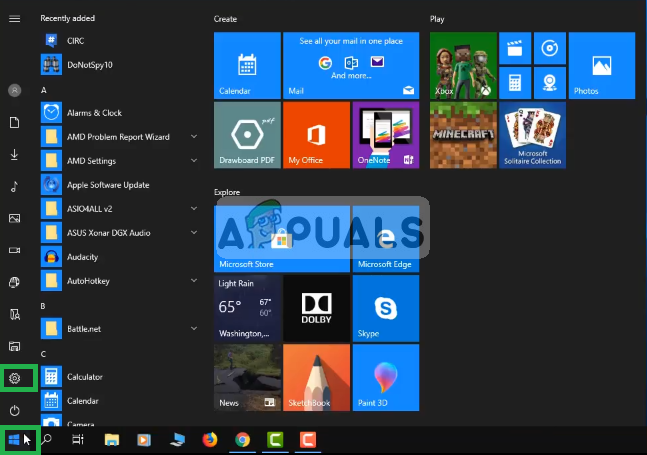
Clicking on Settings - From there Click on Privacy Settings.

Opening Privacy Settings - From There Click on Microphone and then click on Change.
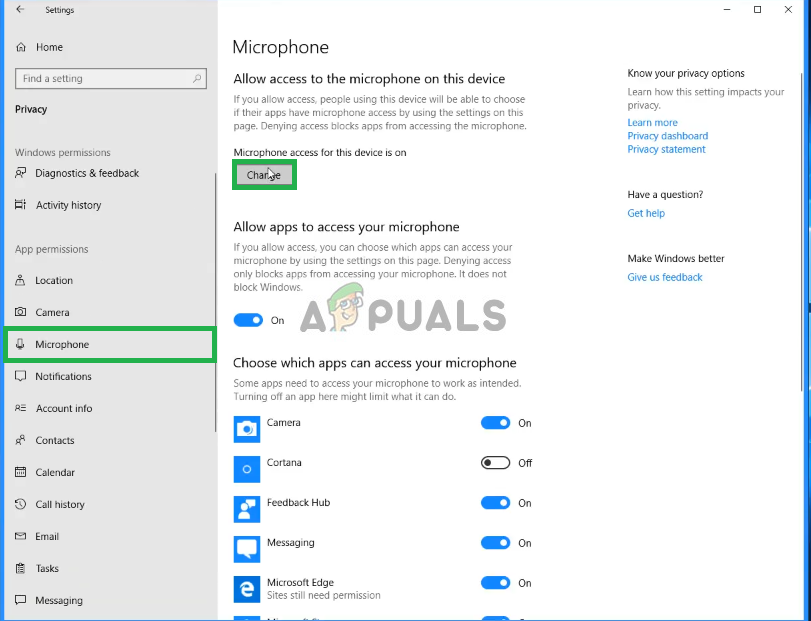
Changing Microphone Privacy Settings - Then Make Sure it is Enabled
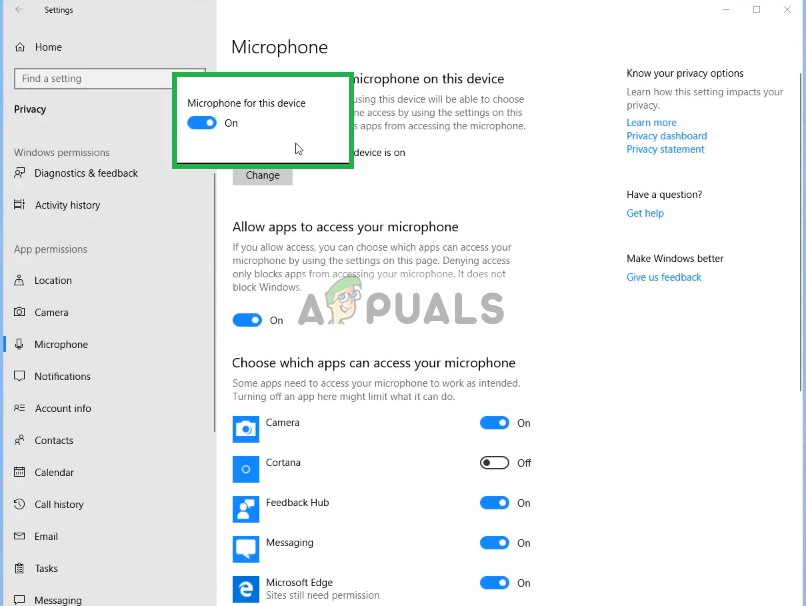
Making Sure Microphone is Enabled - Also, Make Sure the Apps that you use have the Permissions enabled too from below

Checking Permissions to use the microphone for apps
If the issue was due to the privacy settings it should be solved by now.
Solution 3: Enabling Microphone Drivers
The drivers for the microphone are sometimes disabled in the sound settings so in this step we will make sure that the microphone drivers are enabled.
- Right-Click on the Sound icon and then on Sounds

Opening Sound settings - From there click on the Recordings tab.

Clicking on the recordings tab - Now Right-Click on an empty space and make sure that both the options are checked
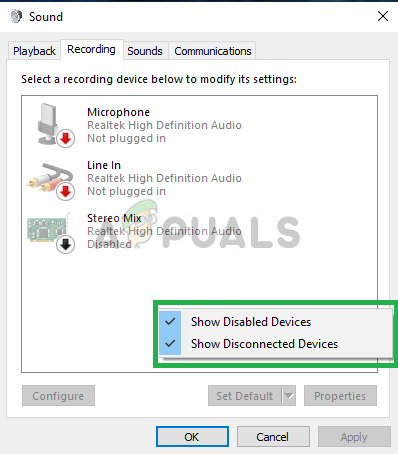
Making show both the options are checked - Now Right-Click on the microphone drivers and click on Enable.

Clicking on Enable - Now again Right-Click on the microphone drivers and click on Properties
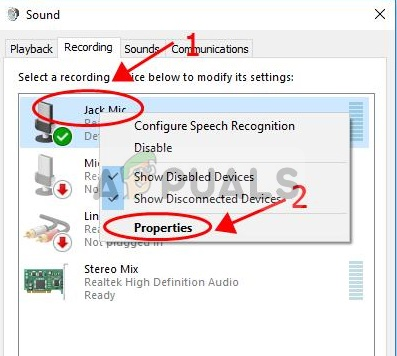
Right-Clicking on the microphone and left-clicking on properties - Now from here Click on Levels tab and make sure that the slider is at the maximum
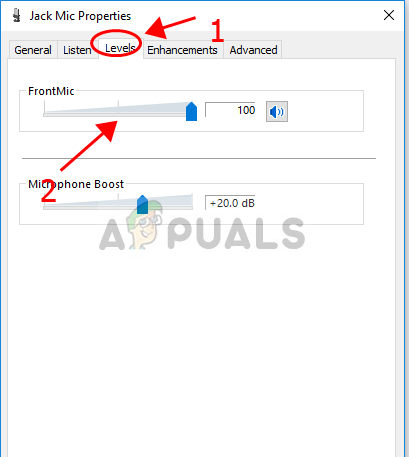
Clicking on the Levels tab and dragging the slider to the maximum
This should solve any issues with the drivers or the configuration of the microphone settings however if this does not solve the issue uninstall the Logitech software and reinstall it after downloading it from their official website.


