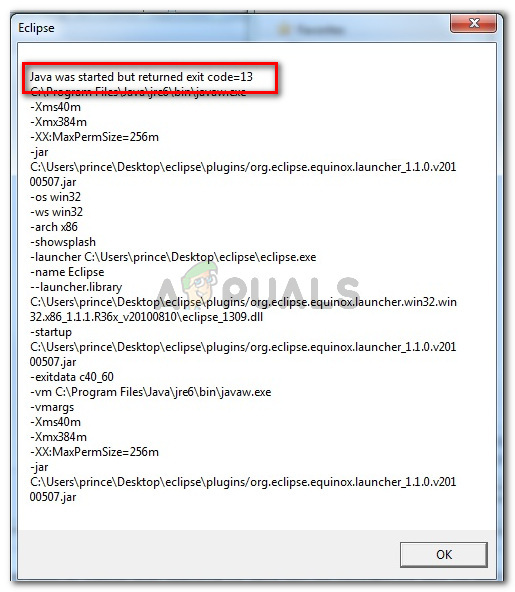
Fix: Java Was Started but Returned Exit Code=13 Eclipse
Some users are getting the Java Was Started but Returned Exit Code=13 Eclipse error when trying to run Eclipse. The issue is reported to occur with Windows 7, Windows 8, Windows 10 (32 and 64 bit).
What is causing the ‘Java was started but returned exit code =12’ error?
We investigated this particular issue by looking at various user reports. Based on what we gathered, there are several fairly common scenarios that are known to trigger this particular error message:
- An incompatible Eclipse or Java version is installed – This is the most common reason why this error message is occurring. It’s likely that likely that you’ve installed a 64-bit version of Eclipse or Java while your computer only supports 32-bit (or vice-versa).
- Eclipse includes special characters in the installation directory – Several users have managed to resolve this error message after removing the special characters (#$%^) from the installation directory.
- The computer is using an unsupported version of JVM (Java Virtual Machine) – Even if you ensure that you’re using the latest version of Eclipse, it’s possible that you’re seeing this error because you’re running an unsupported version of JVM.
- The Java Environment Path Variable is incorrectly set – Some users have managed to resolve the issue after discovering that the issue was caused by an incorrectly set Java Environment PATH variable.
If you’re struggling to resolve this particular error message, this article will provide you with a list of quality troubleshooting steps. Below you have a collection of methods that other users in a similar situation have used to get the issue resolved.
For the best results, follow the methods below in order that they are presented until you encounter a fix that is effective in getting fixing the problem in your particular scenario
Method 1: Using the correct combination of Eclipse – JDK
Eclipse and JDK (Java Development Kit) are very picky when it comes to working with one another. Keep in mind that there are only several working combinations of OS, JDK and Eclipse bitness. If you happen to use an unsupported combination, of Operating System, JDK and Eclipse, you will get the Java Was Started but Returned Exit Code=13 Eclipse error message.
Below we’ve compiled a list of working combinations. Use them for reference to verify whether is issue occurs due to an unsupported combination:
- 32-bit OS, 32-bit JDK, 32-bit Eclipse (32-bit only)
- 64-bit OS, 64-bit JDK, 64-bit Eclipse (64-bit only)
- 64-bit OS, 32-bit JDK, 32-bit Eclipse
If you have a different setup, uninstall the unsupported component and then install an appropriate one until you are able to open Eclipse without encountering the error message.
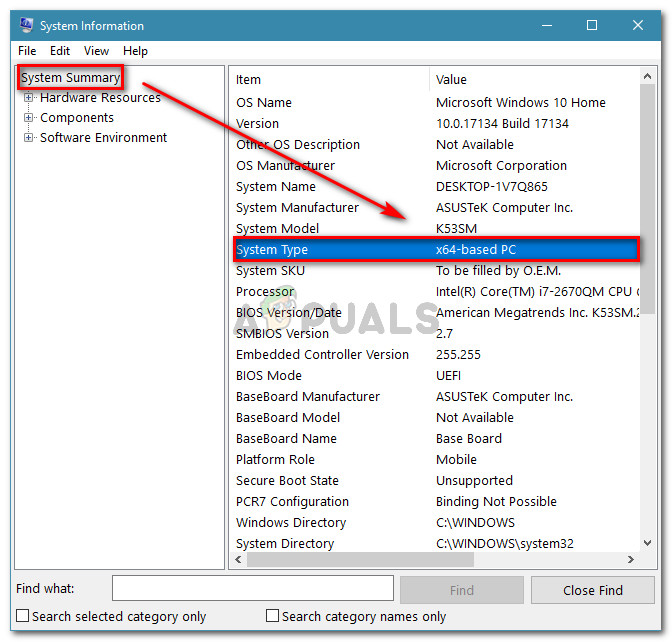
Note: In the event that you don’t know the bit architecture of your operating system, press Windows key + R to open up a Run dialog box. Then, type “msinfo32” and press Enter to open the System Information screen. In the System Information screen, go to System Summary and check up the System Type from the right pane. That’s where you’ll find your OS architecture.
If this method wasn’t applicable, move down to the next method below.
Method 2: Removing special characters from the Eclipse directory path
You might also be encountering the issue because the installation directory contains special characters. Several users who were in a similar situation have managed to get the issue resolved after eliminating the special characters (@#$%^&*()+) from the directory name.
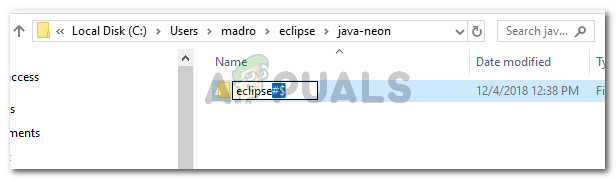
By default, you should be able to find Eclipse in C:\IDE\eclipse or in C:\Users\*YourUsername*\eclipse. However, if you installed in a custom location, you might have mistakenly added a special character that is creating the issue.
You can remedy the issue by navigating to the location of the Eclipse installation manually and removing any special character that might end up creating the error message.
Note: Certain users have reported that they started getting a different error after removing the special characters from the Eclipse installation directory. This is most likely occurring because there are other dependencies that were relying on that particular location and they no longer function properly due to the change. In this case, you can resolve the problem entirely by reinstalling Eclipse.
If this method didn’t allow you to resolve the Java Was Started by Returned Exit Code=13 Eclipse error, move down to the next method below.
Method 3: Removing the broken System PATH variable
As it turns out Java 8 and a few other Java updates have the potential to mess up the environment variables, triggering the Java Was Started but Returned Exit Code=13 Eclipse error message.
If you only started to get this error message after installing Java (or a Java update), follow the steps below to remove the broken System variable PATH:
- Press Windows key + R to open up a Run dialog box. Then, type “sysdm.cpl” and press Enter to open System Properties.
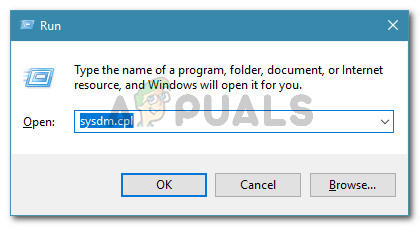
Run dialog: sysdm.cpl - In the System Properties window, go to the Advanced tab and click on Environment Variables.
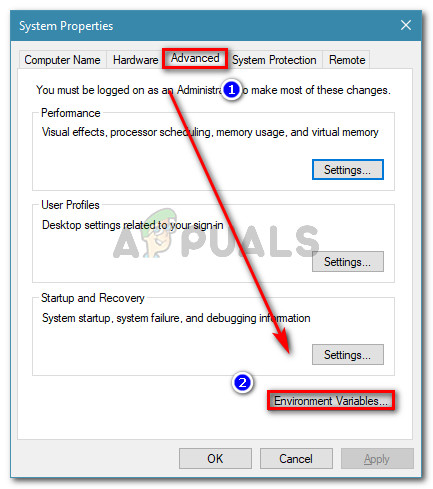
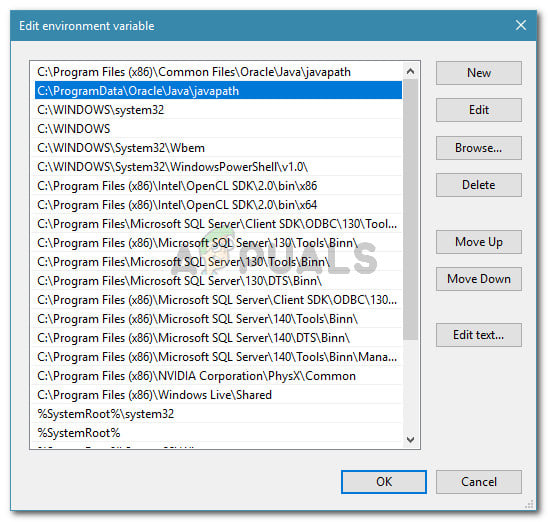
Go to the Advanced tab in System Properties and click on Environment Variables - Inside the Environment Variables window, go to System variables, select Path and click on Edit.
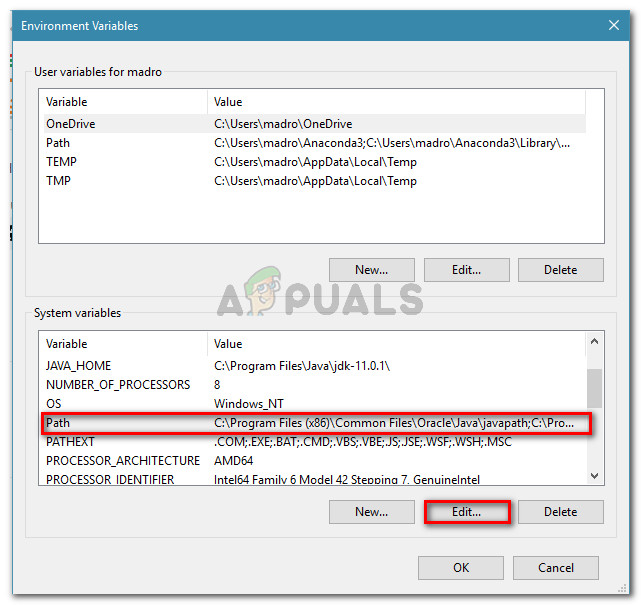
Edit the Path variable - In the Edit environment variable window, look for an environment variable mentioning Java. Once you see it, click on it once to select it and then click Delete.
Deleting the Java PATH environment variable - Restart your computer and see if you are able to start Eclipse at the next startup without encountering the error message.
If you’re still encountering the same error message, move down to the next method below.
Method 4: Reinstalling the JAVA JDK
If you’ve come this far without a result, you can probably resolve the issue by clean installing the latest JAVA JDK version. Several users finding themselves in a similar situation have reported that the Java Was Started but Returned Exit Code=13 Eclipse error was finally resolved after they uninstalled their current JDK and they installed the latest version available.
Here’s a quick guide on how to do this:
- Press Windows key + R to open up a Run dialog box. Then, type “appwiz.cpl” and press Enter to open Programs and Features.
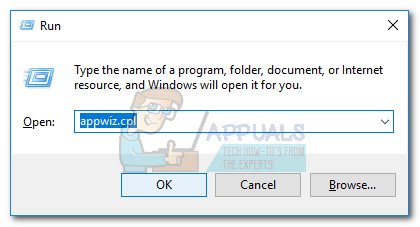
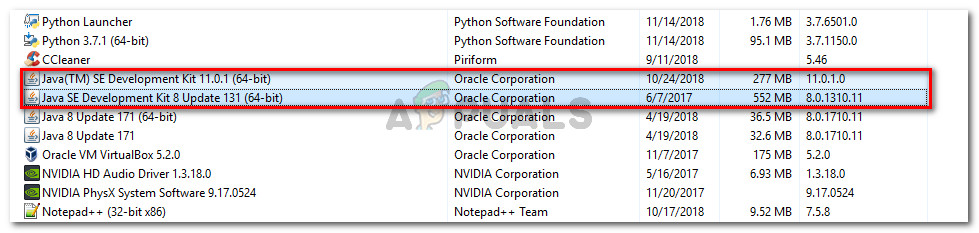
Run dialog: appwiz.cpl - Inside Programs and features, scroll down through the application list and right-click > Uninstall Java Development Kit along with any updates.
Uninstalling Java Development Kit - Visit this link (here) and download the latest version of the JDK according to your OS version and bit-architecture.
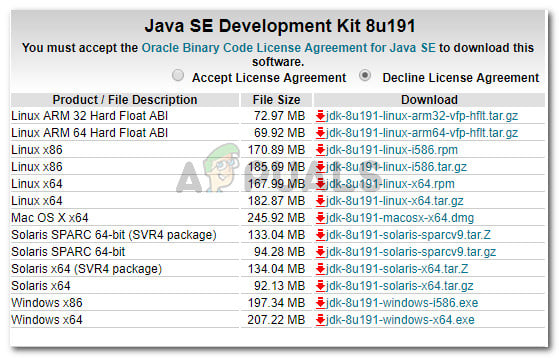
Installing the latest JDK - Open the installer and complete the installation by following the on-screen prompts. Once the process is complete, restart your computer.
- See if the error message has been resolved by opening Eclipse at the next system startup.