Fix: GeForce Experience Unable to Retrieve Settings
NVIDIA GeForce Experience is NVIDIA’s official software which is used to store preferred graphics settings according to profile and helps users optimize their games on the go. It can be used by users to store a set of configurations and store it against their profile.
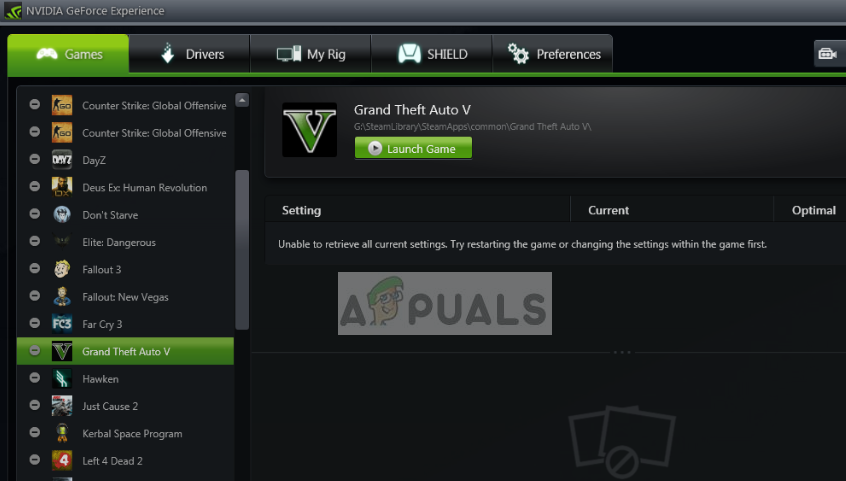
Whenever a user uses another computer, he can log into GeForce Experience and retrieve all his stored settings with a single click. This proves to be very efficient and time saving experience. Despite being the best graphics sync software out there, users experience the error ‘Unable to retrieve settings’ when they try to import settings. This is a rather common issue which can be resolved with simple methods listed below.
What causes the error ‘Unable to Retrieve Settings’ in GeForce Experience?
Just like the application, this error message is also tied to graphics drivers and the utility itself. A lot can go wrong which can bring about this error. Some of the reasons why you might experience ‘Unable to retrieve settings’ in GeForce Experience are but not limited to:
- Installation modules: GeForce is well known for its installation files getting corrupt. A simple reinstall might fix the issue instantly.
- Firewall and Antivirus: Antivirus and Firewall software might flag the application as a false positive thus restricting it from communicating with the servers.
- Graphics drivers: The graphics drivers installed on your computer might be responsible for causing the error message.
Before you move on to the solution, make sure that you are logged in as an administrator on your computer and have an active open internet connection. Furthermore, you should also try logging into GeForce Experience using your NVIDIA account credentials instead of logging through Facebook or Google.
Solution 1: Reinstalling GeForce Experience
Installation files of applications like GeForce Experience might get corrupt or inconsistent which might cause the application to misbehave. A simple and straightforward fix is to reinstall the entire application. This will remove all problematic files which will be replaced when you install a new version. Make sure that you are logged into the application so your configurations are saved on the cloud.
- Press Windows + R, type “appwiz.cpl” in the dialogue box and press Enter.
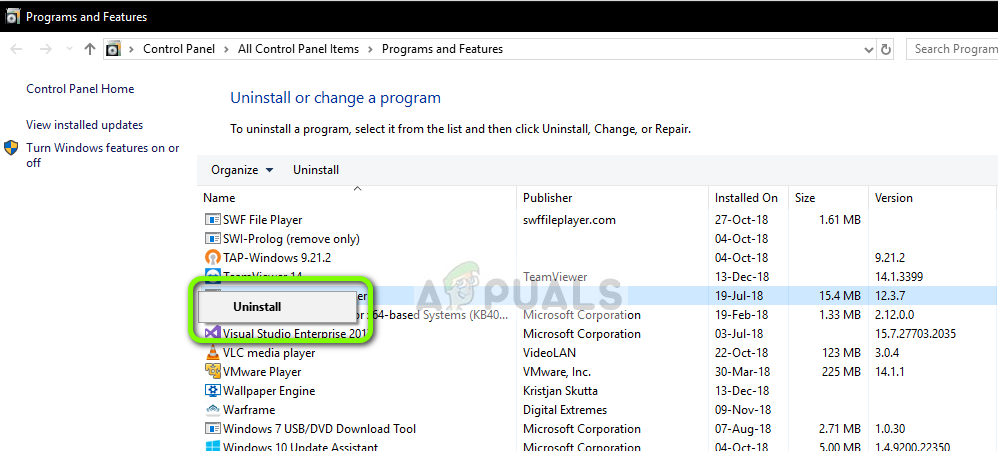
- Once in the application manager, search for the entry of GeForce Experience, right-click on the application and select Uninstall.
- Restart your computer after this step and after launching the application, check if the error message went away.
Solution 2: Deleting Steam User Data
Another remedy is to delete some of the Steam files which are specific and then try launching the GeForce experience. Steam is known to conflict with GeForce experience since both are applications which directly interact with the games you play. We will be deleting some of the User Data which are temporary files used for storing configurations of the application.
- Press Windows + E and navigate to the following directory:
C:\Program Files\Steam\userdata
If you have some other directory where Steam is installed, navigate there. This is the default location where Steam is installed.
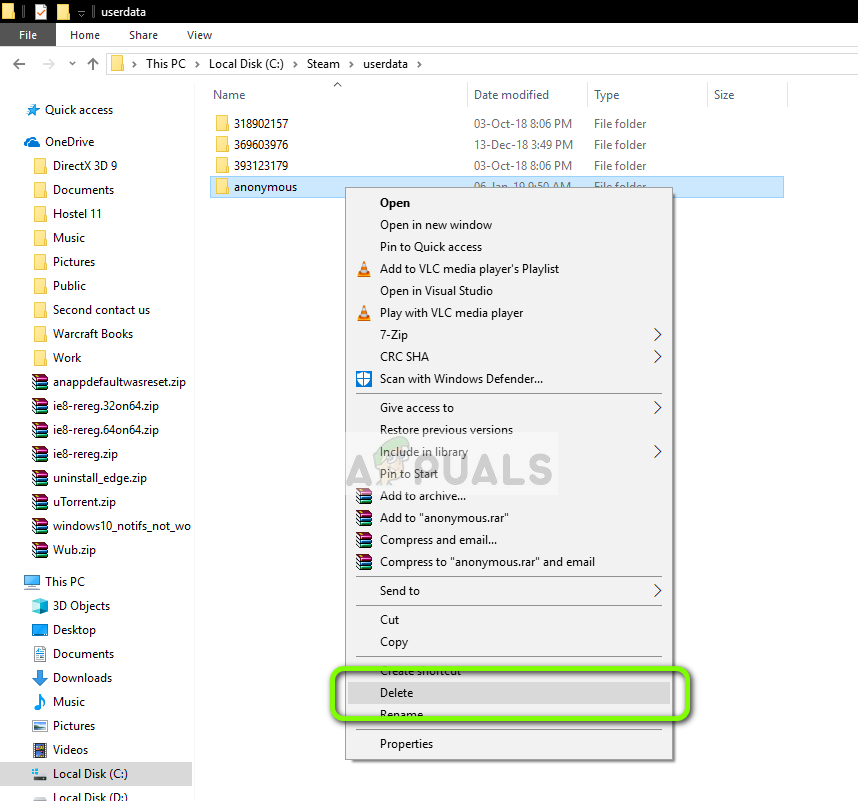
- Once in the folder, delete every folder which doesn’t have a number in it. For example, the folder can be ‘anonymous’ etc.
- After deleting all the files which don’t have any numbers, restart your computer properly and launch GeForce Experience again. Check if the error message is resolved.
Solution 3: Installing Latest NVIDIA Drivers
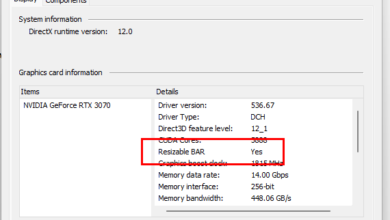
If all the above methods don’t work, we can try installing the latest NVIDIA drivers for your graphics hardware after downloading the latest version from the website directly. Graphics drivers are main components which allow the interaction between the hardware and software.
We will be making use of the utility Display Driver Uninstaller for completely uninstalling the drivers from your computer.
- Navigate to NVIDIA’s official website and download the latest drivers for your graphics card.
- After you have downloaded the drivers to an accessible location, download the DDU utility.
- After installing Display Driver Uninstaller (DDU), launch your computer in safe mode. You can check our article on how to boot your computer into safe mode.
- After launching the DDU, select the first option “Clean and restart”. This will uninstall the current drivers completely from your computer.

- Now install the drivers we just downloaded and restart your computer again. Now launch GeForce Experience and check if the error message is resolved.