How to Fix GeForce Experience Error Code 0x0001 on Windows?
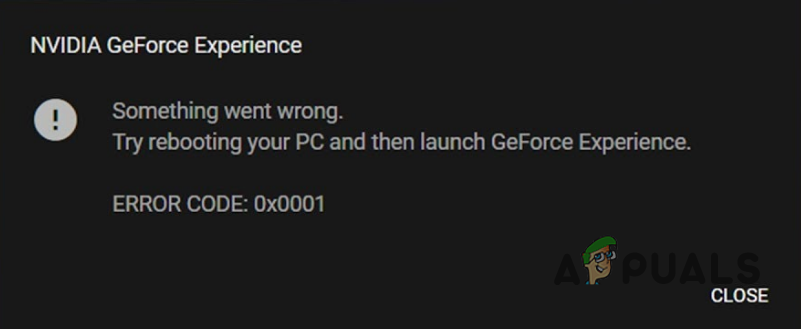
While trying to open up the GeForce Experience application, users have been experiencing the 0x0001 error code. The error message suggests restarting your computer in order to resolve the problem but doing so doesn’t lead to anywhere. As it turns out, the error code stops you from using the GeForce Experience completely and the only available option is to simply close the app.
There are a number of reasons due to which the problem can occur which usually includes the NVIDIA container services running in the background or a Windows Registry anomaly. In this article, we are going to show you how to resolve the error in question so just follow through.
As it turns out, GeForce Experience is a pretty useful application especially due to the video capturing feature that it provides. In addition to that, while there are a number of things that you can do with the help of the application, there is not anything that you can do when the app keeps throwing the 0x0001 error code.
Before we get started with the different methods that you can use to solve the mentioned problem, let us first go through the various reasons which can result in the error in the first place.
Edit NVIDIA Container Service
The first thing that you should do when you encounter the error code in question is make sure that the NVIDIA Container service on your PC has the required permissions to interact with the local account. The service in question is called the NVIDIA Telemetry Container service.
As it turns out, the mentioned service is the culprit in most of the cases. However, having said that, there are cases where other services can also lead to the problem in question. To allow the service to interact with the local account, follow the instructions given down below:
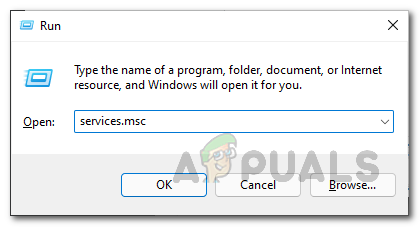
- First of all, press Windows key + R to open up the Run dialog box.
- In the Run dialog box, type in services.msc and then hit the Enter key.
Opening up Services - This will open up the Services window. From the list of services, locate the NVIDIA Telemetry Container service.
- Once you have found it, double click on it to open up the Properties window. Alternatively, you can right click on the service and choose Properties from the drop down menu.
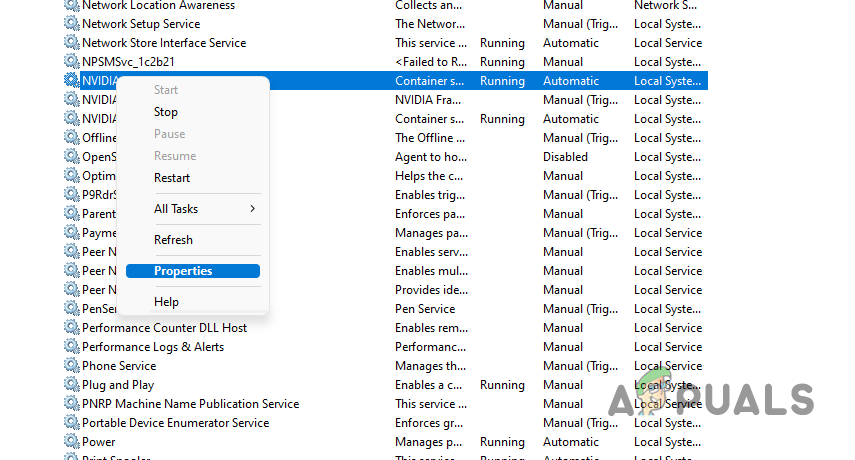
Opening up Service Properties - On the Properties window, switch to the Log On tab.
- There, make sure that the Local System account option is selected. In addition to that, go ahead and tick the Allow service to interact with desktop option.
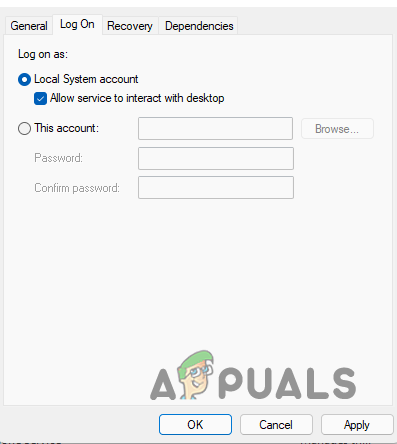
Allowing Service to Interact with Local Account - After doing that, click Apply and then click OK.
- With that done, right click on the service and choose Restart from the drop down menu.
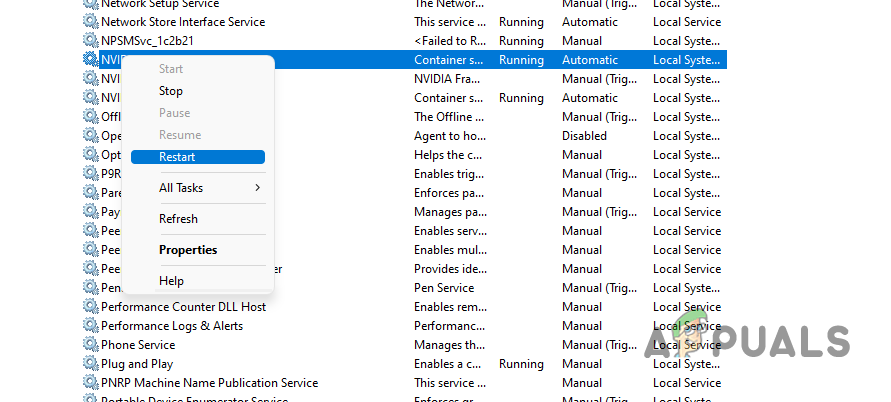
Restarting NVIDIA Service - See if that fixes the problem for you.
- In case you are still encountering the issue, repeat the same steps for other NVIDIA container services that you can find.
Edit Windows Registry
In some cases, the problem can also originate due to an anomaly in the Windows Registry which is essentially responsible for how the operating system operates. As it turns out, the problem arises when a certain key in the Windows Registry is missing the backslash “\” in the address path provided.
In such a scenario, you will have to edit the registry key and add the missing backslash.
Before we begin, we would recommend creating a backup of Windows Registry since any unwanted changes can trigger severe effects. With that said, follow the instructions down below to rectify the issue:
- To start off, open up the Run dialog box by pressing Windows key + R on your keyboard.
- In the Run dialog box, type in regedit and hit Enter.
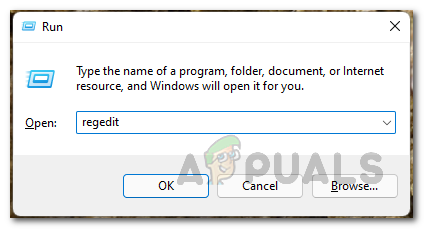
Opening Windows Registry - On the Windows Registry window, copy and paste the following address in the address bar:
Computer\HKEY_LOCAL_MACHINE\SOFTWARE\Microsoft\Windows\CurrentVersion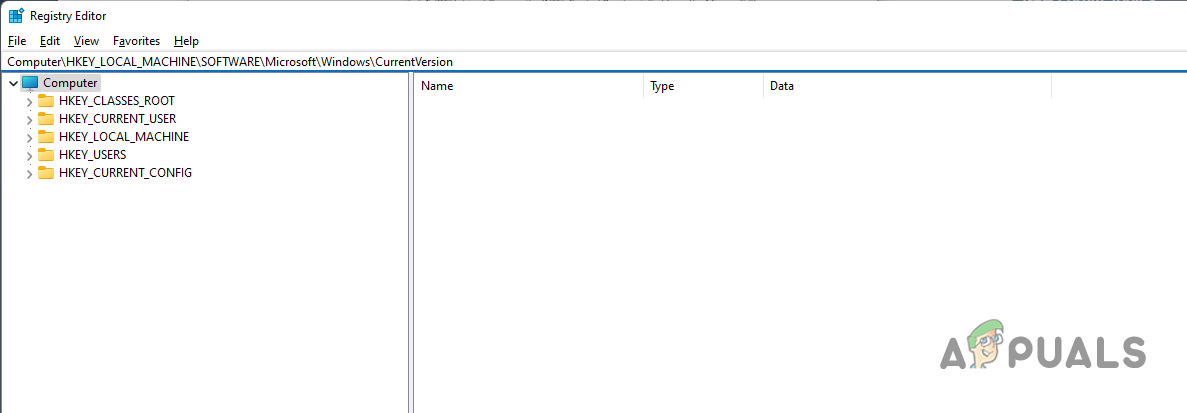
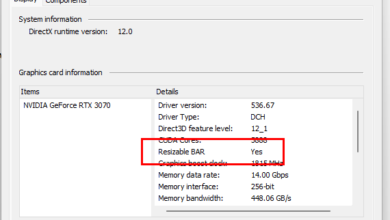
Navigating to the Path - Then, on the right hand side, check the ProgramFilesDir and ProgramFilesDir (x86) entries.
- It should be set to “C:\Program Files” and “C:\Program Files (x86)” without quotation marks. In case they are missing the backslash after the C: drive, go ahead and double click on the individual key and add it.
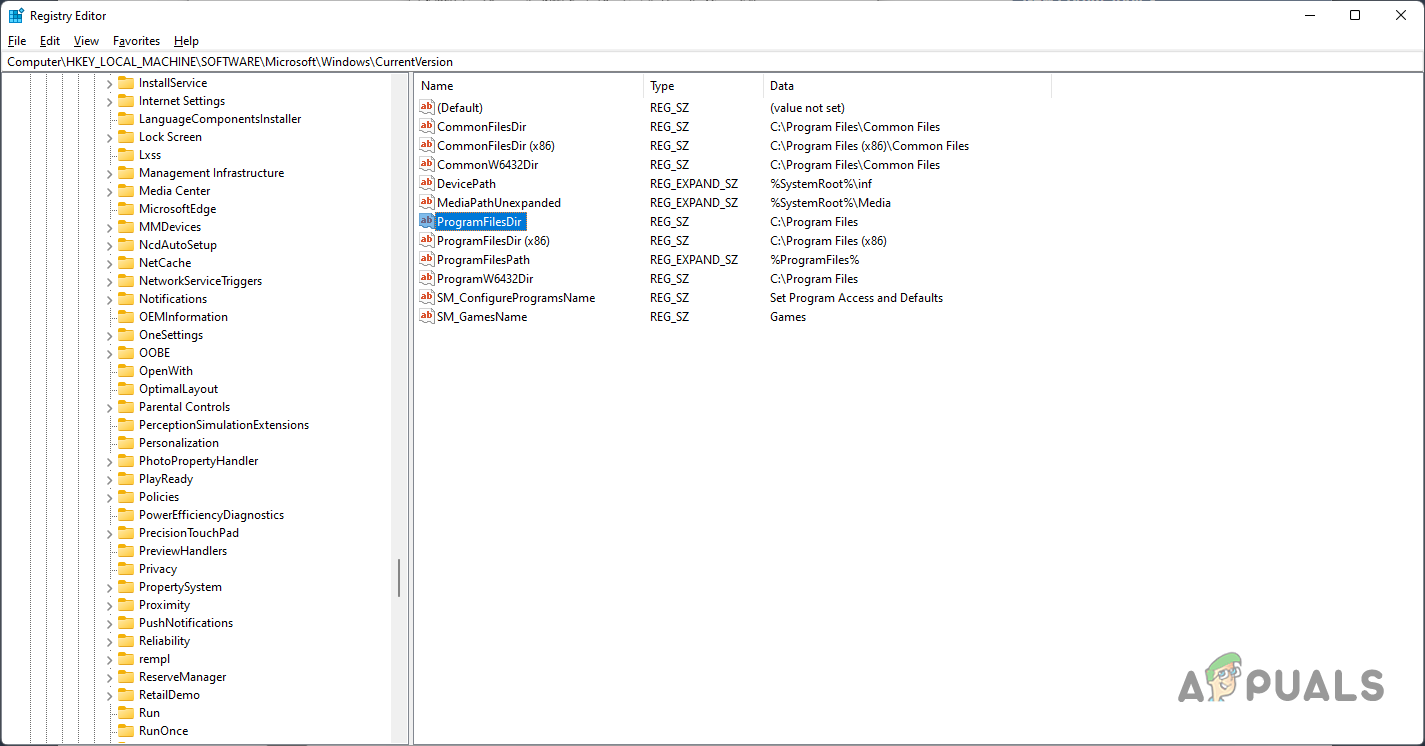
Checking ProgramFilesDir Keys Values - With that done, click OK and close the Windows Registry.
- After that, go ahead and restart your computer. See if that fixes the problem for you.
Reinstall GeForce Experience
If the above methods have not fixed the problem for you, then it is very likely that the problem is being caused by either outdated installation files or they are damaged and corrupted. In such a scenario, what you can do is simply uninstall GeForce Experience and then reinstall the latest version of the app available.
In order to do this, you can use the Display Driver Uninstaller application, which is a third-party application that can be used to completely uninstall display drivers. To do this, follow the instructions given down below:
- First of all, go ahead and download the latest version of Display Driver Uninstaller from this link.
- Once you have downloaded the app, extract it to the desired location and then run it.
- After doing that, go ahead and run the application.
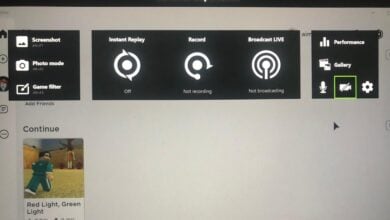
- Now, first of all, from the Select device type drop down menu, choose GPU.
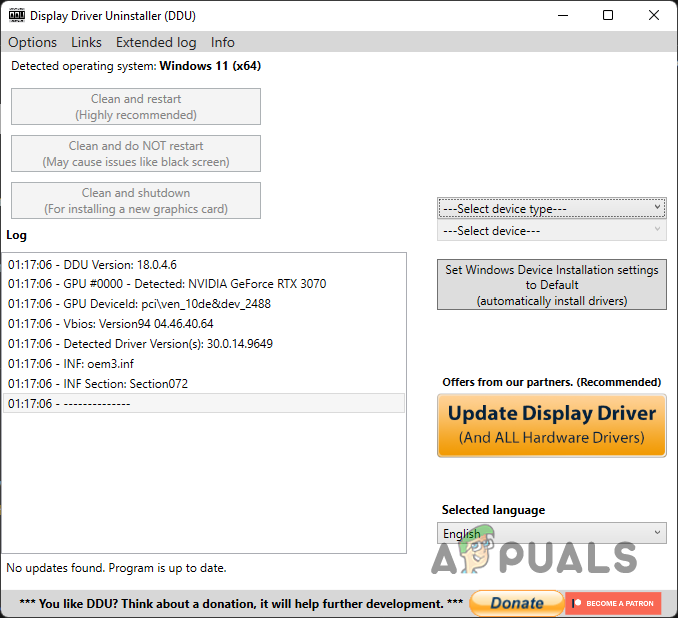
Selecting Device Type - With that done, click the Clean and restart option provided.

Cleaning up GPU Drivers - Once that has been done and your computer restarts, open up your browser and download the latest version of GeForce Experience available.
- Install it on your computer and then see if the problem still persists.