Fix: CHKDSK is not Available for RAW Drives
This error message appears when running the CHKDSK tool on a drive which has malfunctioned for some reason. The error message suggests that the current state of the problematic drive is RAW, meaning that the file format used is not recognized by your operating system.
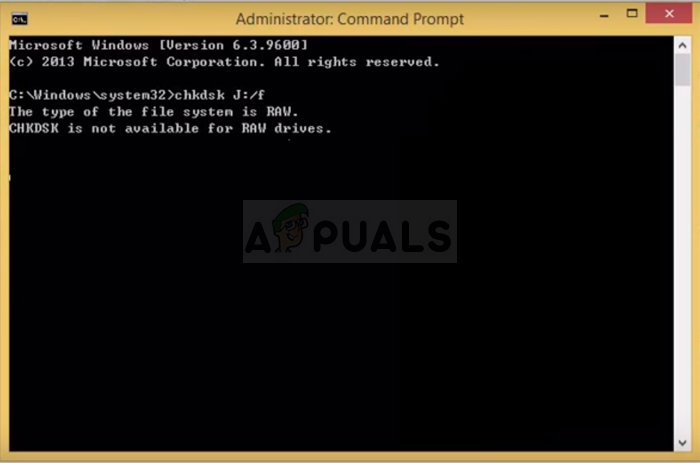
This error message can also appear if the drive has suffered damage or if its encryption has gone bad. Either way, the drive is usually inaccessible and this error message appears when running CHKDSK. Check out the methods we have prepared below to help you deal with this problem further!
What Causes the CHKDSK is not Available for RAW Drive Error?
The list is short but it may provide additional info helpful in resolving the problem:
- Using an improper file system. This means you might need to reformat it and, unfortunately, lose your files.
- Miscellaneous causes are usually apps and services you may have running on your computer. Clean booting your PC might just provide an answer.
Solution 1: Clean Boot
If you are experiencing problems with a hard drive other than the one where your system is currently located or if the scale of the error is not severe enough to prevent you from booting your computer, you can always use the clean boot method.
Clean boot makes sure you disable all third-party apps and services from starting up and you check whether the problem persists. If it doesn’t, you turn on the apps one by one to see which one causes issues!
- Use the ‘Windows + R’ key combination on your keyboard. In the ‘Run’ dialog box type ’MSCONFIG’ and click ‘OK’.
- Click on the ‘Boot’ tab and uncheck the ‘Safe Boot’ option (if checked).
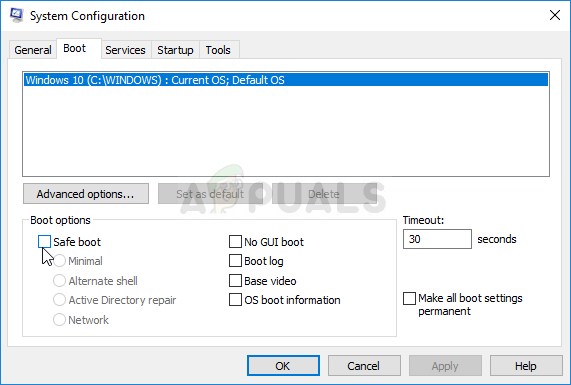
- Under the General tab in the same window, click to select the Selective startup option, and then click to clear the Load startup items check box to make sure it’s not checked.
- Under the Services tab, click to select the Hide all Microsoft services check box, and then click ‘Disable all’.

- On the Startup tab, click ‘Open Task Manager’. In the Task Manager window under the Startup tab, right click on each startup item which are enabled and select ‘Disable’.

- After this, you will need to perform some of the most boring processes and that is enabling the Startup items one by one and restarting your computer. After that, you need to check whether the error appears again. You will need to repeat the same process even for the Services which you have disabled in Step 4.
- Once you locate the problematic startup item or service, you can undertake action in order to solve the problem. If it is a program, you can reinstall it or repair it. If it is a service, you can disable it, etc.
Solution 2: Try Formatting the Drive to Other File System
If the cause for the error is mere mistake in the file format which could have occurred because of a variety of different things, you can also easily format the drive into a different file system such as NTFS for hard drives and exFAT for USB drives in order to resolve the problem. Even though this method will save your hard drive, it will also delete all data on it so make sure you know what you are getting into!
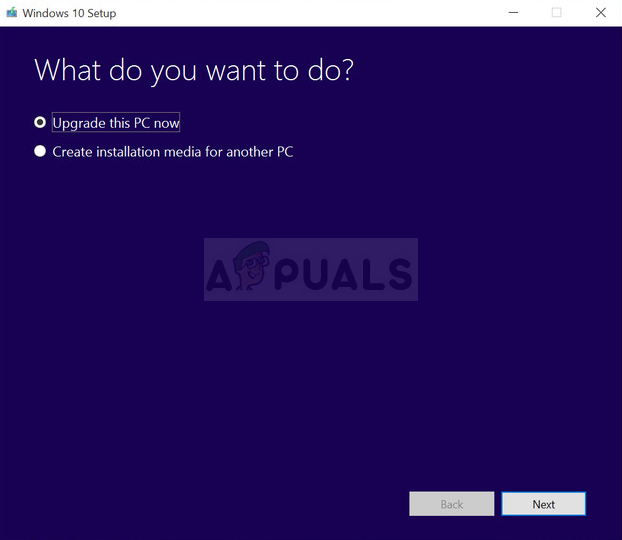
The solution below assumes you have a functioning Windows recovery drive which is necessary if you can’t access your hard drive or PC properly. If you don’t have it, check out just how to create it easily for Windows 10:
- Download the Media Creation Tool software from Microsoft’s website. Open the downloaded file you just downloaded and accept the terms and conditions.
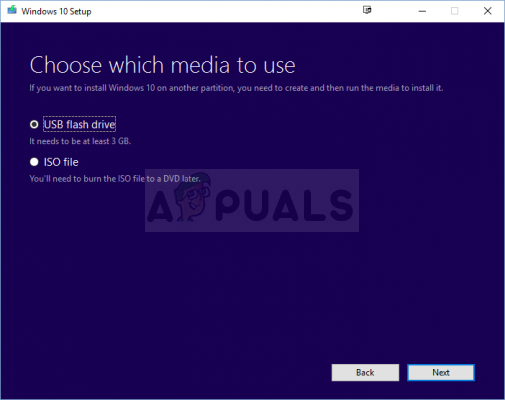
- Select the Create installation media (USB flash drive, DVD, or ISO file) for another PC option from the initial screen.
- The language, architecture, and other settings of the bootable drive will be chosen based on your computer’s settings, but you should uncheck the Use the recommended options for this PC in order to select the correct settings for the PC which has the password attached to it (if you are creating this on a different PC, and you probably are).
- Click Next and click on the USB drive or DVD option when prompted to choose between USB or DVD, depending on which device you want to use to store this image on.
- Click Next and choose the USB or DVD drive from the list which will show the storage media connected to your computer.
- Click Next and the Media Creation Tool will proceed to download the files necessary to install create the installation device.
Now you can starting working on the solution!
- If your computer’s system is down, you will have to use the installation media used to install windows for this process. Insert the installation drive you own or which you have just created and boot your computer.
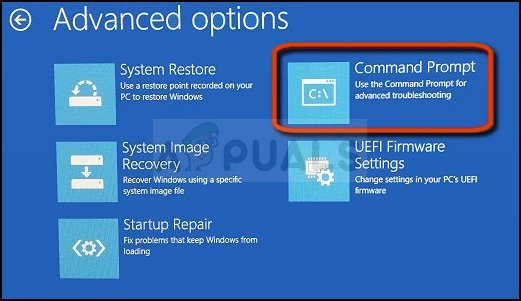
- You will see a Choose your keyboard layout window so choose the one you want to use. The Choose an option screen will appear so navigate to Troubleshoot >> Advanced Options >> Command Prompt.
- Otherwise, simply search for Command Prompt, right-click on it, and choose Run as administrator. At the command prompt window, type in simply “diskpart” in a new line and click the Enter key in order to run this command.
- This will change the Command Prompt window to enable you to run various Diskpart The first one you will run is the one which will enable you to see the complete list of all available drives. Type this in and make sure you click Enter afterwards:
DISKPART> list disk
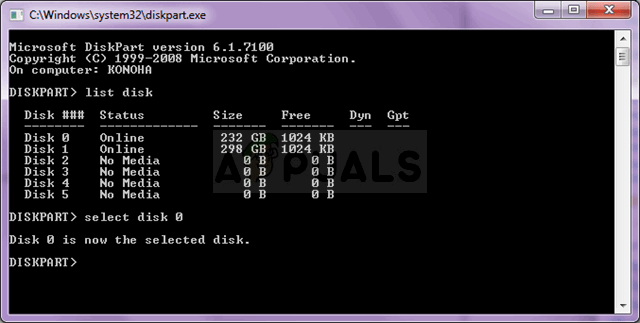
- Make sure you choose your drive carefully, depending on which number is assigned to it in the list of volumes. Let’s say that its number is 1. Now run the following command in order to select your required drive:
DISKPART> select disk 1
- A message should appear saying something like “Disk 1 is the selected disk”.
Note: If you are unsure about which drive number belongs to your USB device, the easiest way to do so is to check its size at the right pane. Additionally, it’s the same number which appears in the “Where do you want to install Windows?” window where the error originally occurs.
- In order to clean this volume, all you need to do is to type in the command displayed below, click the Enter key afterwards, and stay patient for the process to complete. The process should now be successful for a change. This set of commands will also create a Primary Partition and make it active so that you can format it without problems.
Clean
Create Partition Primary
Active
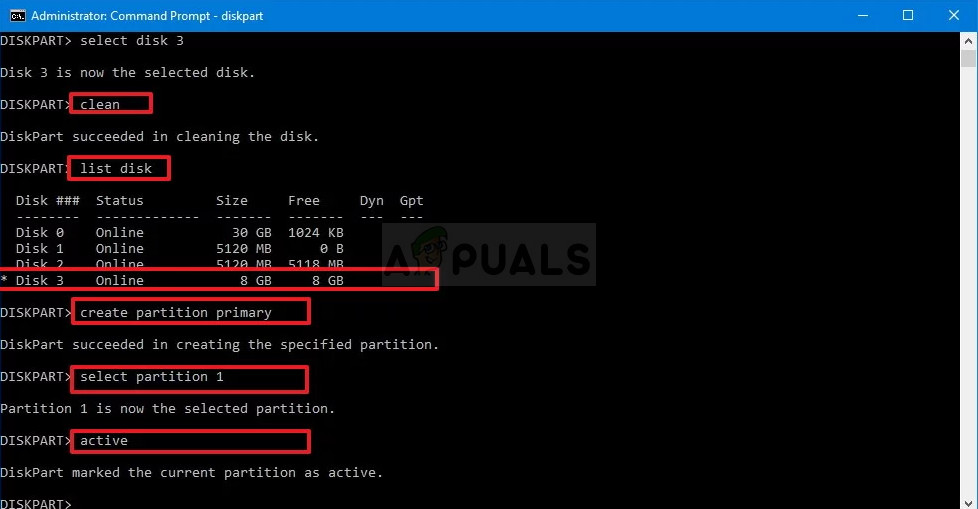
- Finally, this last command will format the drive in the file system you choose. When considering the file system, the rule of thumb is to choose FAT32 for drives up to 4 GB of storage and NTFS for larger volumes. Let’s say you chose NTFS! Type in the following command and tap Enter afterwards:
format fs=ntfs
- Exit Command Prompt and check to see if your device has been successfully formatted and ready to use!


