How to Fix Calendar Missing in Microsoft Teams on Windows 10?
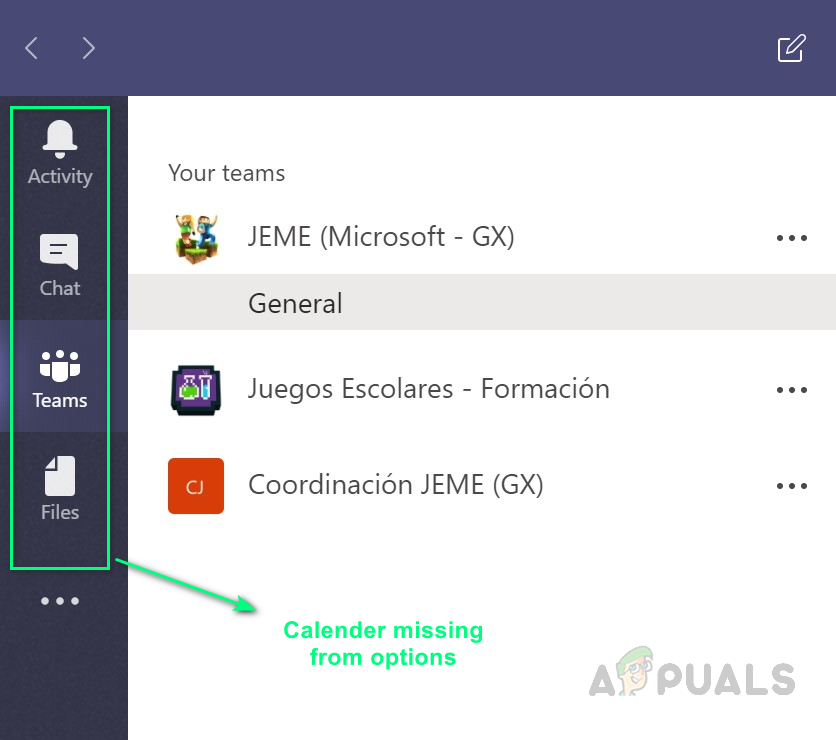
Microsoft Teams application has one main calendar in general which is assigned to you individually or your entire group/organization. An individual or group member can add meetings or events to this calendar that automatically show up in the calendar for others connected to the same Microsoft Teams group. Recently users have started to report that their calendar on Microsoft Teams is missing which is quite troublesome for business or work proceedings. Users can not find the “calendar” option in their MS Teams menu bar as shown in the image below:
What Causes Calendar Missing in MS Teams?
We have listed the causes of this problem after reviewing the user’s feedback and technical authorities in detail. This problem may arise due to any of the following reasons:
- Related Policy Change: Calendar settings (Outlook or MS Teams) are driven by Administrative Policy. There is a chance that someone changed the related policy which disabled the calendar option. Due to which, it is missing from the Microsoft Teams menu.
- Web Services Protocol: If your organization has disabled Exchange Web Services Protocol then you are most likely to face this problem since Microsoft focused on privacy & control while developing Microsoft Teams.
- On-Premises Mailboxes: The calendar feature works for your on-premises mailboxes only. If you want the calendar feature to work with Microsoft Teams, it must be given access to your Exchange Organization’s on-premises mailboxes. Most users are not aware of this fact and thus face the problem under consideration.
Now that you know the possible causes behind the problem, you may jump to the solutions given below.
Solution 1: Fix MS Teams App Setup Policy
As discussed in the causes, calendar settings are driven by MS Teams Administrative Policy. Someone may have changed it that is causing the disappearance of the calendar option from the MS Teams menu. Many users found this solution helpful as their MS Teams Admin policy was altered in one way or another. Follow the steps given below to fix MS Teams Admin Policy from MS Teams Admin Center:
- Sign in to the official Microsoft Teams Admin Center as an Office 365 Administrator.
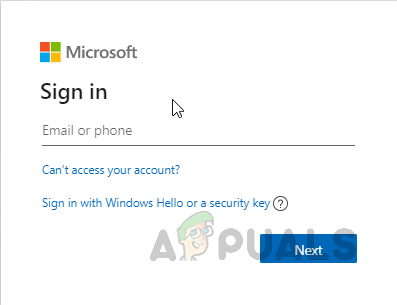
Providing User Login Credentials - Click Users in the left pane and then select your account. This will open a window that contains all settings related to your account i.e. General, Policy, etc.
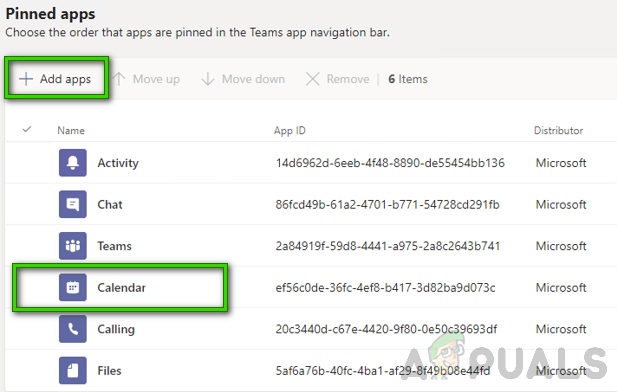
- Click on the Policies tab, available on your account information page and select Global (Org-wide default) under the App setup policy section. This will open MS Teams policy that contains settings for the MS Teams application i.e. Activity, Chat, Teams, Calendar, etc.
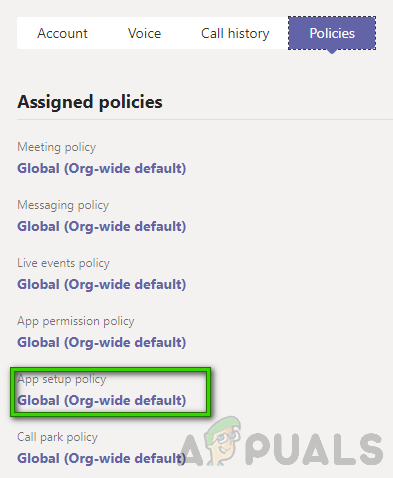
Selecting App Setup Policy - On this page, all options are listed which appear in MS Teams default menu. Under Pinned apps, check whether the calendar is on the list or not. In case it’s not then click Add apps and select Calendar. This will add the calendar option in the default menu of MS Teams.
Adding Calendar in MS Teams Menu - Now launch Microsoft Teams and you should see the calendar option in the default menu. This should fix your problem.
Solution 2: Checking Exchange Web Services Protocol
If the above solution did not work for you then there is a strong possibility that your organization has disabled Exchange Web Services Protocol, ultimately causing the problem. In that case, you need to contact your IT expert and ask him to enable Exchange Web Services Protocol by following the steps given below. This solution proved to be helpful for many business personnel on the internet.
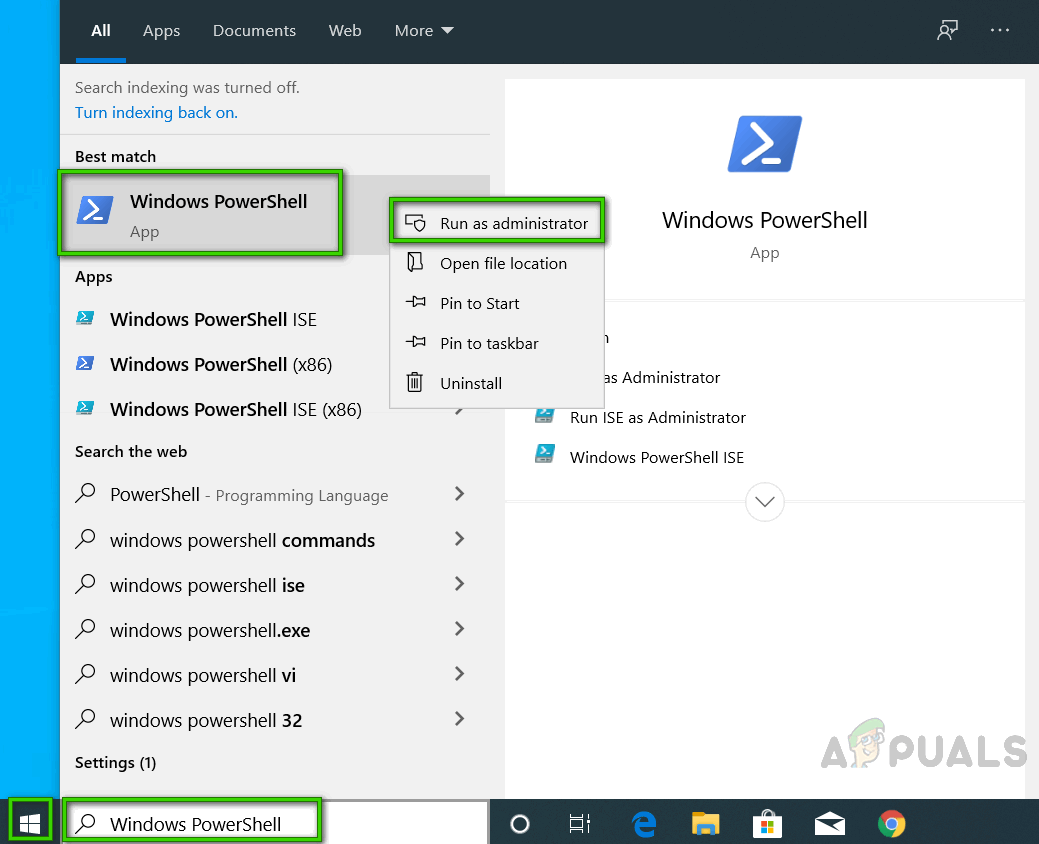
- Click Start and search Windows PowerShell. Then right-click on the result and select Run as Administrator. This will run Windows PowerShell utility with admin privileges.
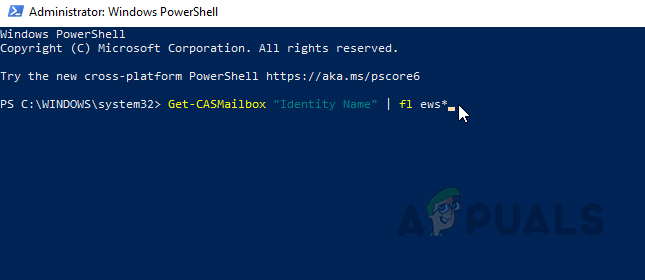
Running Windows PowerShell as Administrator - Copy-paste the command given below in Windows PowerShell and press Enter. This will return a variety of client access settings for one or more mailboxes. Check whether EwsEnabled is false or true. In case it’s false then this is an intended solution and you may jump to step 3. Otherwise, Exchange Web Services are already allowed by your organization thus, disregard this solution and move to the next one.
Get-CASMailbox "Identity Name" | fl ews*
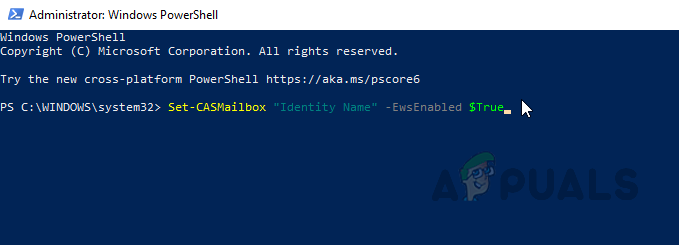
Running Command in Windows PowerShell - Copy-paste the command given below in Windows PowerShell and press Enter. This will enable Exchange Web Services Protocol which will enable the calendar feature in the default menu of MS Teams.
Set-CASMailbox "Identity Name" -EwsEnabled $True
Enabling Exchange Web Services - Now launch Microsoft Teams and you should see the calendar option in the default menu. This should fix your problem.
Solution 3: Allow Exchange On-Premises Mailboxes (For Cloud Users)
As discussed in the causes, the Calendar feature works for your on-premises mailboxes only. If you want the calendar feature to work with Microsoft Teams, it must be given access to your Organization’s Exchange On-Premises Mailboxes. This solution may sound complex to many but it has been reported to be the final workaround for many users online.
Before jumping right into the solution steps, there are some requirements in order to confirm the succession of this solution. These are discussed below:
- Users must be synchronized with the Azure Active Directory (organizational).
- The user must have a working Exchange on-premises server mailbox.
- Exchange Server must have a hybrid connection.
- Exchange Server must be running Exchange Server 2016 or above.
- OAuth authentication must be configured.
For Cloud users, the calendar feature in MS Teams is connected to their Exchange Online (EXO) calendar. In other words, when you schedule a meeting in Outlook, it’ll show up in MS Teams and vice versa. Once requirements are met, you must ask your organization (IT Expert) to allow MS Teams to be given access to your Exchange on-premises organization for both Autodiscover and EWS. The following information will help your organization throughout the process:
- Autodiscover and EWS URLs should be available from the Internet (directly accessible from your Web Browser). Pre-Auth is not supported and if you use some sort of publishing system, you will need to configure pass-through.
- OAuth authentication should be configured and working between your O365 tenant and Exchange on-premises. To make this work, we highly recommended running the Hybrid Configuration Wizard (HCW) to configure in a full hybrid environment. Please make sure to run the latest CUs on-premises as per our Hybrid requirements.