Fix: api-ms-win-core-timezone-i1-1-0.dll is missing from your computer
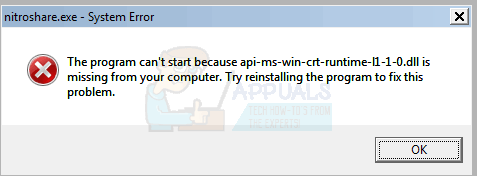
When opening programs like Internet Explorer or a game in Windows, you may encounter the error message telling you that a program won’t open because the API-ms-win-core-timezone-l1-1-0.dll file is missing. Sometimes, it’s suggested that you reinstall the program, which can be a potential fix to the issue. The name of the program should also be visible on the top tile, as seen in the image below. The error is related to nitroshare.exe
This error can be caused if Microsoft Visual C++ Redistributable is not installed, or the DLL file is absent due to unapplied updates, or the Lync Add-On in Internet Explorer – that is if you get this error in Internet Explorer. It is also recommended to temporarily disable your antivirus application if you are installing a program. AVG antivirus is especially known to cause this issue. Therefore, disable any and all forms and extensions of the antivirus.
If you’re unable to reinstall the application, this guide will teach you how to get the issue solved.
Method 1: Installing Microsoft Visual C++ Redistributable
Microsoft Visual Studio 2015 creates a dependency on the Universal CRT (C Runtime) when applications are built by using the Windows 10 SDK (Software Development Kit). Installing Microsoft Visual C++ Redistributable will make the api-ms-win-core-timezone-i1-1-0.dll file available for your application to use. Installing it is fairly easy.
- Download Microsoft Visual C++ Redistributable to your computer. Be sure to select the right version for your architecture. x64 for 64 bit and x86 for 32 bit.
- Also, download Microsoft Visual C++ Redistributable 2012 from here and make sure to select the right version.
- Go to the download location and open vc_redist.x64.exe or vc_redist.x86.exe as an administrator.
- Follow the prompts to install the application to your computer.
Method 2: Updating Windows
Windows Update KB2999226 is an update for Universal C Runtime in Windows and applies a fix to the issue by installing all additional required DLLs on the system. This update allows applications that depend on the Windows 10 Universal C Runtime release to run on earlier Windows operating systems. It’s also important to install all pending updates on your PC.
This update works for Windows Server 2012 R2, Windows 8.1, Windows RT 8.1, Windows Server 2012, Windows 8, Windows RT, Windows Server 2008 R2 Service Pack 1 (SP1), Windows 7 SP1, Windows Server 2008 Service Pack 2 (SP2) and Windows Vista SP2. Here’s how to apply Windows Update KB2999226.
- Download the update package from the link which corresponds with your OS and architecture.
- Launch the update package you downloaded and wait while it installs in the background. You can view the installed update in Windows Updates.
- Alternatively, you can do this from Windows Updates, which in this case is important to install all the pending updates.
- Click on the Start Button and type ‘Windows Updates’ and then hit enter.

Check For Updates in Windows Search Box - Click ‘Check for Updates’ and then wait while Windows searches for updates for your PC.
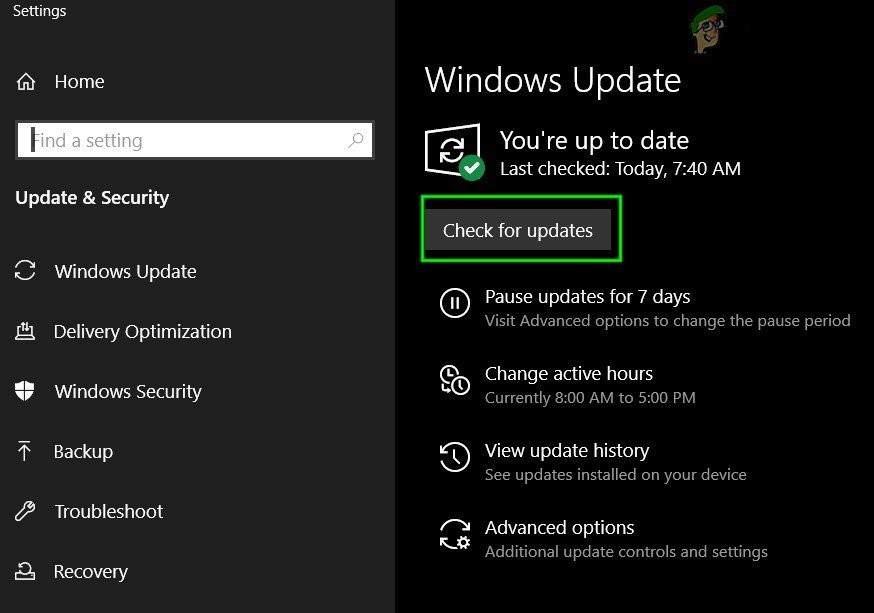
Check For Updates in Windows Update - If there are updates, you’ll see a message telling you that important or optional updates are available, or telling you to review important or optional updates, click the message to view the updates to install.
- Search for “KB2999226” in the updates list, select and install it. Else if you want to install all the updates enable the checkboxes for the updates Important or Optional, and then click Install.
Method 3: Disabling Microsoft Lync Add-On in Internet Explorer
For some users, this error started to appear after updating Microsoft Office. Disabling Lync add-on in IE solves the issue.
- Open Internet Explorer by typing “IE” in your start menu and pressing Enter.
- Click on the Settings button at the upper-right side of the screen and select Manage Add-ons.
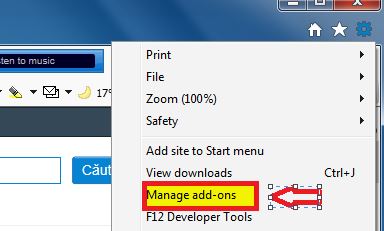
- Right-click Lync Click to Call and Lync Browser Helper and then select Disable Add-On.
- Restart your PC and check if the error still persists.
Method 4: Downloading and Applying Files Manually
In some cases, the files might still not be recognized and the only alternative left is to add them manually. In order to do that:
- Navigate to this site.
- Download both the 32-bit and 64-bit files.

Downloading Files - Place the files as indicated below.
If Using 32-bit Windows:
Place 32-bit dll file in C:\Windows\System32

If Using 64-bit Windows:
Place 32-bit dll file in C:\Windows\SysWOW64
Place 64-bit .dll file in C:\Windows\System32
- After doing as instructed above, check to see if the issue persists.
Note: In some cases, users reported that the error was fixed by running the AVG uninstall tool on their computers.