How to Fix “Failed to Create Lobby” Errors in Helldivers 2
When attempting to join or create a lobby in Helldivers 2, players often encounter an endless loop of “Failed to Create Lobby” errors. This issue typically arises after the introductory cinematic or when trying to join a squad at random, leaving players unable to progress or access the game.
The most common cause appears to be server connectivity or configuration issues, as the problem often emerges immediately after updates or during peak server load times.
Local network issues or specific settings on a player’s system that interfere with the game’s online features might also contribute to this problem. Some players have found success in overcoming this error by restarting their routers or modifying network settings, which suggests a notable role for network-related issues.
1. Check for Server Outage
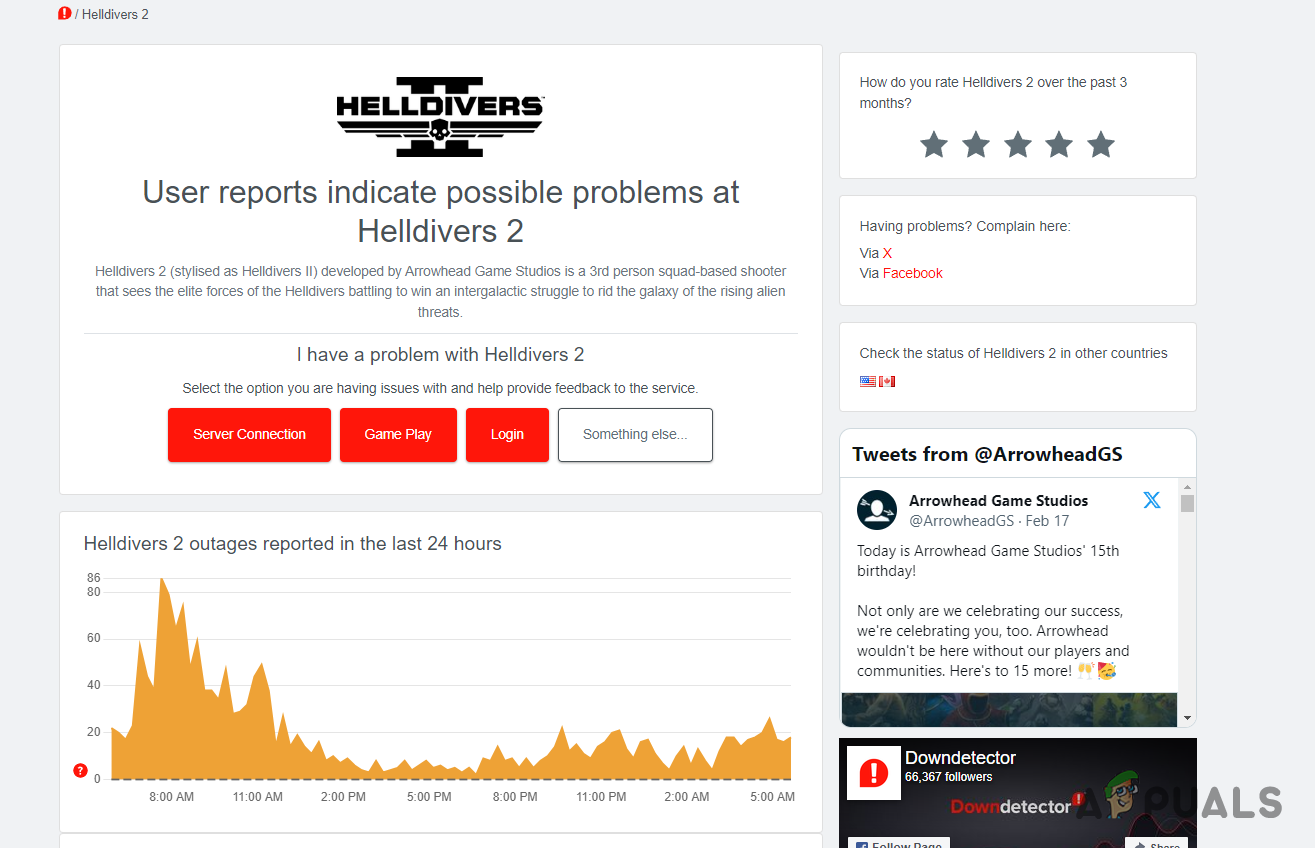
The first step is to check for a server outage when you face the aforementioned error message. If the Helldivers 2 servers are overwhelmed by an influx of player connections, they won’t be able to establish new connections.
In such instances, you must wait for the server outage or the overall excess in player connections to diminish. While there is no official platform to verify server outages for Helldivers 2, you can visit the official Helldivers 2 X (formerly Twitter) handle or employ third-party services like DownDetector to check.
2. Switch Network Connection
Switching your network connection could help circumvent the “Failed to create lobby” error message. This is particularly useful if you are connected wirelessly.
Changing your network connection will allow you to establish a link to the Helldivers 2 servers from a different access point, giving your computer a new IP address.
For instance, activate your mobile hotspot if you are on a wired connection, and connect your device to it to test if the error persists. If you are using a wireless connection, try switching to a wired connection and attempt to access the game again.
3. Change DNS Server
The Domain Name System (DNS) server might be behind the error message in Helldivers 2. This can happen if the game’s network request cannot be resolved by your network’s DNS server.
To rectify such issues, consider changing the DNS server settings on your computer. You can opt for free public DNS servers provided by Google or Cloudflare as alternatives.
- Press the Win key + I to open the Settings app on your keyboard.
- Navigate to Network and internet > Advanced network settings.
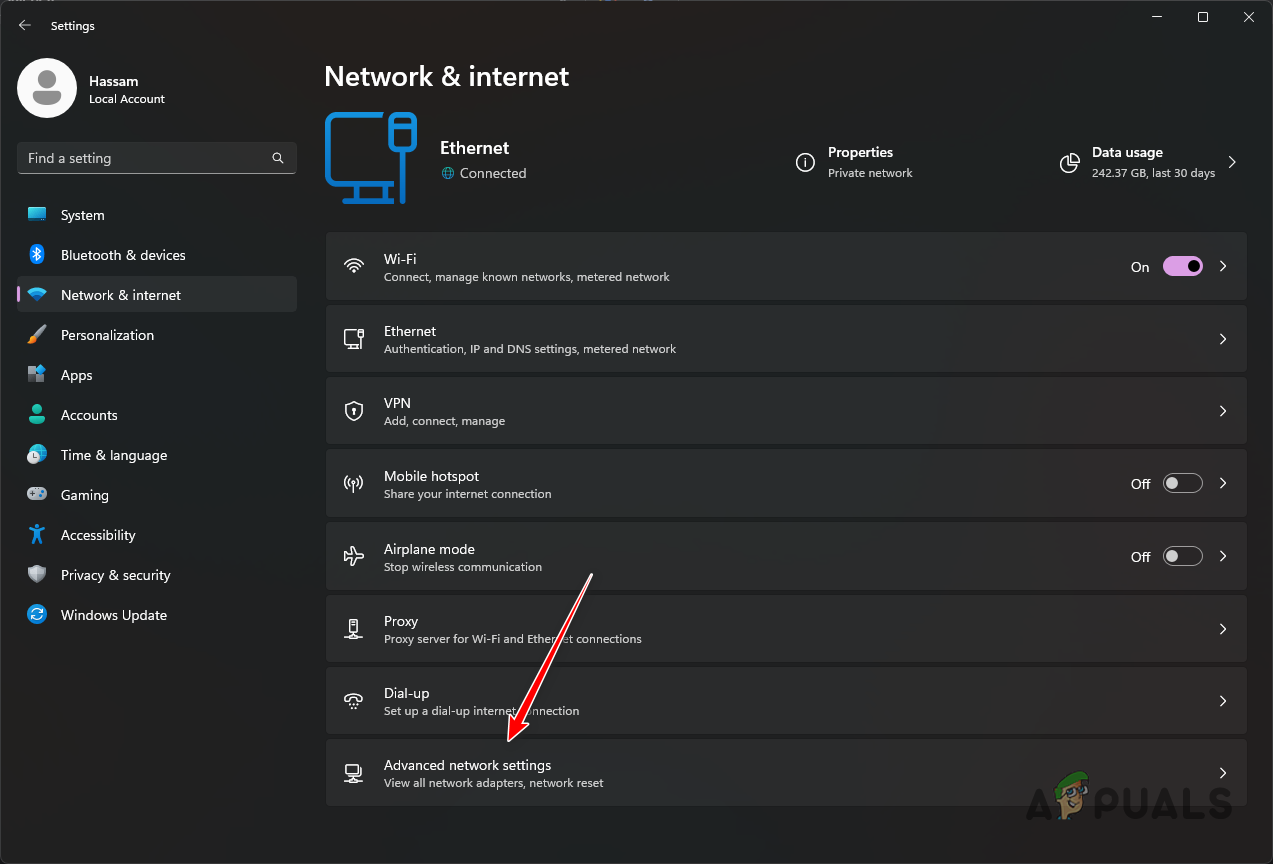
Opening Advanced Network Settings - Expand your network adapter options by clicking the down arrow.
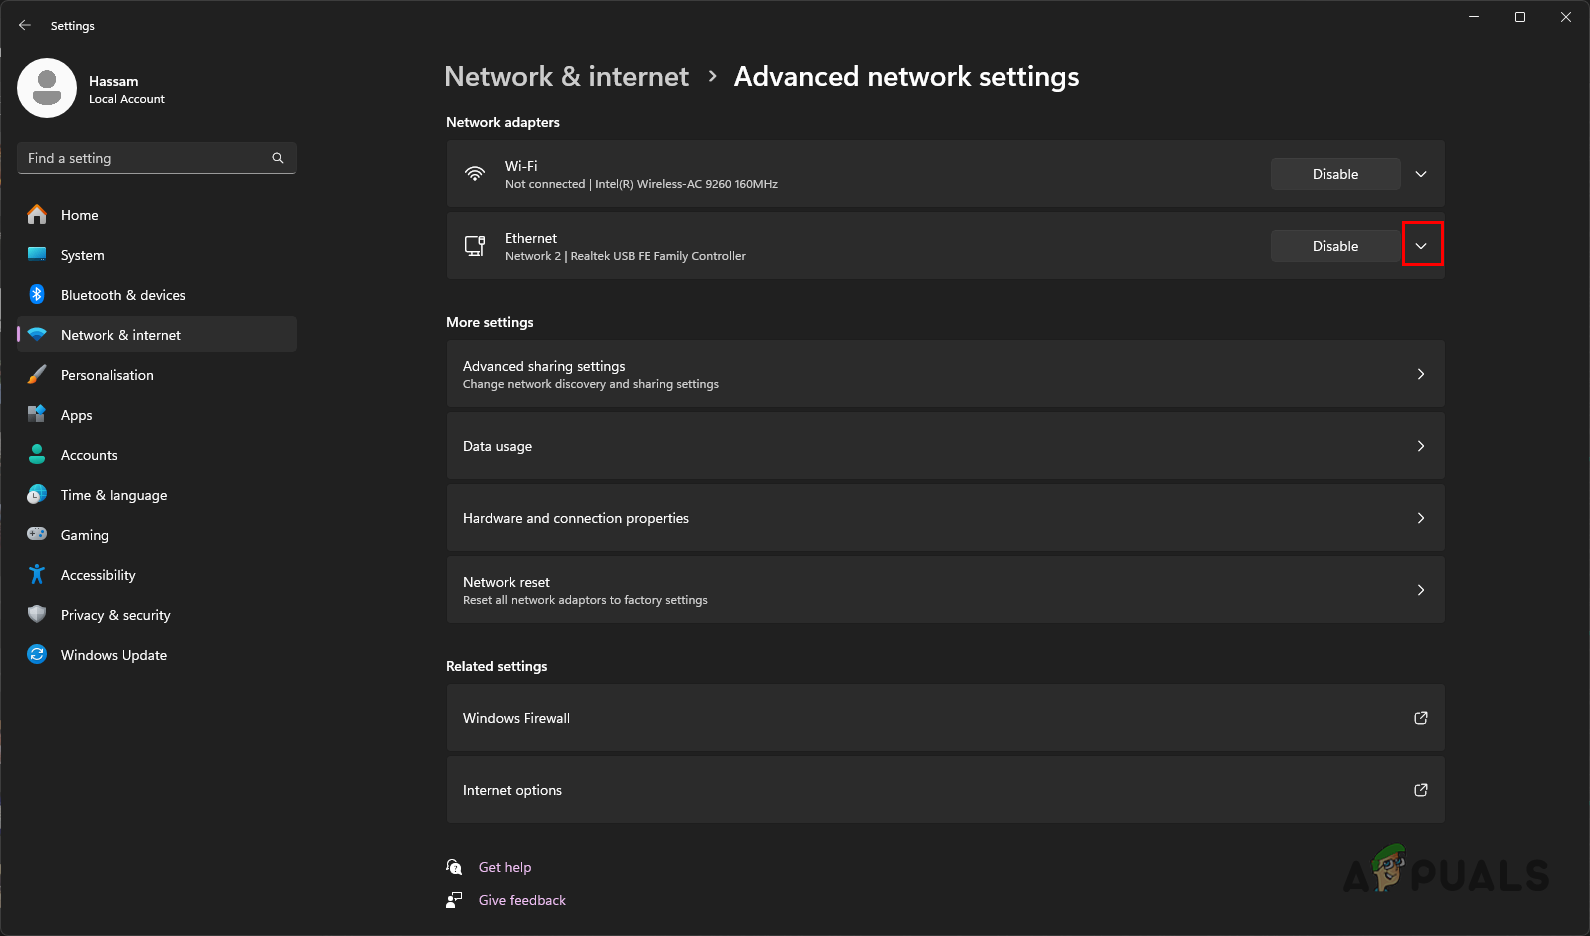
Revealing Additional Network Adapter Options - Select the Edit option under More adapter options.
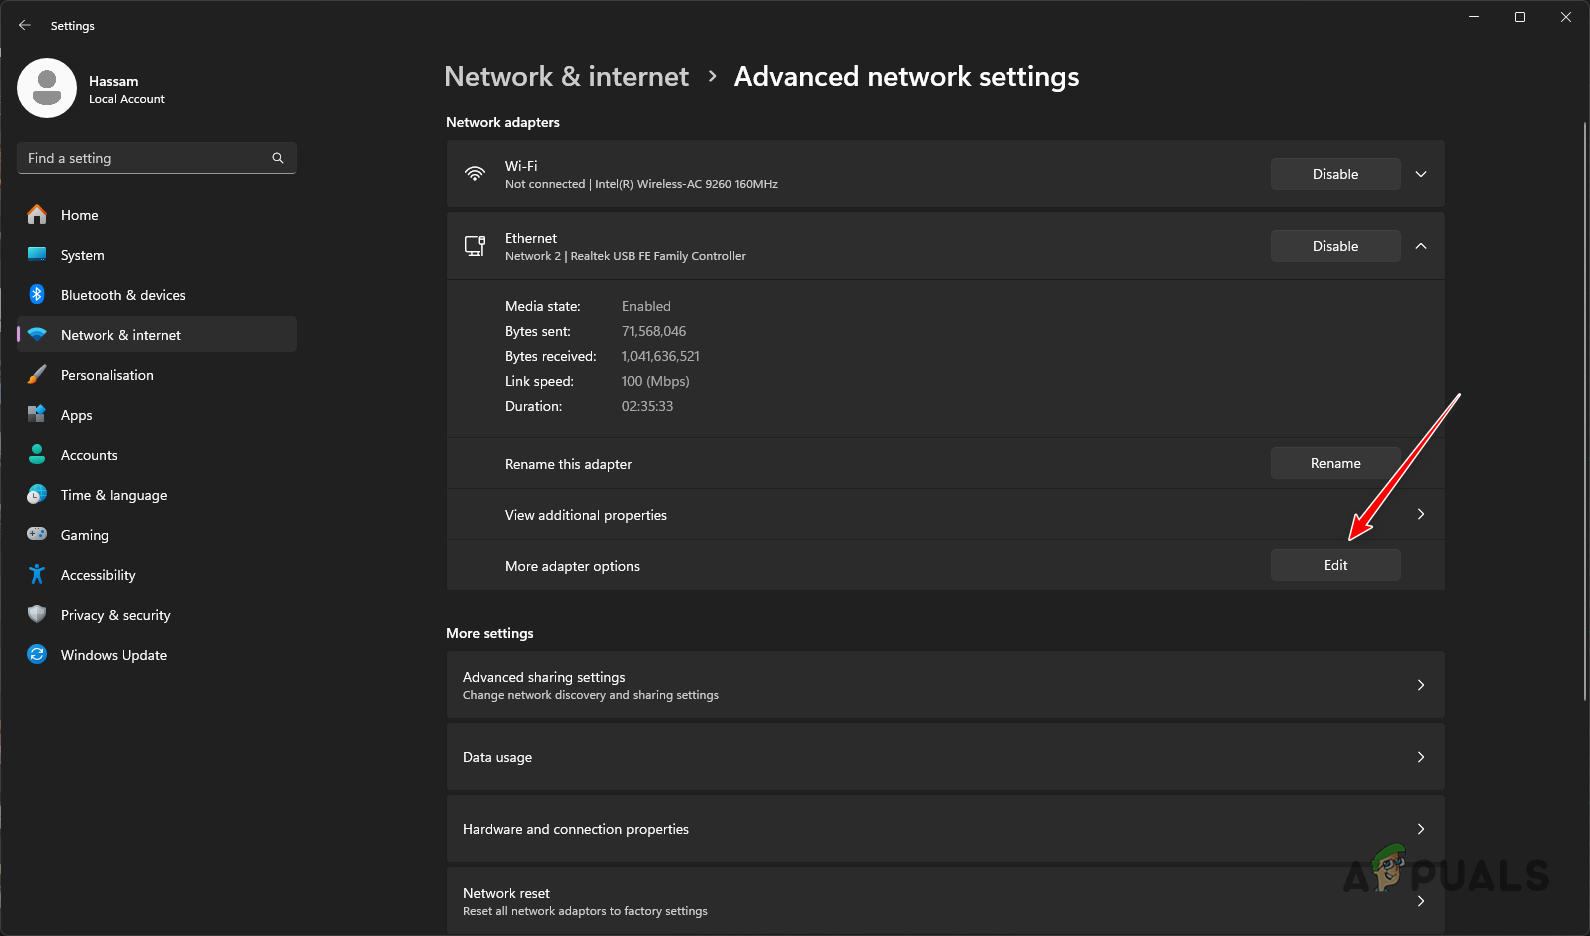
Opening Network Adapter Properties - Double-click Internet Protocol Version 4 (TCP/IPv4).
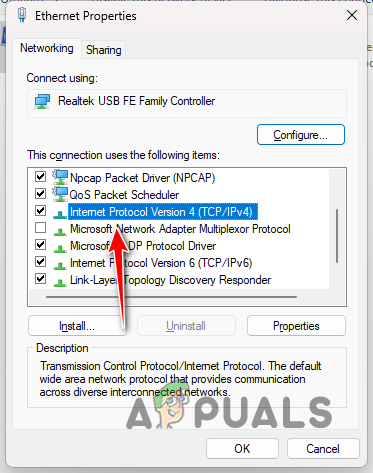
Opening IPv4 Properties - Choose the Use the following DNS server addresses option.
- Enter the Google or Cloudflare DNS server addresses:
Google: 8.8.8.8, 8.8.4.4
Cloudflare: 1.1.1.1, 1.0.0.1
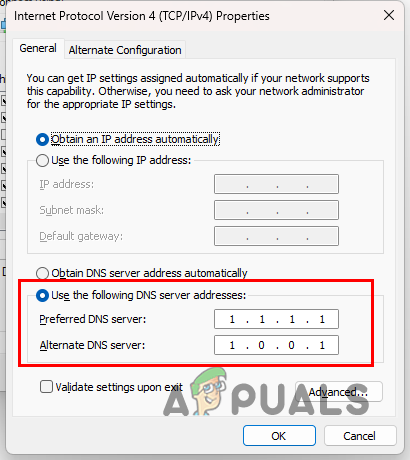
Changing DNS Server - Click OK.
- Restart the Steam client and check if the issue has been resolved.
4. Restart Router
Restarting your router can help resolve connectivity issues with Helldivers 2. This action clears the device’s cache and establishes a fresh connection with your Internet Service Provider (ISP).
Renewing your public IP address can help address any IP-related flags on the Helldivers 2 servers. To restart the router, press the Power button on the back or unplug the power adapter and plug it back in after a short wait.
5. Use a VPN Service
Employing a VPN service can potentially resolve connectivity inconsistencies by routing your connection through different servers.
A VPN can help you circumvent regional outages specific to Helldivers 2 by providing you with a new online identity.
There are various reputable VPN services for gaming available. Refer to our comprehensive guide for help selecting the right VPN service for you.
After installing a VPN, connect to its servers to see if the problem has been alleviated.
6. Reset Network Settings
Conflicts within your Windows network settings may prevent Helldivers 2 from establishing a correct connection. This could be due to persistent network adapters or other network configurations.
To address this, reset your network settings in Windows. This action will erase your current network configuration and reinstall any network adapters, allowing you to start afresh.
- Open the Settings app using the Win key + I shortcut.
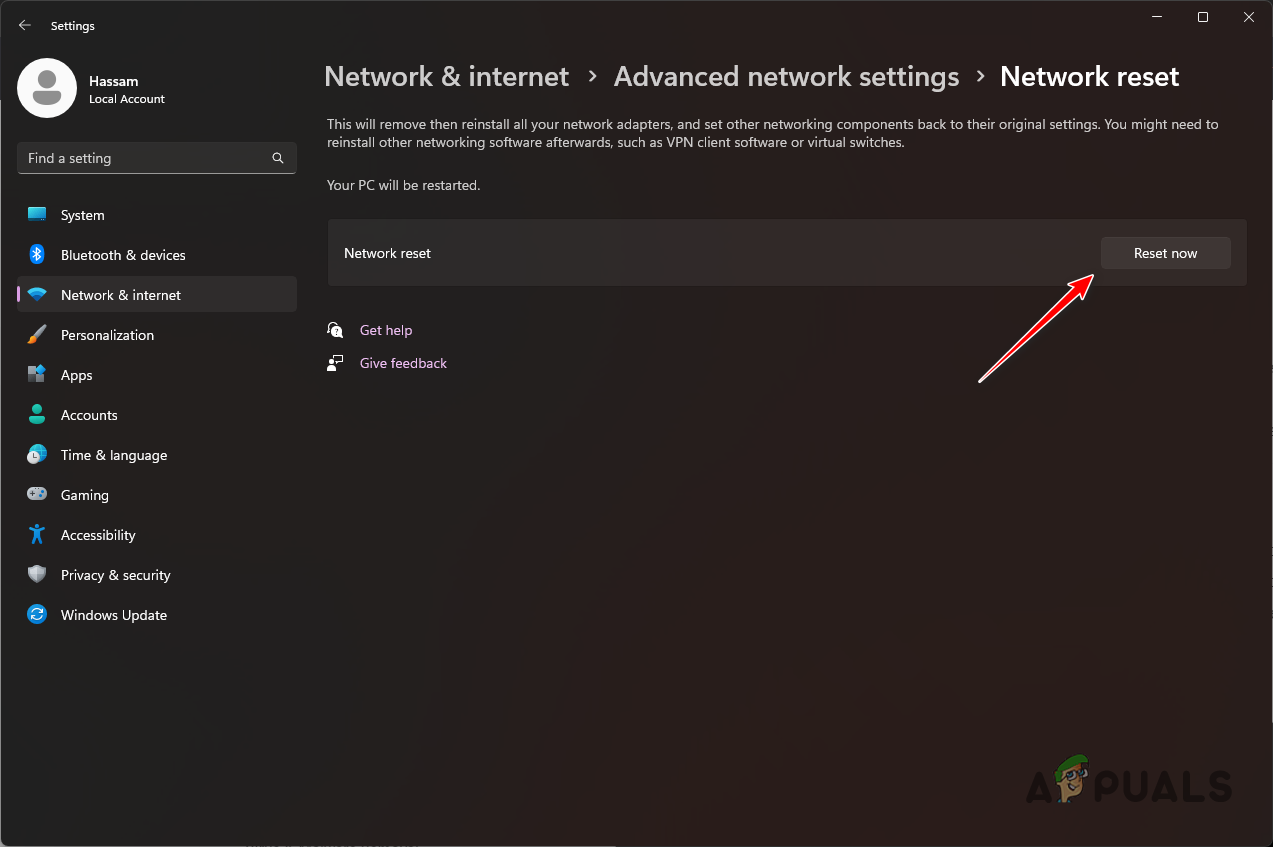
- Proceed to Network and Internet > Advanced Network Settings > Network Reset.
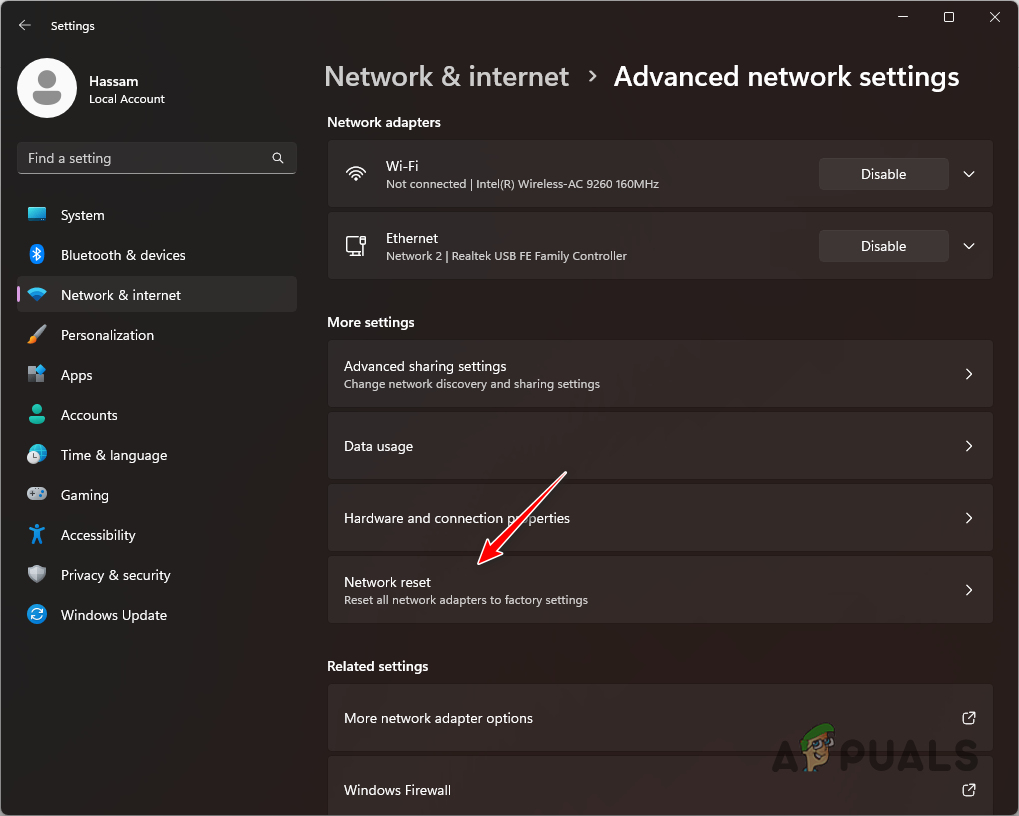
Opening Network Reset Menu - Click Reset now to commence resetting your network settings.
Resetting Network Settings in Windows - Once your PC restarts, verify if the problem has been resolved.
If the issue persists, consider reaching out to the official Helldivers 2 support team for additional assistance.