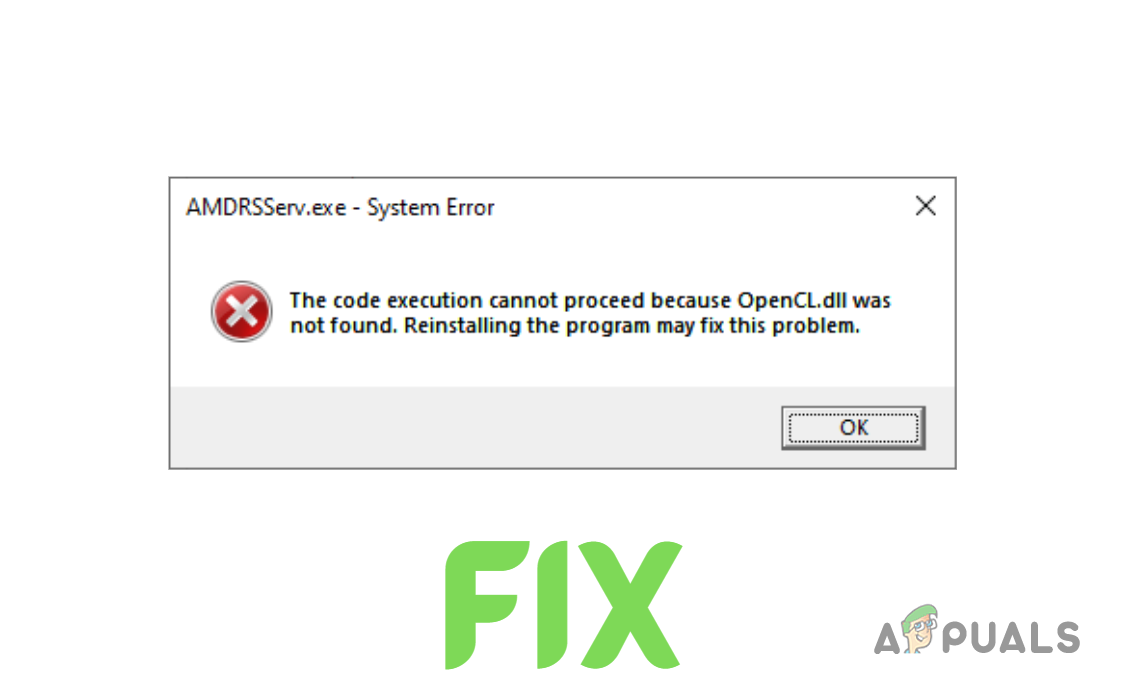
How to Fix AMDRSServ.exe System Error in Windows?
If you’re frequently encountering the AMDRSServ.exe System Error as an AMD user, you’re not alone; many others face this issue. This error often bombards you with a series of alerts accompanied by various messages. The most common message states: “OpenCL.dll was not found. Reinstalling the program may fix this problem.”
What is AMDRSServ.exe?
AMDRSServ.exe is a valid Windows process, a component of the AMD Radeon software that operates the Radeon ReLive feature. This feature enables users to record and stream their gameplay. The file is typically found in the C:/Program Files/AMD/Cnext/Cnext folder. While AMDRSServ.exe is not vital for running Windows, it is necessary for the functionality of Radeon ReLive.
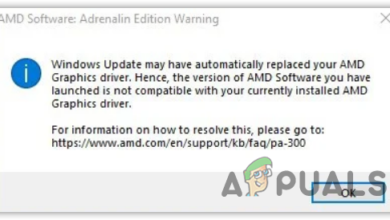
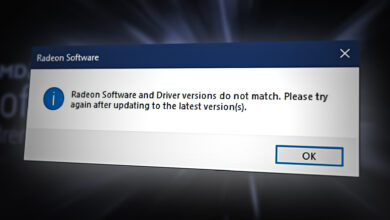
If this executable has issues and you’ve enabled Radeon’s ReLive feature, a system error may occur. This error primarily results from corrupt GPU drivers, or potential system malware infections.
To help you resolve this issue, we’ve created this guide to provide you with the quickest and simplest solutions to resolve this error.
1. Reinstall GPU Drivers
Instead of simply downloading new drivers to replace the current ones, it’s recommended to first completely uninstall your current drivers. This will ensure that there’s no conflict between the new and old driver files.
To do so, you can either use Display Driver Uninstaller (DDU) or AMD Cleanup Utility.
Follow these steps to uninstall drivers using the AMD Cleanup Utility:
- Visit this website and click the download link for the AMD Cleanup Utility file

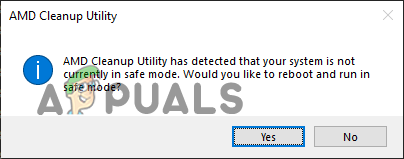
Downloading AMD Cleanup Utility - After the download completes, double-click the file and select “Yes” to reboot the system into Safe Mode.
Rebooting the system into Safe Mode - Wait for your system to restart.
- After your system restarts, press “OK” to remove AMD driver files when prompted.
- Wait for the driver files to be removed from your system. Keep in mind that your screen may flicker and/or go black momentarily during the removal process. If this happens, don’t be alarmed as it is part of the process.
- Once the driver files are successfully removed, press “Finish” and then select “Yes” when asked permission for one last system reboot.
After your system reboots, your GPU drivers will be completely wiped. You now need to reinstall fresh drivers; but to do that, you need to know the exact model of your GPU. If you’re unsure what Graphics Card you have installed in your system, follow this guide.
- Visit this website and use the search bar to search for your exact GPU model.
- Press the SUBMIT button.
- Select the operating system that you’re using on your system.
- Download the latest AMD Software (Adrenalin Edition).
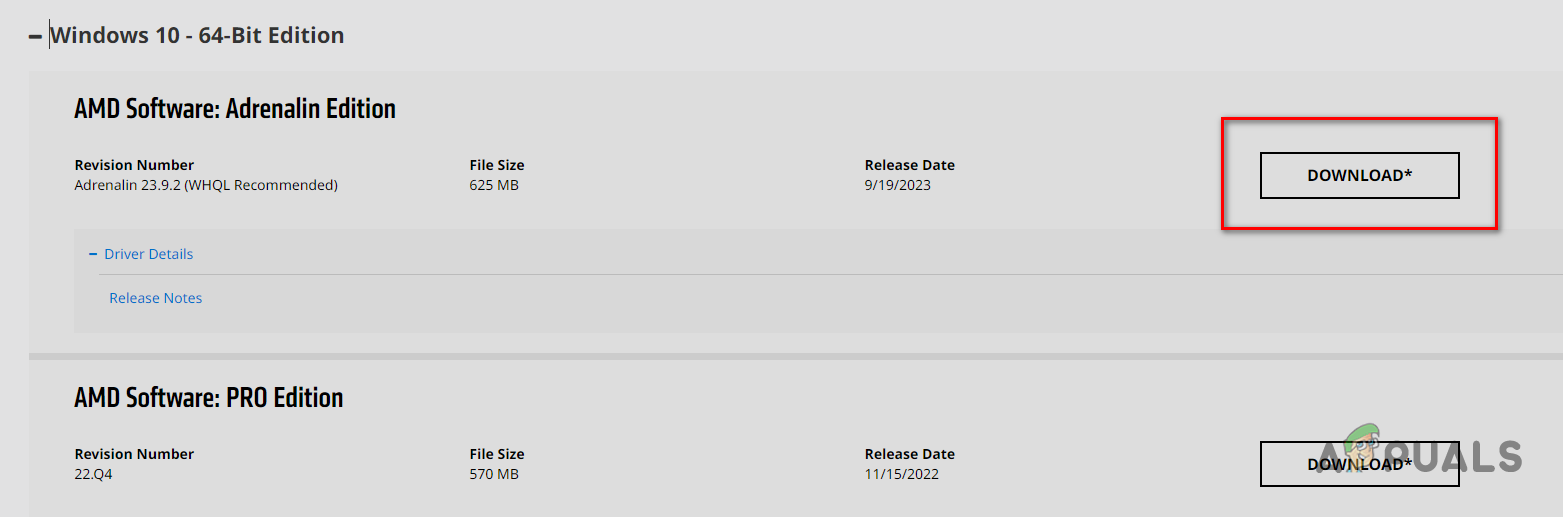
Downloading AMD Software – Adrenalin Edition - Once it’s downloaded, double-click the file to run it.
- Select the destination folder and wait for the AMD Software to install.
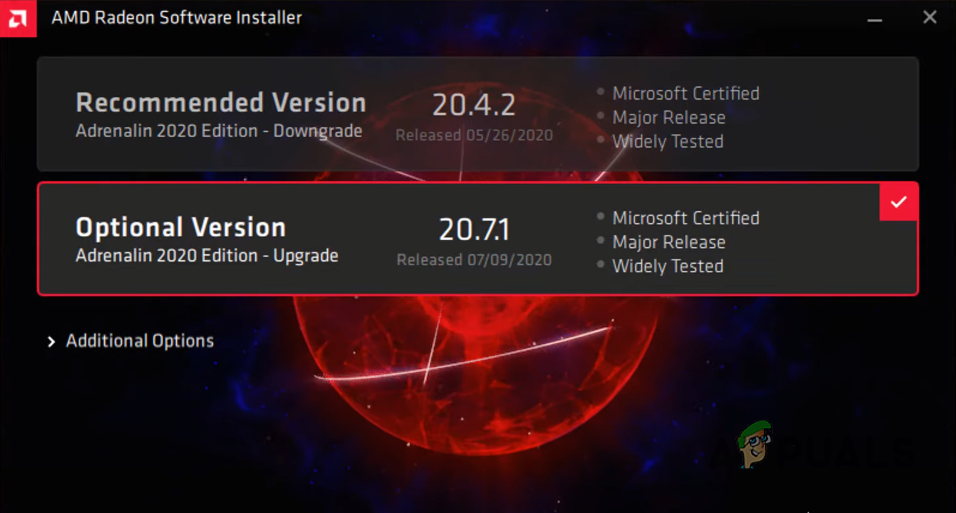
- Once it’s installed, it will show you the latest drivers available for your GPU. Download the newest driver and wait for it to install.
Downloading the Latest GPU Drivers - After the drivers have finished installing, restart your computer
After your computer boots up, the error should no longer pop up. But if it does, try the next solution listed in this guide.
2. Run SFC and DISM Scan
When you perform the SFC and DISM scans, they will thoroughly examine your system and look for any files that are missing or corrupted, such as any Dynamic Link Library (.dll) files. And if any such files are found, they will be replaced automatically from your system’s backup (SFC scan) or from an external source, such as through a Windows update (DISM scan).
Since the error indicates a missing OpenCl.dll file in your system, running scans can resolve the issue by replacing this file on your computer.
To perform an SFC scan, follow the steps we’ve given below:
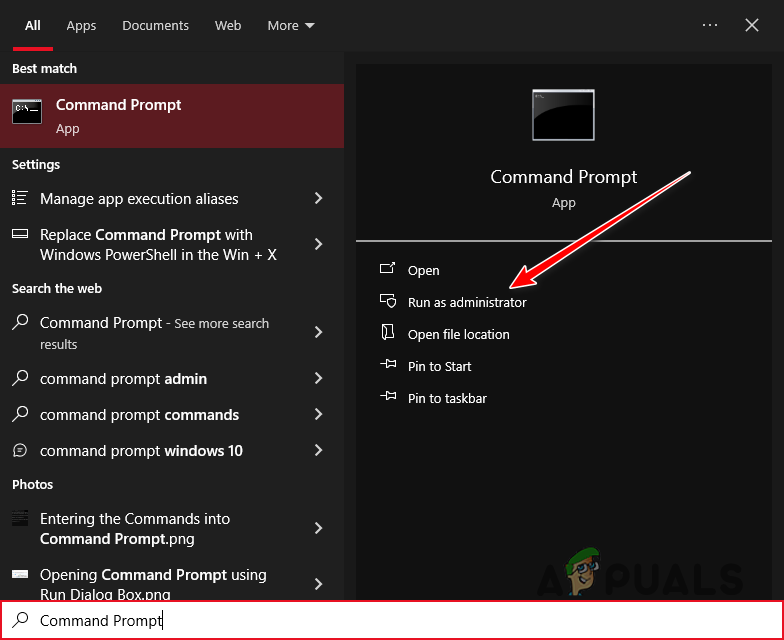
- Press the Windows Key, type Command Prompt, and click on “Run as administrator.”
Opening Command Prompt as an Administrator - Type the following command in the Command Prompt Window and press enter:
sfc /scannow
- Wait for the SFC scan to be completed.
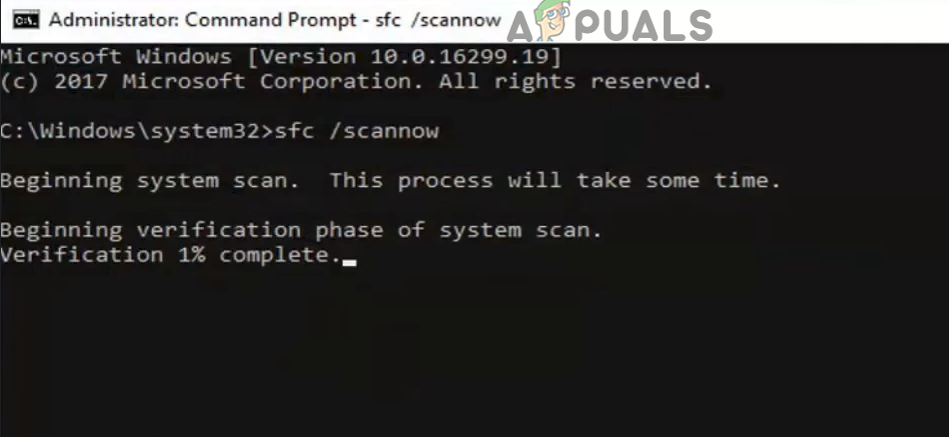
Performing an SFC Scan
Once the scan is completed, it will display a message that will tell you whether it found and replaced any corrupted/missing files.
The DISM scan is even more thorough than the SFC scan, so it will be able to find any system irregularities that the SFC scan looked over.
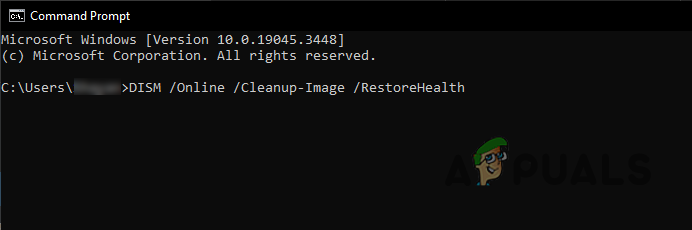
To perform the DISM scan, simply enter the following command into Command Prompt and press enter:
DISM /Online /Cleanup-Image /RestoreHealth
Note: Before performing this scan, make sure that your system has an active internet connection.
Once the scan is finished, restart your system and check whether the error message appears again.
3. Manually Install the OpenCl.dll File
If the SFC and DISM scans didn’t replace the missing file on your system, you will need to do it manually. The DLL files of your system are stored in the System32 folder. Simply download the missing file and locate it there.
But before you do so, you need to check whether your system is 32-bit or 64-bit. To do so, simply press Windows Key + I together and navigate to System > About. In this menu, check your System Type under Device Specifications.

After that, follow the steps below to install the OpenCl.dll file manually:
- Visit this website and download the latest file according to your System Type (32 or 64-bit).
- Place the ZIP file into a new folder, then right-click on the file, and select “Extract/Unzip here.”

Extracting the ZIP File - Right-click on the OpenCl.dll file and select “Cut.”
- Copy this address and paste it into File Explorer’s address bar:
C:\Windows\System32
- Paste the file in this folder.
- Restart your PC.
4. Scan Your System for Malware
If the error persists after DLL file installation, likely, malware is infecting your system, blocking access to the file, and thus, causing the recurring error.
To resolve this issue, conduct a malware scan using a reputable antivirus program on your computer. If already installed, open the program’s menu and initiate the malware scan.
We recommend Malwarebytes for a thorough system scan and complete malware elimination. Refer to our guide for detailed instructions on conducting a malware scan with this program.
5. Renaming the AMDRSServ.exe File
If the above solutions have not resolved the AMDRSServ.exe system error, another method you can try is renaming the AMDRSServ.exe file. This can prevent the system from loading the problematic file on startup, which might be a temporary workaround until a more permanent solution is found or an official update is released that addresses the issue. Here’s how to do it:
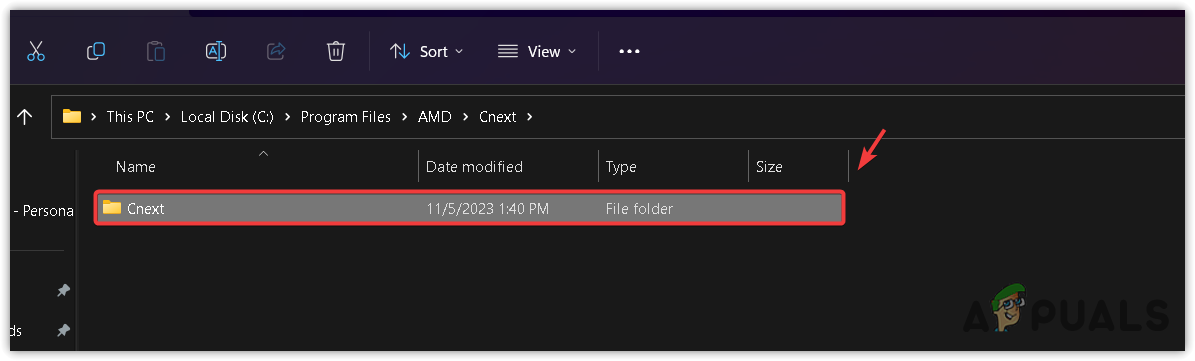
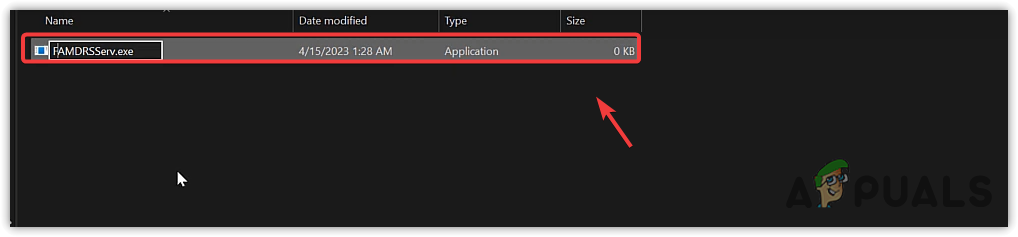
- Open File Explorer by pressing Windows Key + E on your keyboard. Navigate to the directory where the AMDRSServ.exe file is located, which is usually:
C:\Program Files\AMD\CNext\CNext
- Locate the AMDRSServ.exe file. Before proceeding, ensure that no AMD-related programs are running in the background.
- Right-click on the AMDRSServ.exe file and select Rename from the context menu.
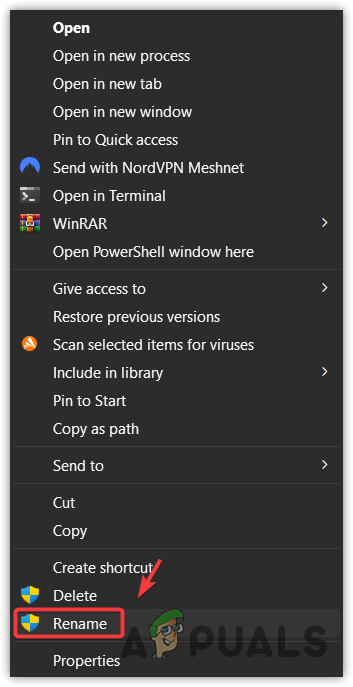
- Change the filename by adding any alphabet or number. For example, you could rename it to FAMDRSServ.exe. This change will prevent the system from recognizing and running the file in its original form.
- Press Enter to save the renamed file.
- Restart your computer to apply the changes.
After completing these steps, your system will no longer attempt to run the AMDRSServ.exe file on startup, which should prevent the error message from appearing. Keep in mind that this is a workaround and it may disable certain functionalities associated with the AMD Radeon software, such as the Radeon ReLive feature. If an update from AMD becomes available that addresses this error, it is recommended to rename the file back to its original name before applying the update to ensure proper installation and functionality.
Contact AMD Customer Support
If you’ve followed the previous solutions, including renaming the AMDRSServ.exe file (as described in Method 5), and the system error persists, it may be time to seek assistance from AMD Customer Support. Their team has the expertise to provide guidance on complex issues that aren’t resolved through standard troubleshooting steps.
To contact the AMD Customer Support Team, follow the steps below:
- Visit the AMD Support website.
- Select your preferred language and wait for the form to load.
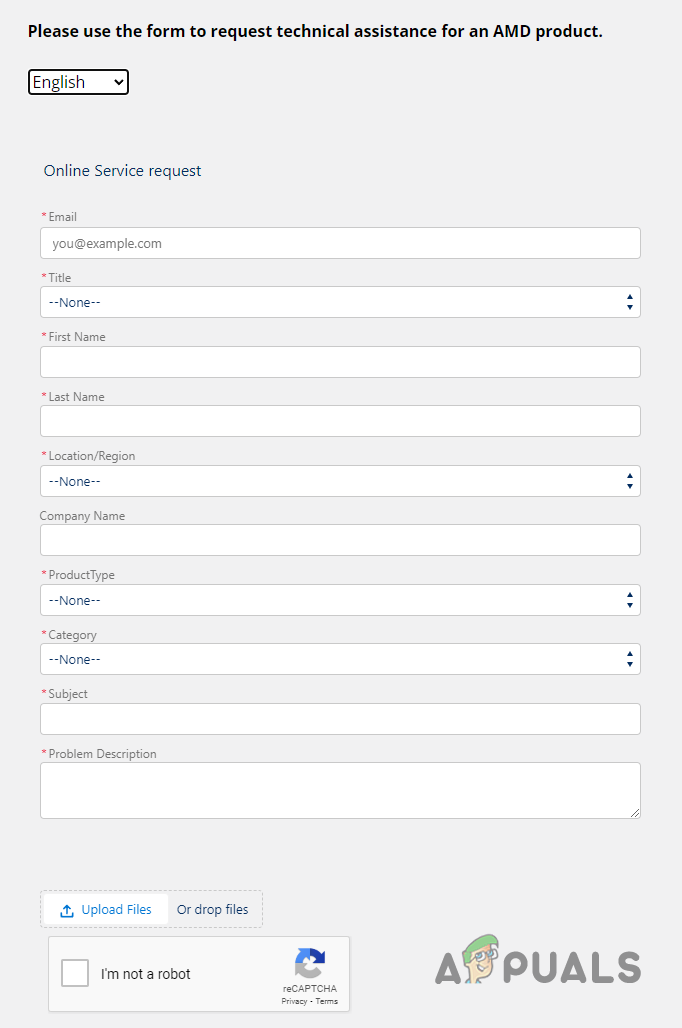
Filling out the Support Form - Fill out the required information in the form.
- Select “Graphics” as your Product Type.
- In the Subject box, type “AMDRSServ.exe System Error (OpenCL.dll file missing)”
- In the Problem Description box, describe your problem in detail.
- Press the Upload Files button and attach a screenshot of the error alert.
- Complete the reCaptcha and press the Submit button.
Note: In the Problem Description box, you need to provide as much information as you possibly can. Make sure to mention the following points:
- The entire error message.
- When the error started occurring and how often it occurs.
- Your system specifications.
- The changes you made to your system right before the error occurred.
- All of the solutions you’ve tried to fix the error.
Once you’ve submitted the form, the Support Team will send you an email within a day or two with guidance on how to fix the error. If their solution doesn’t resolve the error, make sure to reply to that email and inform them that their solution didn’t work.