How to Fix Error Code 50200-21015 in Street Fighter 6
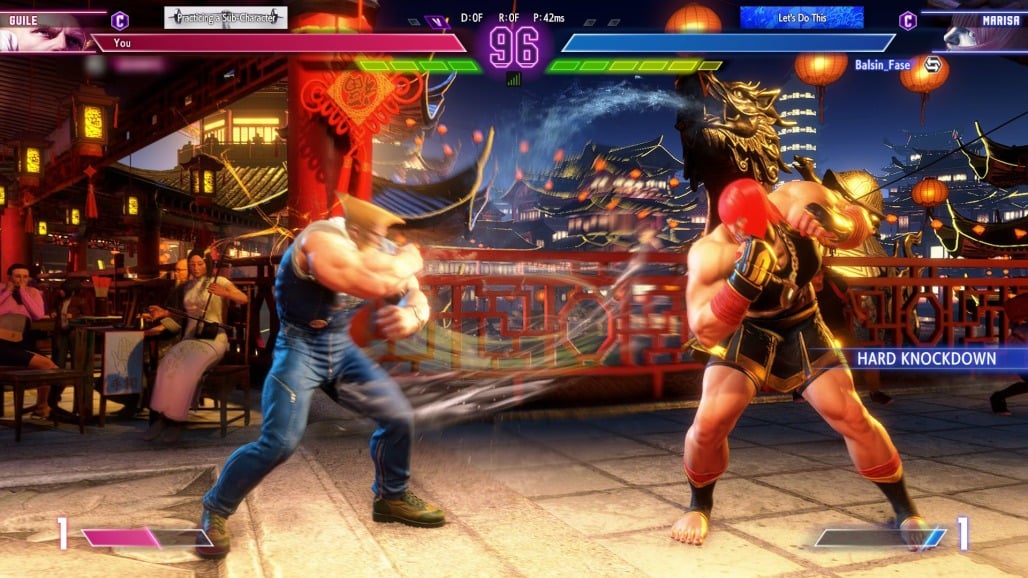
Many players have reported encountering error code 50200-21015 in Street Fighter 6, which results in disconnections from their current games. This error code typically indicates a communication issue between the player’s device and the game servers. The problem has been confirmed by Street Fighter’s official Twitter account to be due to server outages.
If you are also experiencing this error code, you will need to wait until a server update is released to fix it. Alternatively, you can try some of the workable solutions below to resolve the error if it is client-side.
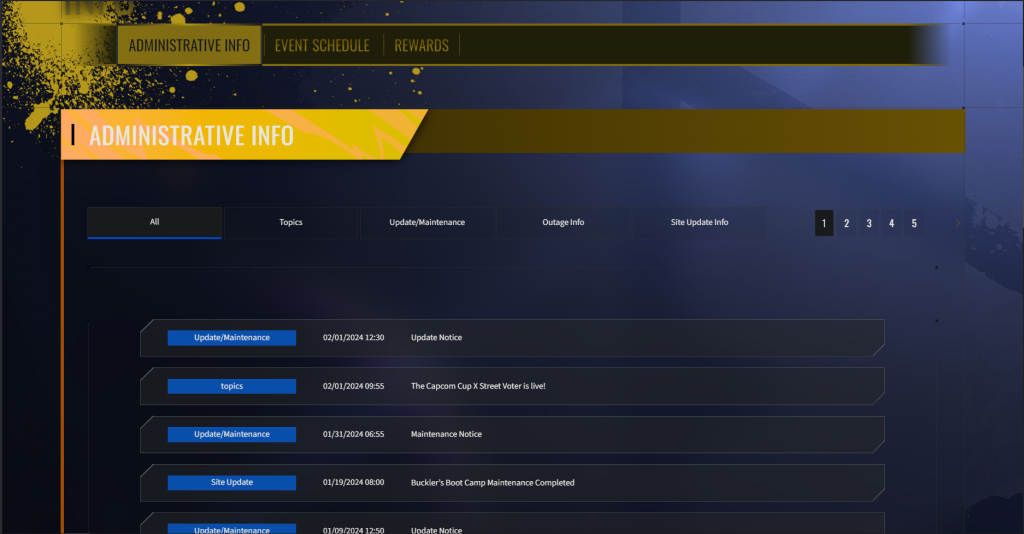
Before we begin, stay informed of any server maintenance schedules by visiting the Street Fighter 6 website because if servers are downed for maintenance. There’s nothing you can do to fix this issue. You just have to wait till servers are back and running.
1. Check Your Internet Connection
Ensure that your internet connection is stable and reliable. An unstable internet connection might be the cause of this error. On a PC, you can test your internet speed at Ookla.
For Xbox:
- Navigate to the Xbox menu.
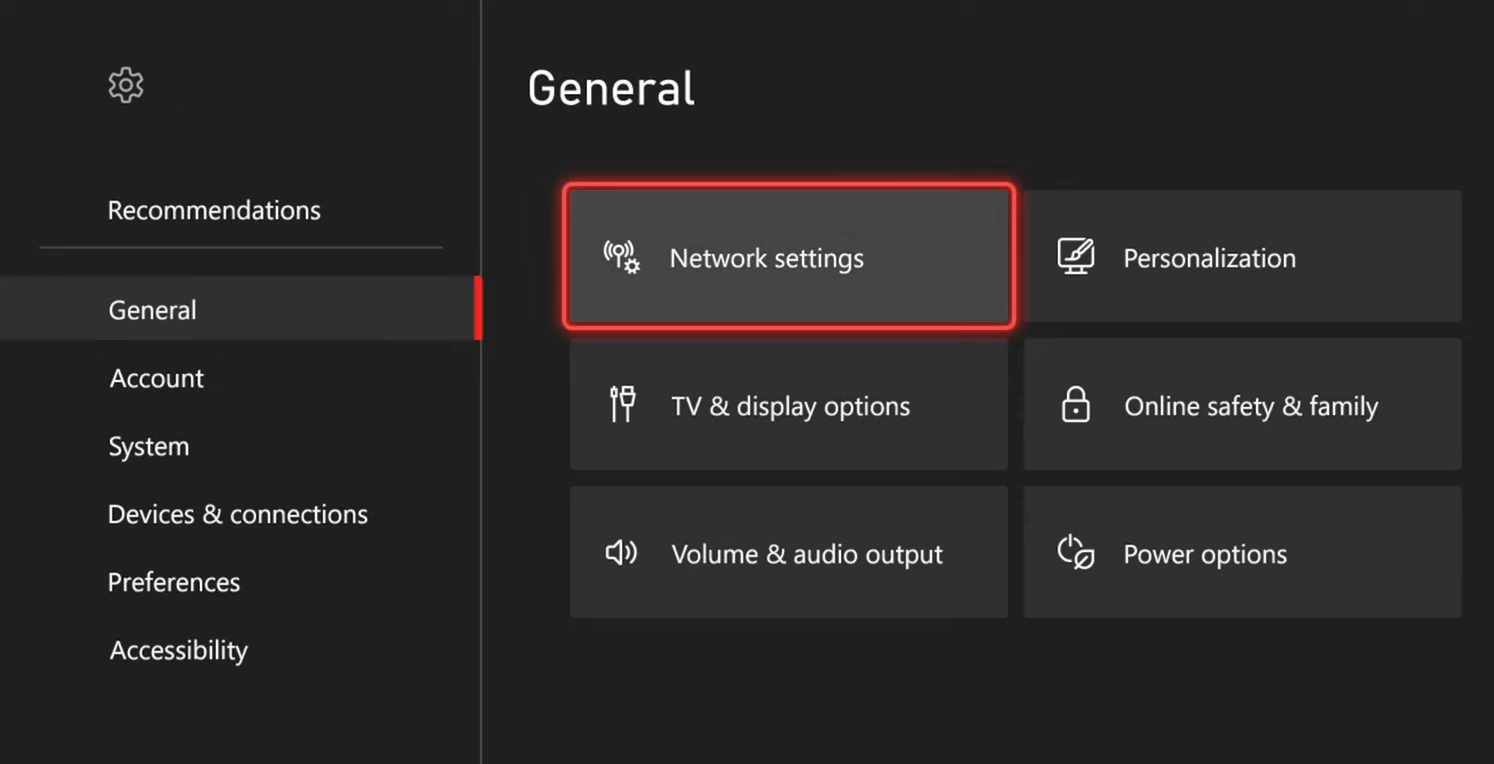
- Go to Settings > General tab and choose ‘Network Settings‘.
- Choose ‘Test Network Speed and Statistics‘.

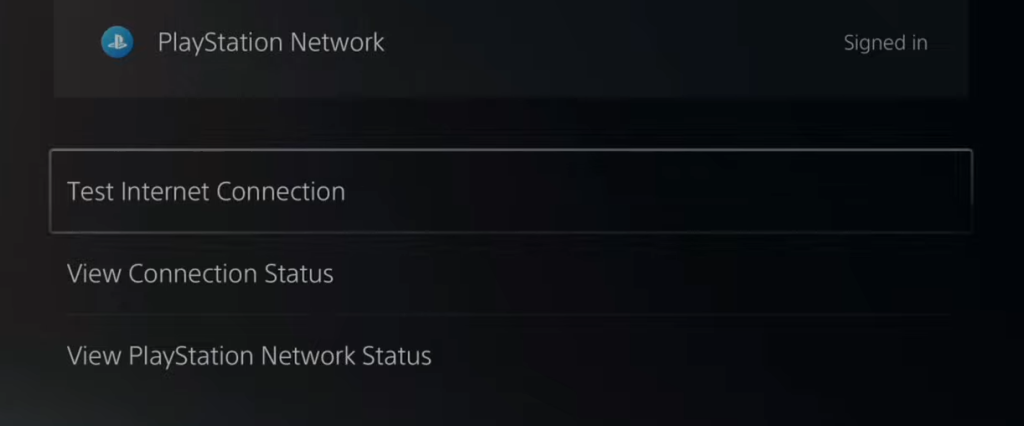
For PlayStation:
- Go to ‘Settings‘ from the main menu.
- Navigate to ‘Network settings‘.
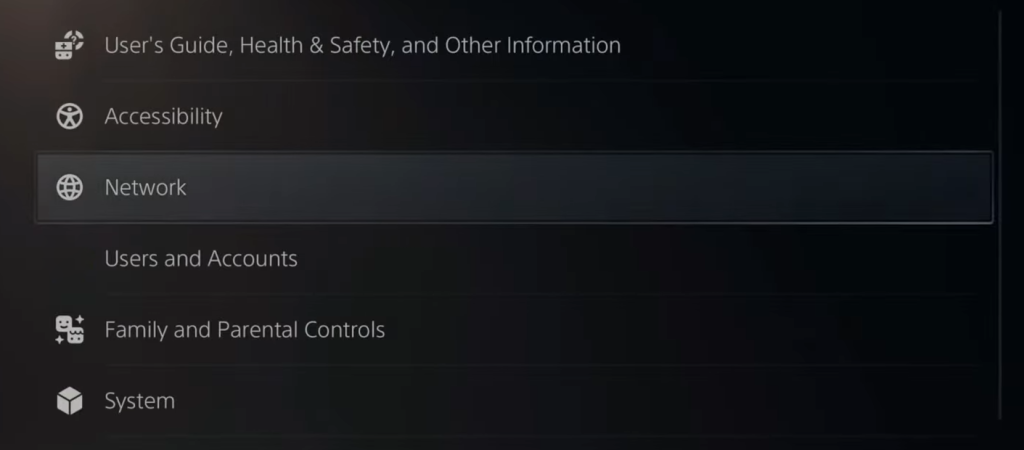
- Select ‘View Connection Status‘ and then choose ‘Test Internet Connection‘.
3. Port Forwarding for Street Fighter 6
If your router does not support UPnP (Universal Plug and Play) or it is disabled, you may experience connection issues. In this case, you should manually forward the ports.
Note: Please contact your ISP if you don’t know much about networking.
Here’s a general guide to configuring port forwarding, though the exact steps may vary depending on your router model:
- Enter your router’s IP address into your browser’s search bar to open the router settings. You can typically find this IP on a label on the back of your router, along with the default login credentials.

- Log in with the username and password when prompted. These are often set to “admin” by default but verify this on the label of your router.
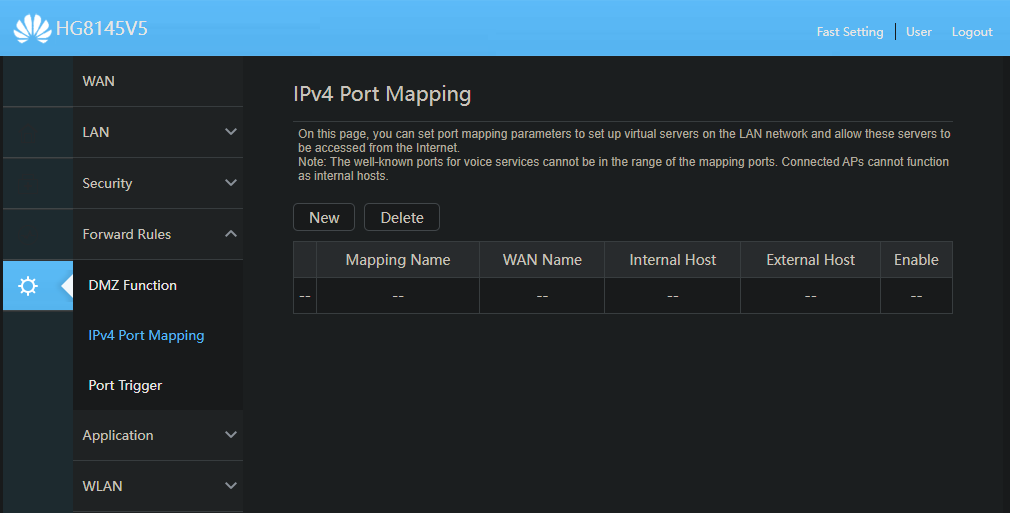
- Navigate to ‘Advanced Settings‘ > ‘Forwarding Rules‘ > ‘IPv4 Port Mapping‘, and add the necessary ports. Restart your router after setting up port forwarding to see if the issue is resolved.
The required ports vary by platform. Here are the ports specific to each:
Steam:
TCP: 20002, 27015, 27036, 30840, 30850, 30870
UDP: 27015, 27031-27036, 30840-30859, 30870-30879
Xbox X/S:
TCP: 3074, 20002, 30840, 30850, 30870
UDP: 88, 500, 3074, 3544, 4500, 30840-30859, 30870-30879
PlayStation 5:
TCP: 3478-3480, 20002, 30840, 30850, 30870
UDP: 3074, 3478-3479, 30840-30859, 30870-30879
PlayStation 4:
TCP: 3478-3480, 20002, 30840, 30850, 30870
UDP: 3074, 3478-3479, 30840-30859, 30870-30879
4. Disable Your Platform’s Firewall Temporarily
This step is specific to PC users. PlayStation and Xbox users do not have the option to disable their firewalls, so they should skip this step.
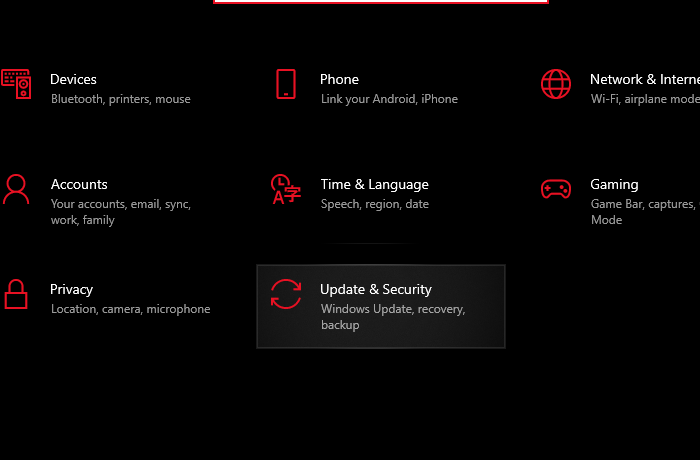
- Click on the Windows icon in the bottom-left corner, type “Settings,” and press Enter to open Windows Settings.

- Go to the ‘Update & Security’ section.
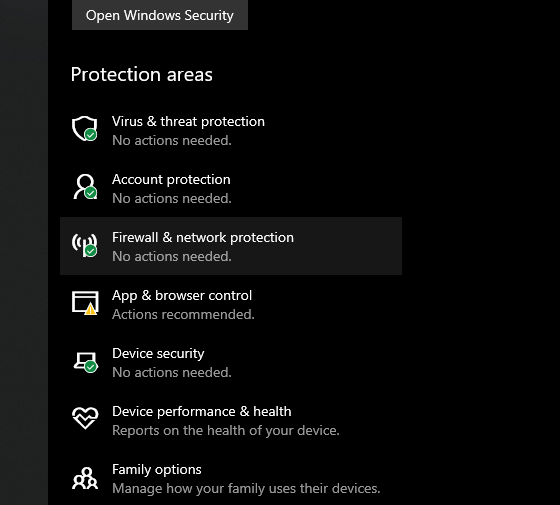
- Select ‘Windows Security’ and then ‘Firewall & Network Protection’.
- Choose your active network profile, which in the example is a Private network.
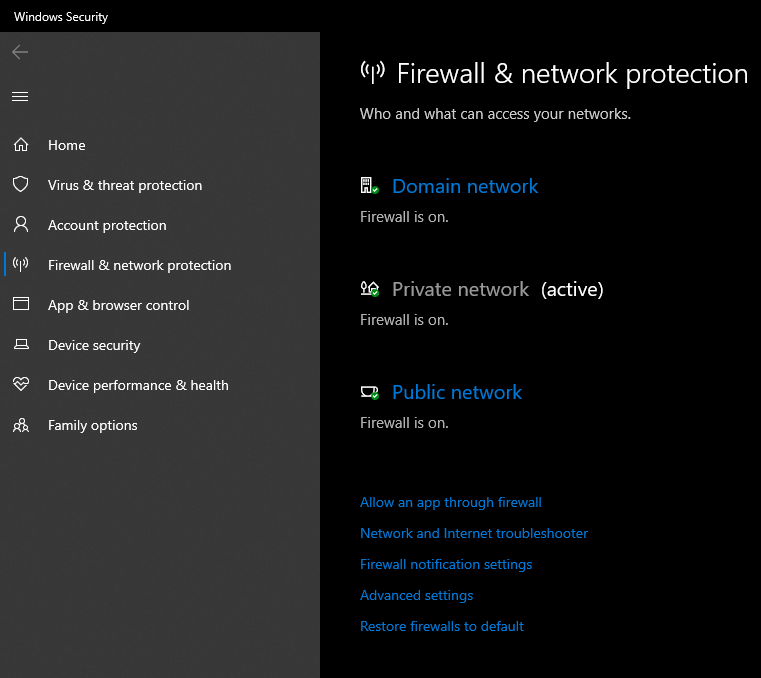
- Toggle the Microsoft Defender Firewall setting from on to off.
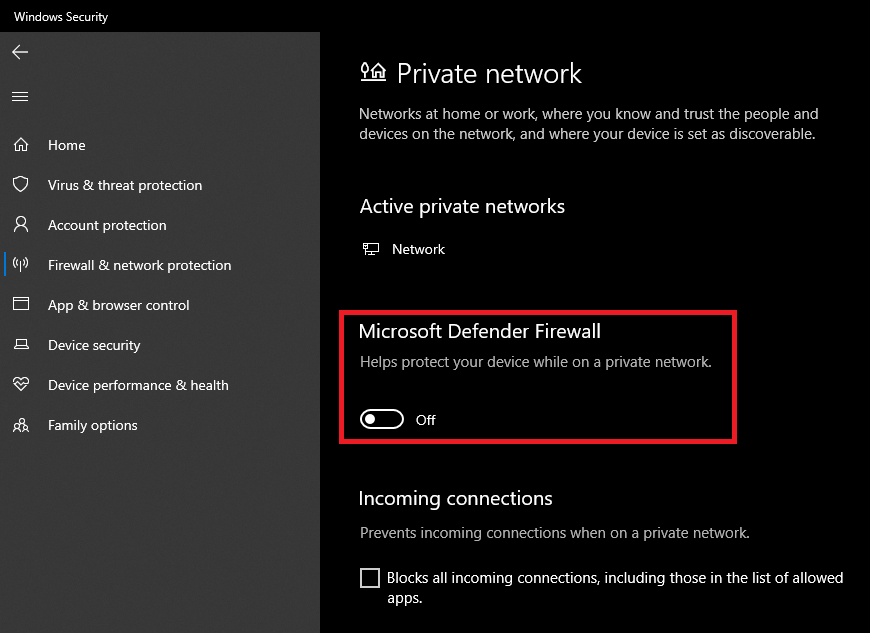
- Relaunch the game to check if the issue has been resolved.
5. Change to Cloudflare DNS on Your Device
Switching to Cloudflare’s DNS servers can offer faster speeds and improved gaming performance, potentially resolving the error.
Changing DNS on PC:
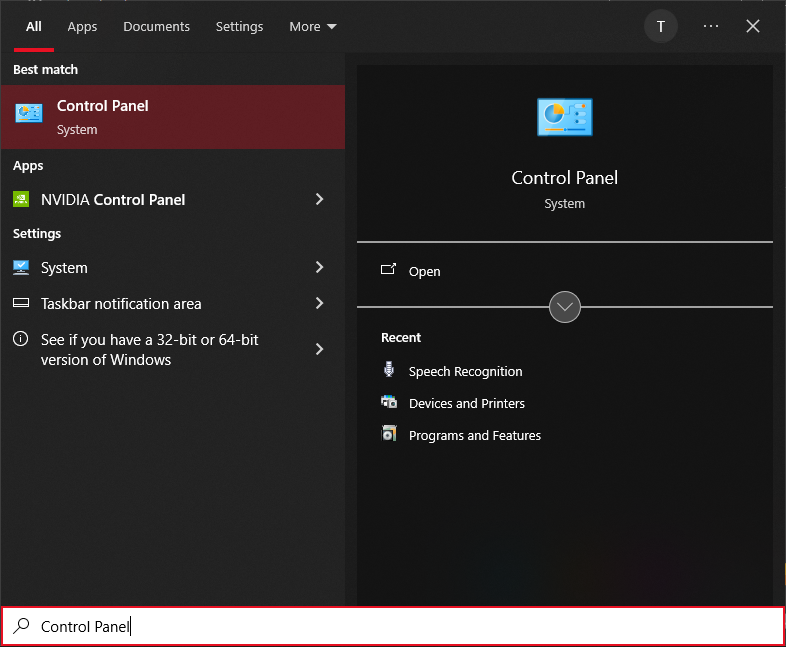
- Click the Windows icon in the bottom-left corner.
- Type “Control Panel” and press Enter.
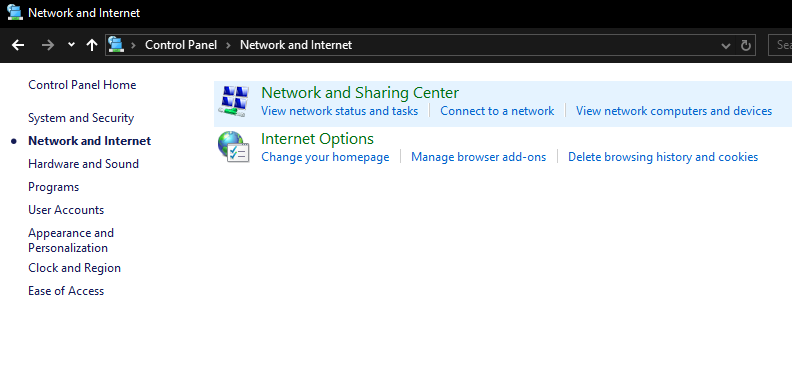
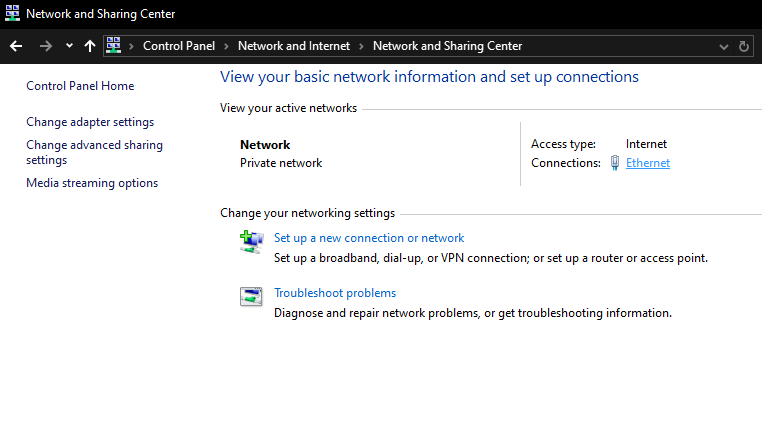
- In Control Panel, navigate to ‘Network and Internet‘ > ‘Network and Sharing Center‘.
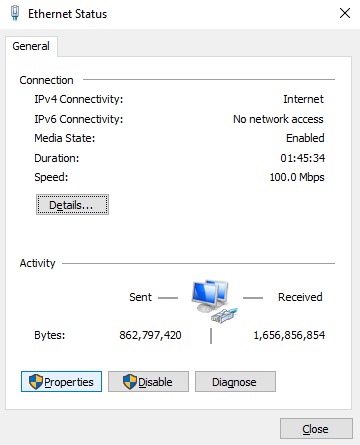
- Click ‘Ethernet‘, next to ‘Connections‘.
- Select ‘Properties‘.
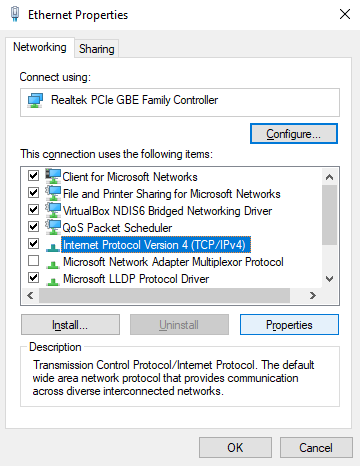
- Find ‘Internet Protocol Version 4 (TCP/IPv4)‘ and access its ‘Properties‘.
- Choose ‘Use the following DNS server addresses‘ and type 1.1.1.1 as the Preferred DNS server and 1.0.0.1 as the Alternate DNS server.
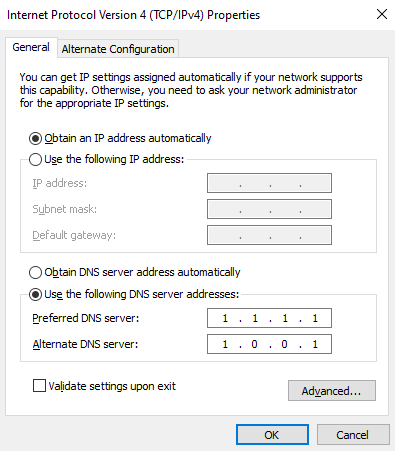
- Click ‘OK‘ to save the changes.
Changing DNS on Xbox:
- Press the Xbox button and open ‘Settings‘.
- Select the ‘General‘ tab, then ‘Network Settings‘.
- Go to ‘Advanced Settings‘ and choose ‘DNS Settings‘.
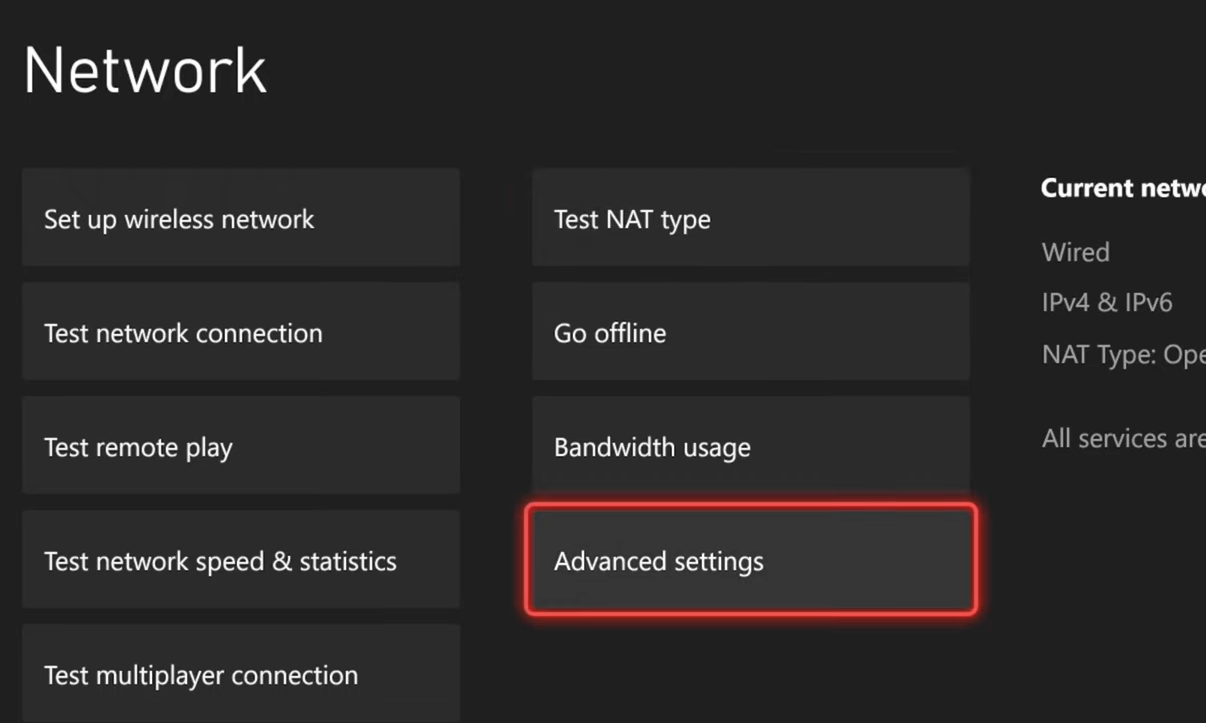
- Select ‘Manual‘ in the IPv4 DNS Settings.

- Input 1.1.1.1 as the Primary IPv4 DNS and 1.0.0.1 as the Secondary IPv4 DNS.

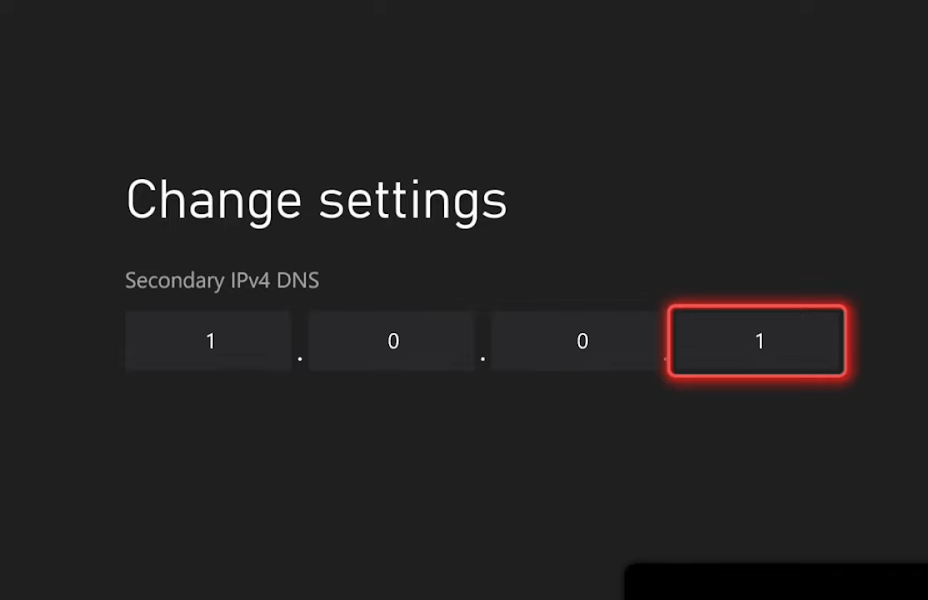
- Press the start button to save the new settings.
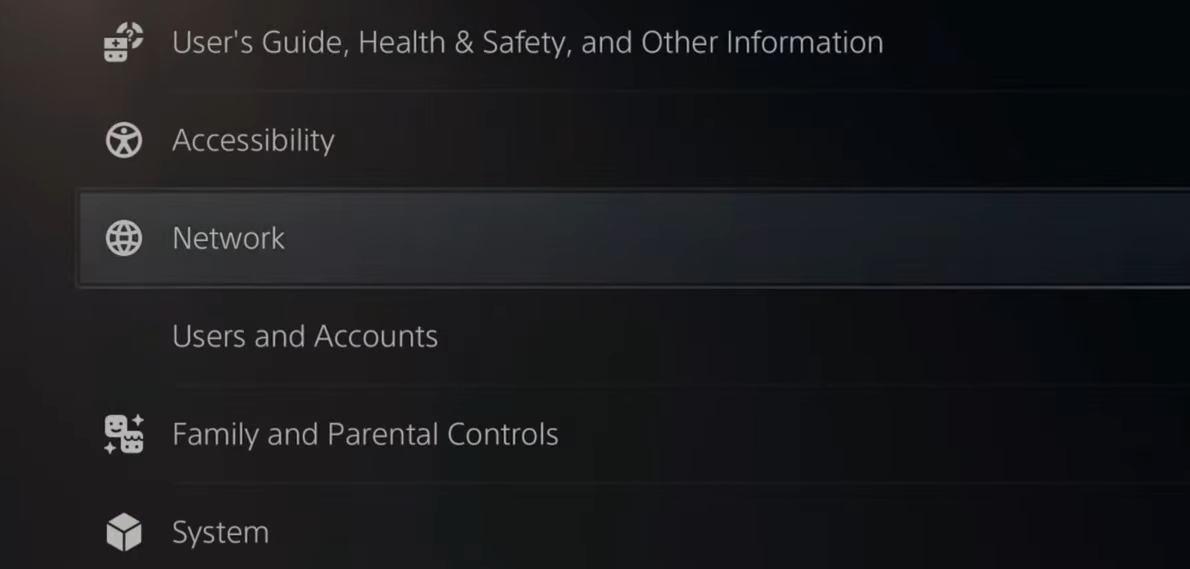
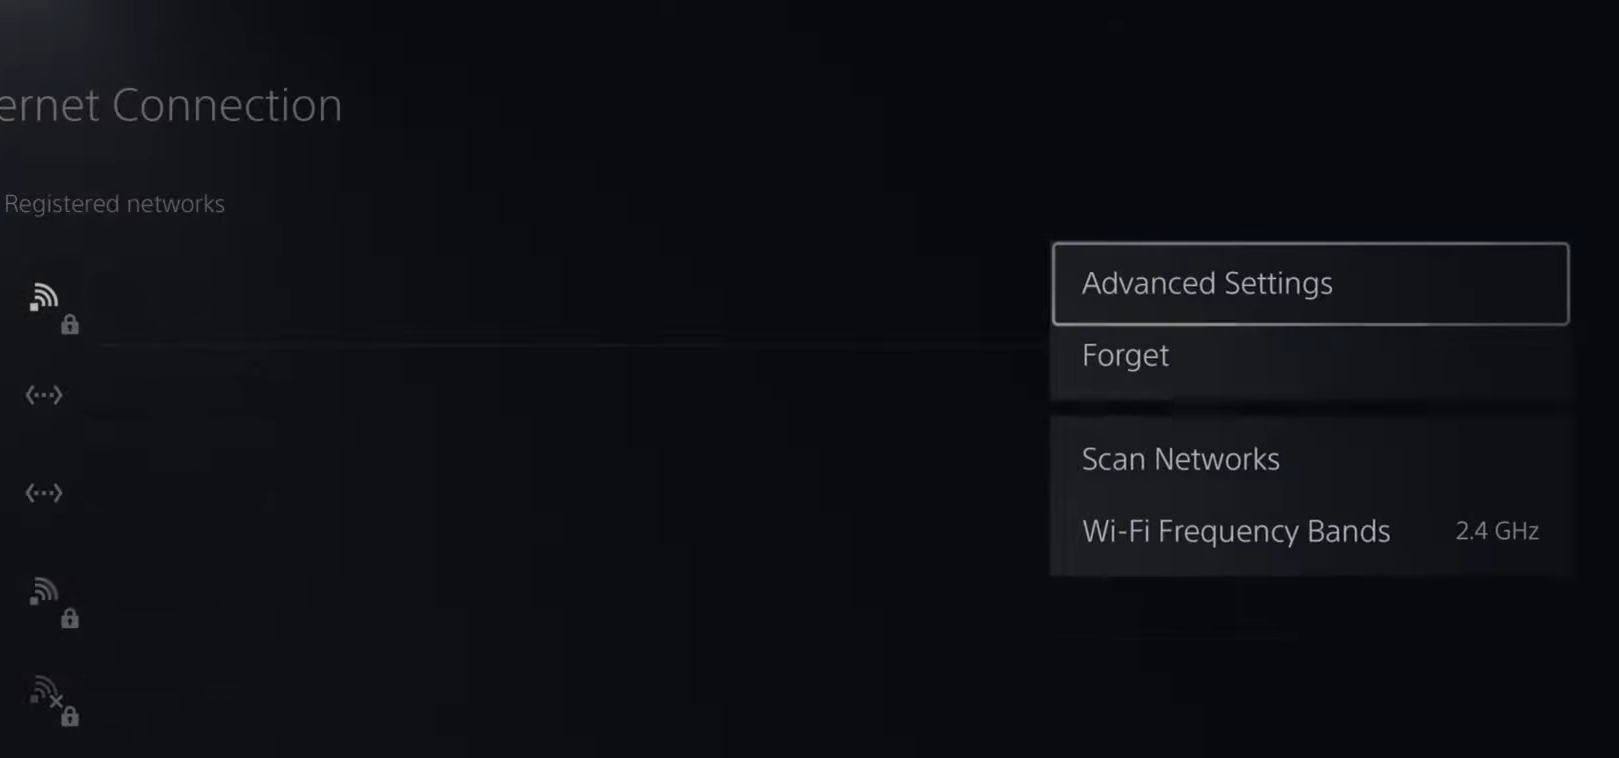
Changing DNS on PlayStation:
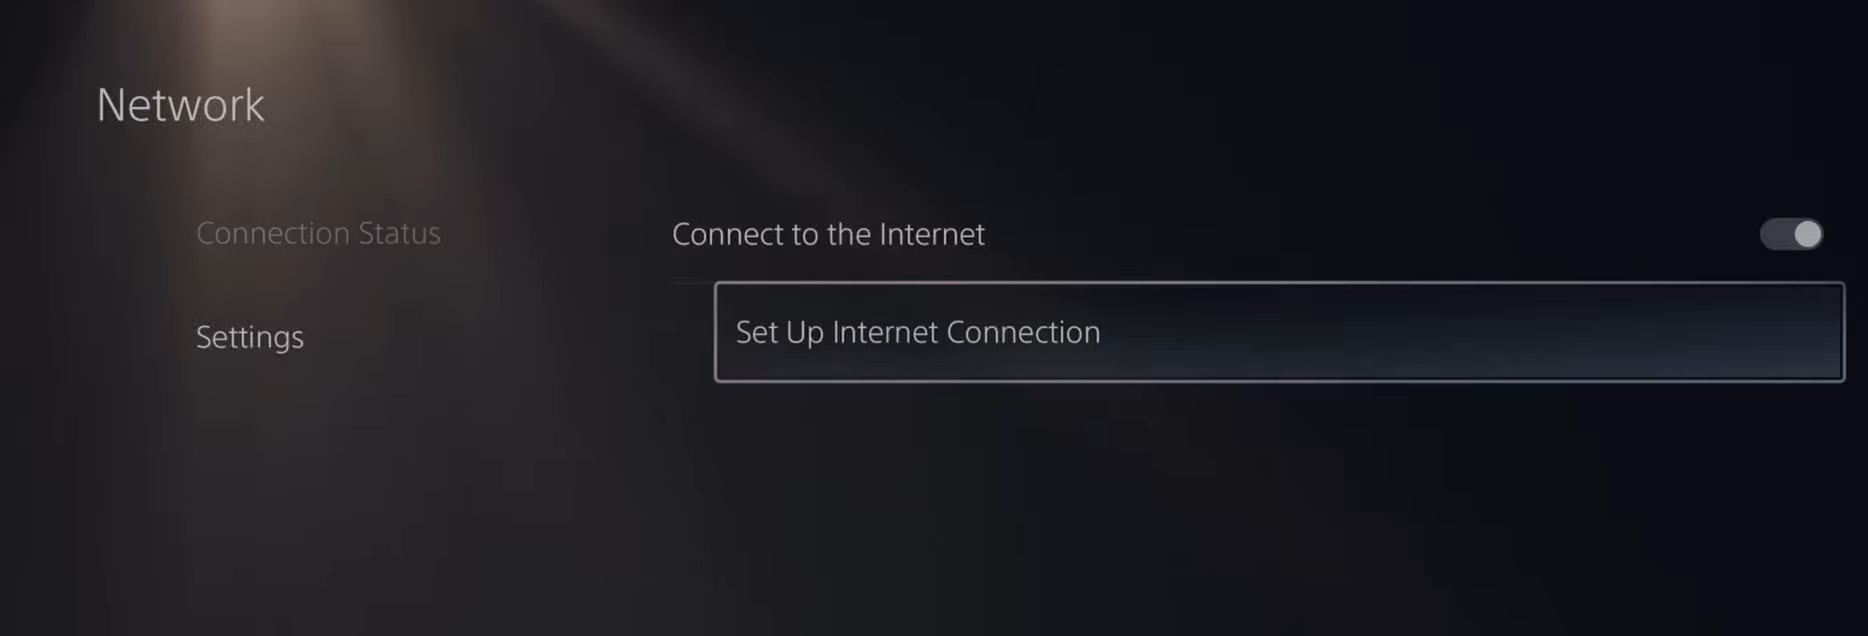
- Access ‘Settings‘ and select the ‘Network‘ tab.
- Choose ‘Set Up Internet Connection‘ under ‘Network settings‘.
- Highlight your Wi-Fi name, press the options button on your controller, and select ‘Advanced Settings‘.
- Input 1.1.1.1 for the Primary DNS and 1.0.0.1 for the Secondary DNS.
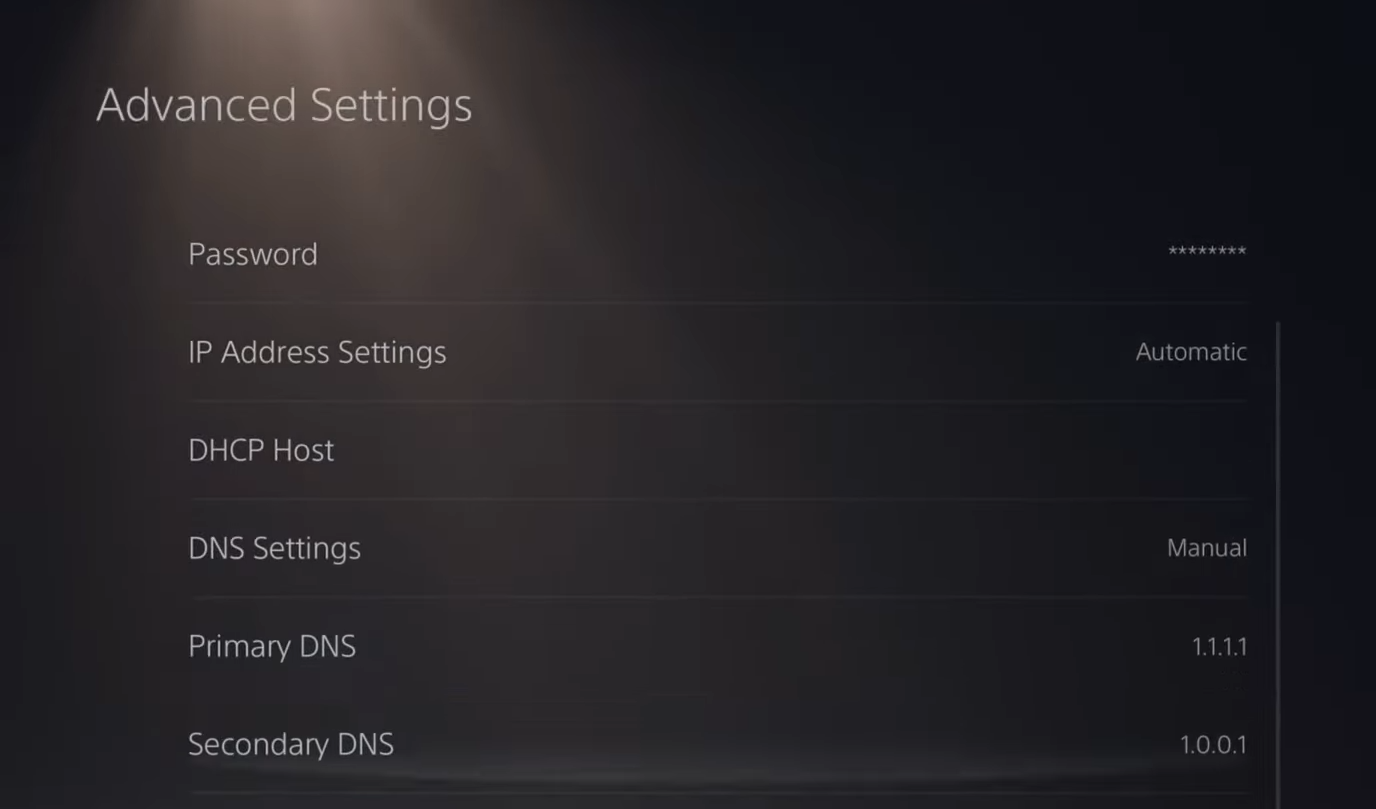
- Hit ‘OK‘ to confirm the DNS configuration.