How To Enable Go Back Button after 10 Days on Windows 11
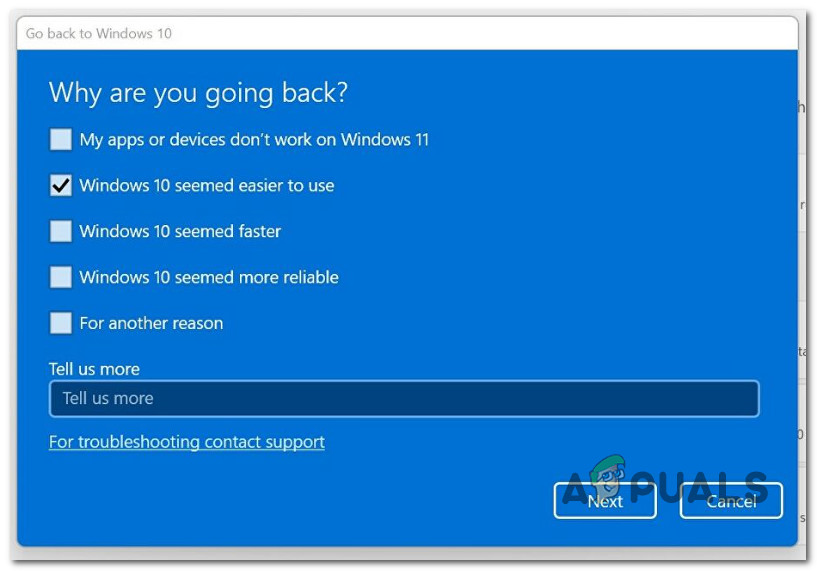
Once you upgrade to Windows 11, you have no more than 10 days to decide whether you want to keep the new operating system or you want to revert back to Windows 10. If you are past this period, you might be wondering if there’s a way to go back to Windows 10 despite the fact that the ‘Go Back’ button is not available anymore.
After investigating this issue, we realized that there are actually several different methods that you can pursue in order to extend the availability of the Go Back button for more than 10 days. However, some of these methods can only be used if you take pre-emptive action and configure your Windows 11 PC to keep Windows.old for more than 10 days.
Here are a few methods that you should explore if you want to use the ‘Go Back’ button after 10 days:
- Extend ‘Go Back’ Availability via DISM – As it turns out, if the Windows.old file is still present, there’s an easy way of expanding on the availability of the Go Back button. You can expand it as far as 60 days. All you need to do is open an elevated DISM command and change the value from 10 to a maximum of 60.
- Extend ‘Go Back’ Availability via Registry Editor – Similar to the DISM method, you can also use the Registry Editor to expand on the availability of the Go Back button. In order to use this method, you need to open Registry Editor with admin access and modify the value of UninstallWindow to 60 days or less.
- Back up Windows.old on an external drive – If you remember to back up the Windows.old file prior to it getting automatically deleted, you can theoretically prologue the availability of the Go Back button for as long as you want.
- Uninstall Windows 11 update – If the ‘Go Back’ button is not working or you previously confirmed that the Windows.old file is no longer located on your PC, you can revert back to Windows 10 by accessing the Advanced recovery menu and uninstall the latest feature update in order to get rid of Windows 11. Some affected users have reported that this method works even if Windows.old is no longer present on the computer.
- Clean install the old Windows version – If you have lost the Windows.old file and none of the other methods have worked in your case, the only viable method that will allow you to revert back to an older Windows version is to go back via a clean install.
But before we get to the actual methods, let’s start by making sure that you actually have the main file (Windows.old) that will be used in order to revert back to Windows 10.
How to check if Windows.old is still available
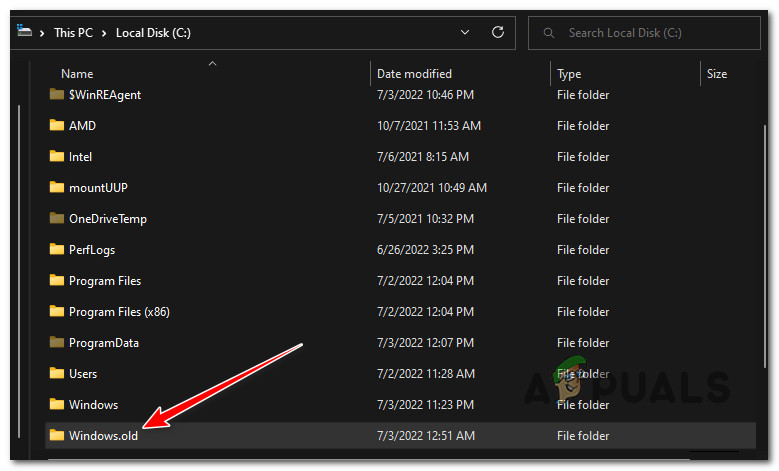
Before we get to the various methods that will allow you to revert back to Windows 10, you should start by checking if Windows.old is still present on your PC.
Note: Starting with Windows Vista, this folder is generated when you upgrade from one version of Windows to another. All of the information from your prior Windows installation is contained in the Windows.old folder. If you don’t like the new version of Windows, you can use it to restore your system to the previous version. You might also delve into the Windows.old folder to discover a specific file that wasn’t correctly copied to your fresh Windows installation.
The Windows.old folder essentially basically holds the previous version of Windows. Everything is contained here, including the Windows system files, installed programs, and the settings and data for each user account. The current version of Windows only retains it available in case you choose to revert to that earlier version or if you need to rummage around for a file.
However, if the Windows.old is already deleted from your PC, there’s not much you can do in order to go back to the older Windows version seamlessly (you’ll have to clean install or install the Windows 11 feature update).
Follow the instructions below to verify if the Windows.old file is still present on your PC or it was removed:
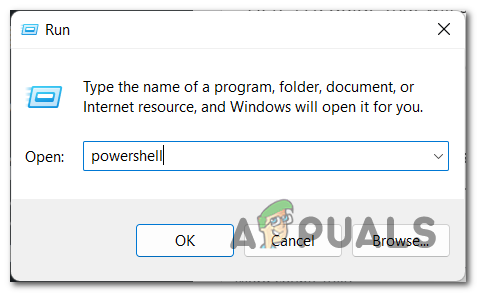
- Press Windows key + R to open up a Run dialog box. Next, type ‘powershell’ inside the text box, then press Ctrl + Shift + Enter to open up an elevated Powershell with admin access.
Access the Powershell windodw - At the User Account Control (UAC), click Yes to grant admin access.
- Once you’re inside the elevated Command prompt, type the following command and press Enter to verify if Windows.old is still available and usable on your Windows 11 computer:
DISM /Online /Get-OSUninstallWindow
Note: The system cannot be restored to a previous state if you get the error message “Error 1168 – Element not found” after running the command above because Windows.old has already been deleted from your computer.
- If Windows.old is still available, it will display the number of days the rollback period is set to.
In case you discovered that Windows.old is still available, follow any of the methods present in this article to go back to Windows 10.
On the other hand, if Windows.old is no longer present on your PC, you can only follow the last two methods featured in this article.
1. Extend ‘Go Back’ Availability via DISM
If you previously discovered that Windows.old is still present on your local installation, the easiest way of extending the availability of the ‘Go Back’ functionality is to open up an elevated Powershell command and use a DISM command to extend the timeframe in which you can go back to your previous Windows version.
Important: Keep in mind that this method is only applicable if you previously used the guide above to establish that Windows.old file is still present on your system. If Windows.old was already deleted, follow method 4 or method 5 in this article.
If this method is applicable, follow the instructions below to change the days in which the rollback period is available via an elevated Powershell window:
Note: This method is confirmed to work on Windows 10 20H2+ and Windows 11 21H2+.
- Press Windows key + R to open up a Run dialog box.
- Next, type ‘powershell’ inside the text box, then press Ctrl + Shift + Enter to open up an elevated Powershell window with admin access.

Access the powershell utility with admin access - At the User Account Control (UAC), click Yes to grant admin access.
- Once you’re inside the elevated Powershell window, type the following command and press Enter to extend the availability of the roll-back period to 60 days:
DISM /Online /Set-OSUninstallWindow /Value:60
Note: If you require a lower timeframe, you can also adjust the value to a different number between 2 and 60.
- Once this value has been modified, reboot your PC to allow the changes to take effect, then do the roll-back procedure again and see if the problem is now fixed.
If you’re looking for a different method, move down to the next potential fix below.
2. Extend ‘Go Back’ Availability via Registry Editor
If you want to avoid using the DISM utility, you can also modify the Registry key that dictates the number of days where you are permitted to go back to a previous Windows version.
However, keep in mind that the same rules apply for this method two:
- You need Windows.old to be present on your system.
- You can’t expand the availability of the roll-back period to more than 60 days.
If you are prepared to go this route, follow the instructions below to access Registry Editor, navigate to HKEY_LOCAL_MACHINE\SYSTEM\Setup\UninstallWindow and modify the value of the UninstallWindow to expand on the availability of the rollback period.
Here’s what you need to do:
- Press Windows key + R to open up a Run dialog box.
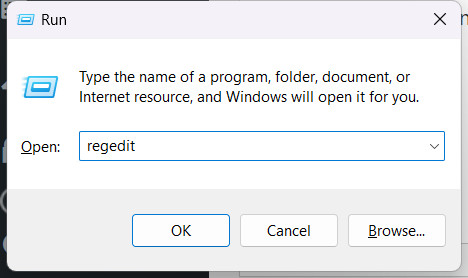
- Next, type ‘regedit’ inside the text box, then press Ctrl + Shift + Enter to open up Registry Editor with admin access.
Open up the Regedit utility - At the User Account Control (UAC) window, click Yes to grant admin access.
- Once you’re inside the elevated Registry Editor, use the left-hand menu to navigate to the following location:
HKEY_LOCAL_MACHINE\SYSTEM\Setup\UninstallWindow
Note: You can either navigate to this location manually or you can paste the location above directly into the navigation bar and press Enter to get there instantly.
- Once you arrive at the correct location, double-click on the UninstallWindow value, set the base to Decimal, then set the value to a number between 2 and 60.
Note: This number represents the number of days you will be permitted to go back to the previous windows version. - After you do this modification, click Ok to save the changes, then restart your PC in order to allow these changes to take effect.
If you’re looking for a different method that will allow you to get things done, try the next potential fix below.
3. Go back to using an externally stored Windows.old file (if applicable)
If you have the habit of creating constant backups of your system, there’s a chance you had the brilliance of backing up the Windows.old file on an external drive. If you did this, your OS is not able to delete the .old directory, which means you will be able to go back to a previous Windows version even if you are way past the default 10 days.
If this method is applicable, simply plug in the external drive where you have previously saved the backup and move the Windows.old folder to the root folder of your Windows drive.
Once you have done this, restart your PC in order to force your PC to become aware that a backup is in place.
After the next startup is complete, go check if the ‘Go Back’ button is now available and use it if needed.
In case Windows.old is not available and this method was not applicable, follow the next method below.
4. Go back by Uninstalling the Windows 11 feature update
You can go back to Windows 10 by visiting the Advanced recovery menu and removing the most recent feature update in order to get rid of Windows 11 if the “Go Back” option is not functioning or you have previously verified that the Windows.old file is no longer present on your computer.
Note: Some impacted customers claim that even if Windows.old is no longer installed on the PC, this approach still functions.
Here’s what you need to do in order to go back to Windows 11 by uninstalling the Windows 11 feature update:
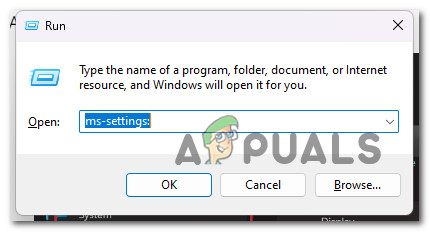
- Press Windows key + R to open up a Run dialog box. Next, type ‘ms-settings:’ and press Enter to open up the Settings menu on your Windows 10 computer.
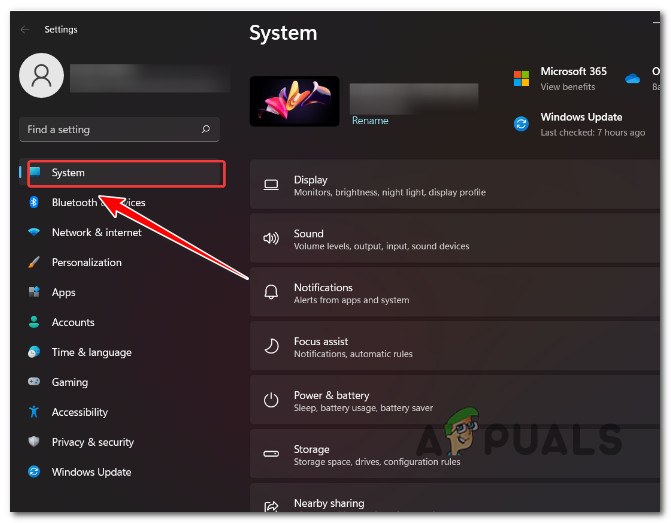
Accessing the MsSettings menu - Once you’re inside the Settings menu, click on System from the left-hand section of the screen.
Accessing the System menu - Next, move over to the right-hand section and click on Recovery from the menu on the right.
- Once you’re inside the Recovery menu, click on the Restart button associated with Advanced Startup.
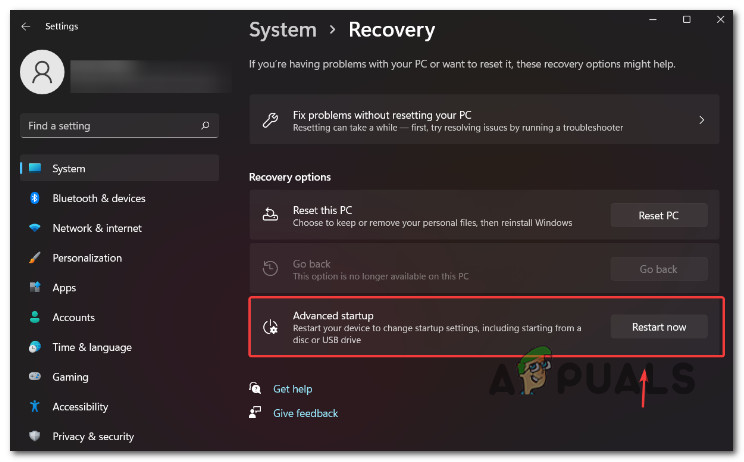
Access the Advanced Startup menu - After you’re done with this step, your PC will restart and you will be taken directory to the Windows Recovery Environment.
- Once you get to this menu, click on Troubleshoot, then choose Reset this PC.
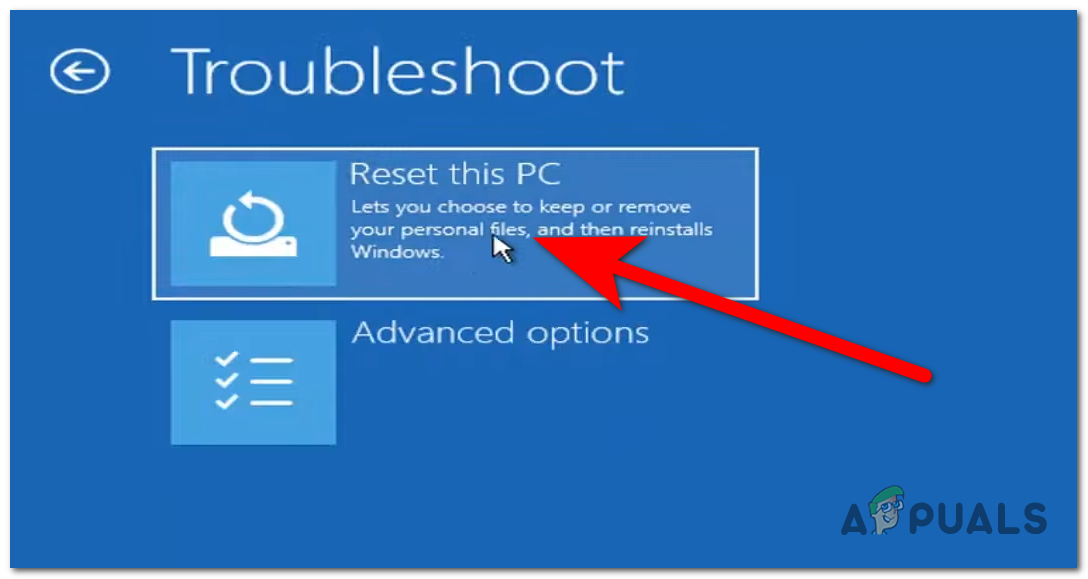
Resetting this PC - From the Reset menu, choose Advanced Options, then click on Uninstall Updates.
- Finally, from the Uninstall Updates menu, select Uninstall latest update to perform a rollback.
- Follow through with the remaining steps to complete the rollback to your old Windows version.
If this method is not applicable, move down to the final method below.
5. Clean install Windows 10
The only practical way to return to an earlier version of Windows if you have lost the Windows.old file and none of the other techniques have worked for you is to perform a clean install.
It’s not ideal, but it will allow you to return to Windows 10 if you went over the default ‘get back’ period.
If you’re looking for specific instructions on how to perform a clean install, follow this article here.


