How to Fix Dying Light 2 Multiplayer Not Working?
Dying Light 2 players have been facing an issue where they cannot join or invite friends while playing multiplayer. In addition, users are not able to join public games either. Even if you are on the same device and game version, the problem persists.

The issue has been around for quite a while, which is why several methods are available that can help fix the problem for you. We have compiled them in this article, so follow through, and you will be playing the game with your friends in no time.
Workaround: Load Dying Light 2 in Offline Mode
The first thing you should do when the problem occurs is to open the game in offline mode. After the game loads, you can connect back to your network since you will need it for multiplayer. This has been reported by several users who were facing a similar issue, and it helped them resolve the issue.
This is a mere workaround to the problem. Therefore, unfortunately, you will have to do this every time you wish to play the multiplayer version of the game.
To pull this off, start by disconnecting your internet connection. Once you are disconnected, open up Dying Light 2 on your device. This will open the game in offline mode. After the game is running, go ahead and load your save file. With the save file loaded, connect to the internet. At this point, you will have to wait for a little bit till the game realizes that it is back online. Once that happens, you should be able to invite or join your friends.
See if that fixes the issue for you. If the problem persists, jump to the following method below.
1. Create a Party before Opening Dying Light 2
You can join a party before launching the game. Some players were able to overcome the issue by creating a party beforehand.
It is essential to note that Dying Light 2 does not support cross-platforms. This means you cannot play with friends using a different platform. That said, see if adding yourselves to a party before launching the game fixes the Dying Light 2 multiplayer issue for you.
2. Reduce Steam Friends (if applicable)
In case you are playing Dying Light 2 on Steam, there is a good chance the issue is caused by your number of friends on Steam. This may sound absurd, but this was causing the problem for several users.
Many Steam users found that if they had more than 300 Steam friends on their account, playing multiplayer would not work. As such, you will have to reduce your Steam friends to play the game.
While this may not be optimal for everyone, there are always several people that we no longer talk to on our Steam friends list and can be removed. Removing friends on Steam is quite simple. Follow the instructions below to do this:
- First, open the Steam client on your computer.
- In the bottom-right corner, click on Friends & chat.

Opening Steam Friends Menu - Then, locate the people you would like to remove. You can search for friends to be removed via the search icon provided.
- Once you find an account to unfriend, right-click on their name, and choose Manage > Remove as Friend from the drop-down menu.
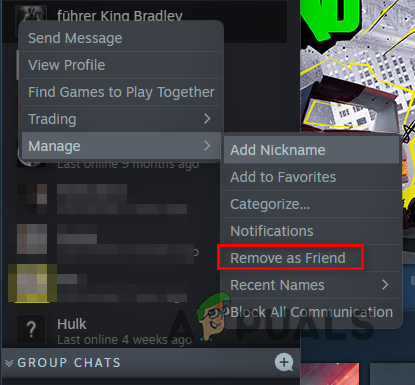
Removing Steam Friend
3. Sync Date and Time
In some scenarios, if the date and time on your computer do not sync with the internet time, you can experience issues while playing games, especially multiplayer. This is because your computer’s date and time settings are used when you are trying to send a request to the game server.
If there is a mismatch of date and time in such a request, it will not be able to go through, and thus the game does not function normally. Therefore, syncing your date and time with the internet time is essential when you are playing multiplayer games.
To sync the date and time on your computer, follow the instructions down below:
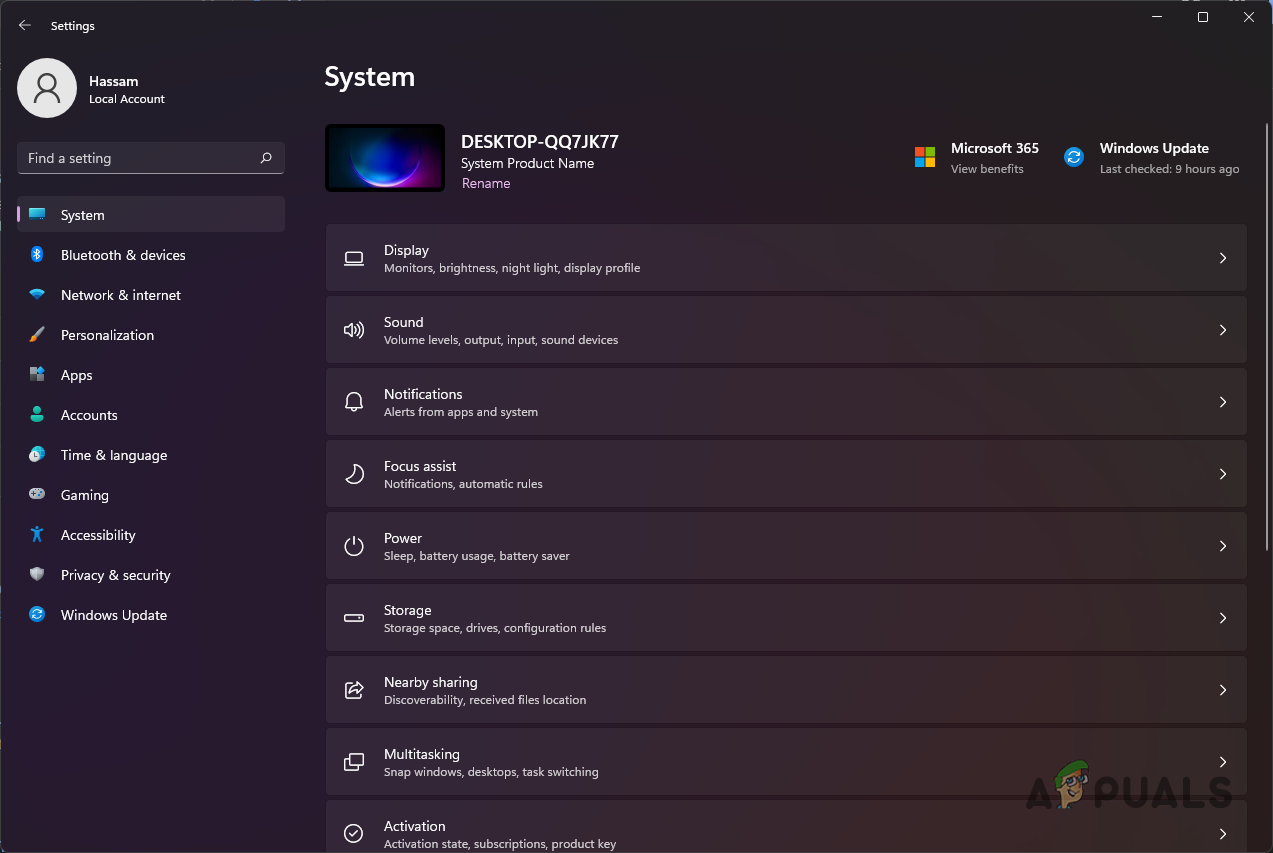
- First, open the Settings app by pressing the Windows key + I on your keyboard.
- On the Settings app, switch to the Time & language tab on the left-hand side.
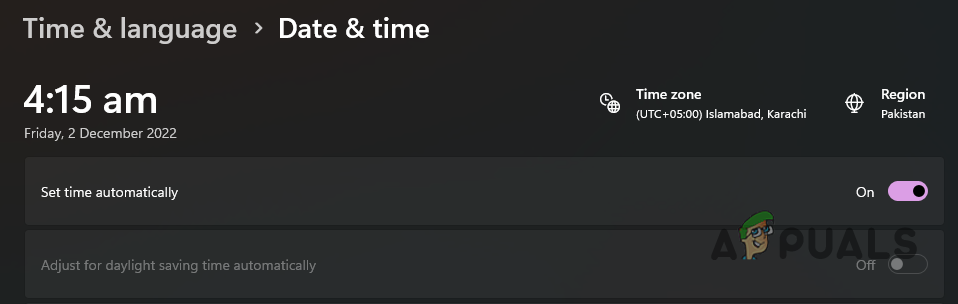
Windows Settings - Then, make your way to the Date & time section.
- There, enable the Set time automatically slider.
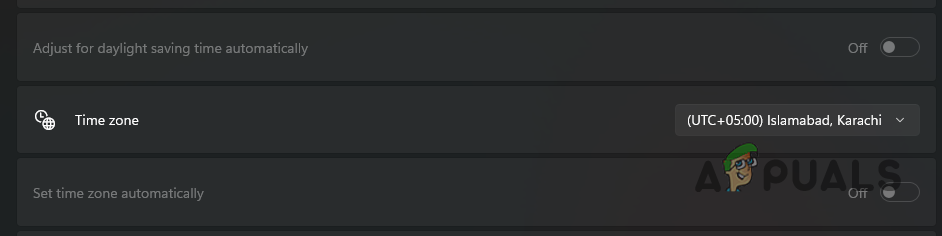
Setting Time Automatically in Windows - Also, ensure the correct Time zone is selected from the drop-down menu.
Choosing Windows Time Zone - Finally, click on the Sync now button under Additional settings.
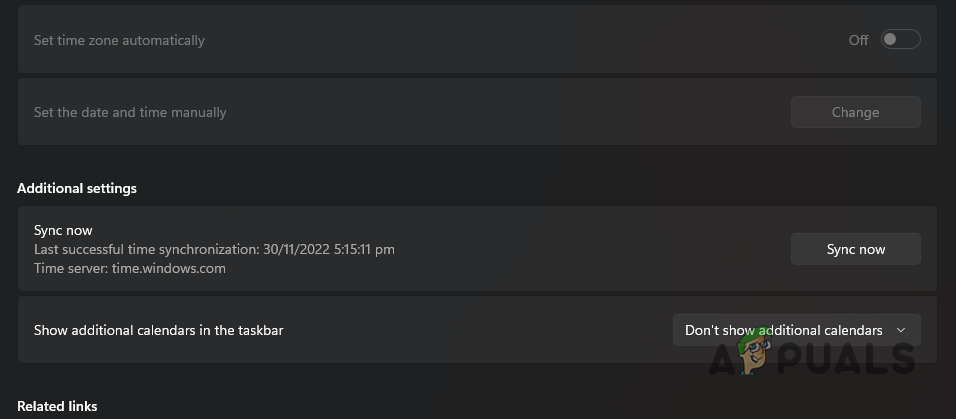
Syncing Windows Time and Date - Once you do that, play Dying Light 2 again and see if the issue persists.
4. Verify Game Installation Files
If there are corrupted game files of Dying Light 2 on your system, that can also cause the following problem.
You must repair your game files before trying to play. To repair your Dying Light 2 game files, follow the instructions below:
- Start by opening the Steam client on your computer.
- Once the Steam client is open, go to Library and right-click on Dying Light 2.
- Choose Properties from the drop-down menu.
- On the Properties window, switch to the Local Files tab.
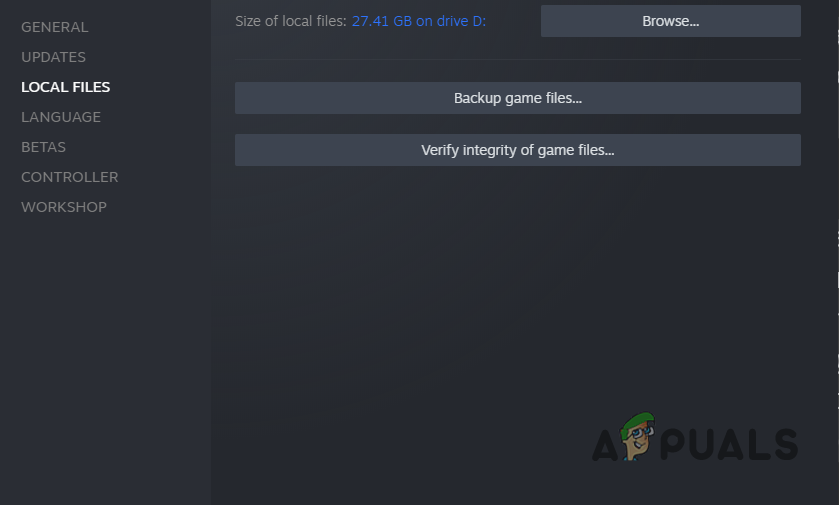
Switching to the Local Files Tab - There, click on the Verify integrity of game files option.
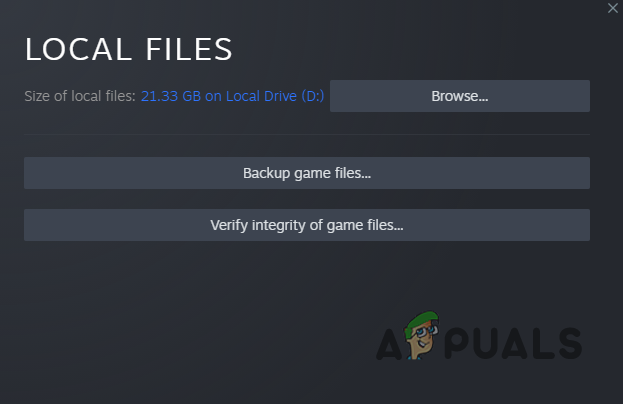
Verifying Integrity of Game Files - Wait for Steam to scan your game files and repair them in case of corruption.
- After that, launch the game to see if the problem still occurs.
5. Forward Ports
Network issues can, in some scenarios, cause the issue in question. This happens when the game cannot establish a connection successfully to your device due to your network configuration.
This usually points to a strict NAT type. In such a scenario, you can use the port forwarding method to allow the game to establish a link without any issues. As such, you will have to forward the ports used by Dying Light 2, which can be done from your router settings.
You will require your default gateway or your router’s IP address to do this. Once you have that, you can access your router settings and forward the required ports. Follow the instructions below to do this:
- First, enter your router’s IP address in a new browser window tab.
- On the login screen, provide the login credentials, which can be found on the back of your router to log in.
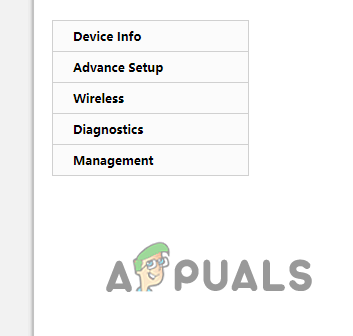
- After you are logged in, make your way to Advanced settings.
- There, on the left-hand side, click on Advanced setup.
Router Advanced Settings - Locate NAT from the menu on the left-hand side and click on it.
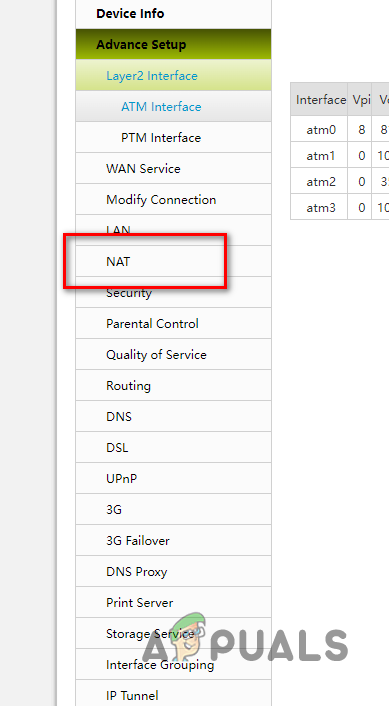
Navigating to NAT Settings - These options may differ for you depending on your router model. In some cases, it may even be called Forwarding.
- Click on the Add button to forward a port.
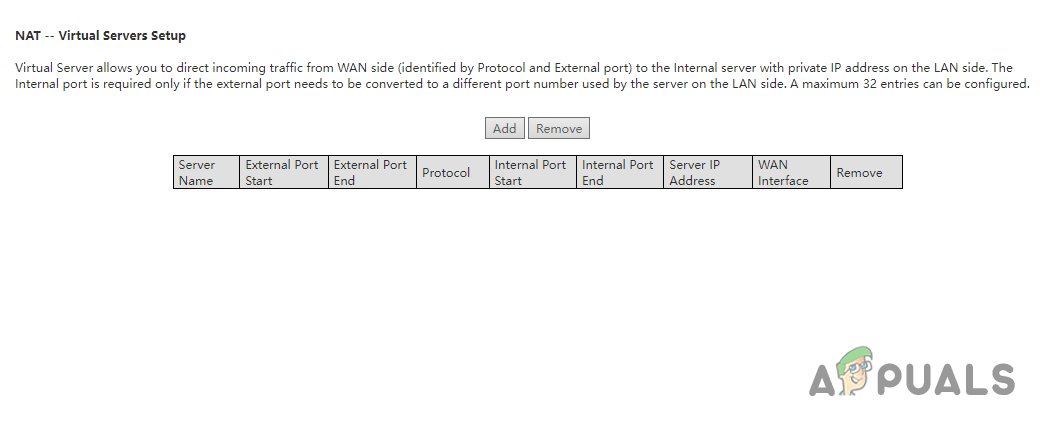
Adding New NAT Setting - Using the following details, forward the respective ports for your platform.
Dying Light 2: Stay Human - Steam
TCP: 27015, 27036
UDP: 27015, 27031-27036

Dying Light 2: Stay Human - Playstation 5
TCP: 3478-3480
UDP: 3074, 3478-3479

Dying Light 2: Stay Human - Playstation 4
TCP: 3478-3480
UDP: 3074, 3478-3479

Dying Light 2: Stay Human - Xbox One
TCP: 3074
UDP: 88, 500, 3074, 3544, 4500
- You got to provide your local IP address or IPv4 Address in the IP Address field. If you are unsure of your IPv4 Address, you can find it simply by entering ipconfig in a command prompt window.
- With that done, launch Dying Light 2 to see if the issue goes away.