Troubleshooting DISM Repair Command Stuck at Processing
DISM is a tool used for servicing and managing Windows images and its core components. When your system files are corrupted, the DISM tool helps repair the images. However, sometimes the process gets stuck despite the operation being successfully completed. This issue is caused by an outdated operating system which prevents the tool from finishing its execution.
This guide will show you how to fix the DISM tool when it’s stuck during processing.
Workaround: Perform a System Restart
When the command prompt fails to execute a command, then the issue arises from the system itself. Therefore, as a workaround, you must restart your computer so that all the processes and programs boot properly to avoid such an error from occurring. You can perform a system restart as listed below:
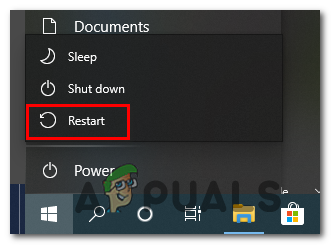
- Open the Windows Start Menu by pressing the Win key.
- Restart your computer by clicking on the Power option and selecting “Restart.”
Restarting the Windows computer - After restarting your computer, open the Windows Start Menu by pressing the Win key.
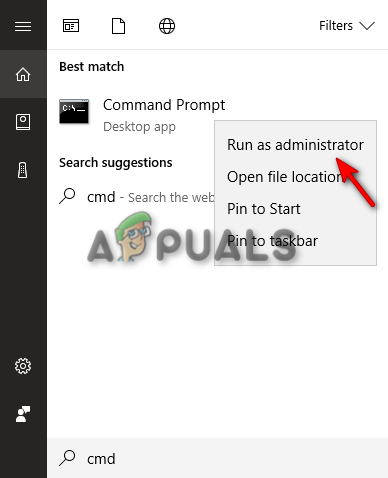
- Type “cmd” in the Windows Search bar.
- Right-click on the Command Prompt, and select the “Run as administrator” option.
Running the Command Prompt as an administrator. - Now you can run the DISM command again.
1. Upgrade your RAM Size
The minimum requirement to r un the system smoothly is 4GB RAM. If your system doesn’t meet the given requirements, then as a result, you will face issues when performing scans and other tasks on the system. Therefore, you must upgrade your current RAM. First, you must check how much RAM is installed on your system:
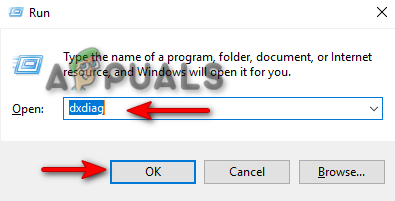
- Open the Run Command by pressing the Win +R keys together.
- Type “dxdiag” in the search bar and click OK.
Opening the Diagnostic Tool - Open the System tab and check the RAM size in the “Memory” section of the page.
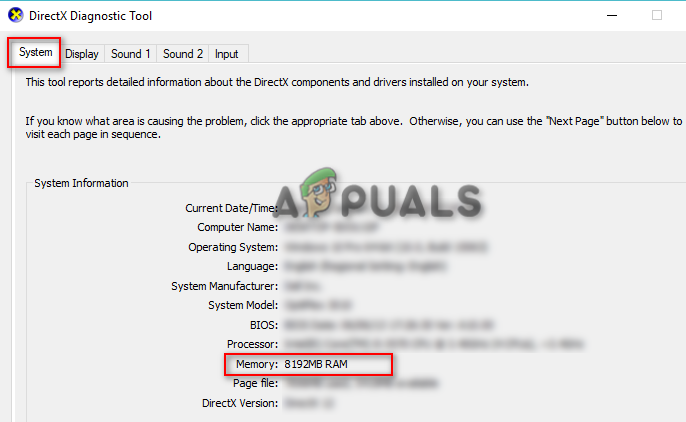
Checking the Memory size.png - If the RAM is below 4GB, then you must Upgrade it.
2. Run the System File Checker
The major cause of the error is corruption in your system files. Therefore, to ensure that your system is free from file corruption, you must perform the system file checker that scans and repairs the corrupted system files automatically. With the steps listed below, you can run the system file checker:
- Open the Windows Start Menu by pressing the Win key.
- Type “cmd” in the Windows Search bar.
- Right-click on the Command Prompt, and select the “Run as administrator” option.
Running the Command Prompt as an administrator. - Run the system file checker by typing the following command in the Command Prompt while giving a space between “sfc” and “/.”
sfc /scannow
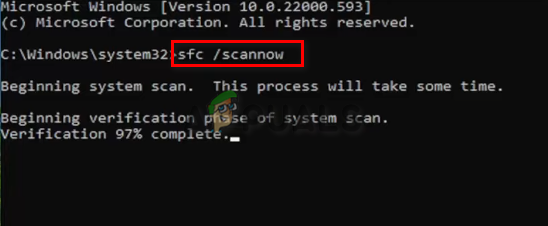
Running system file checker on the command prompt. - After scanning your System, the file checker will automatically repair the corrupted files.
3. Run a Disk Checker
A corrupted disk prevents the system from accessing certain drives and damages the performance of the system. Therefore, you must run a Disk Checker that will repair the corruption in the disk. With the instructions given below, you can run a Disk Checker:
- Open the Windows Start Menu by pressing the Win key.
- Type “cmd” in the Windows Search bar.
- Right-click on the Command Prompt, and select the “Run as administrator” option.
Running the Command Prompt as an administrator. - Run the disk checker by typing the following command on the Command Prompt and pressing the Enter button:
chkdsk /f /r C:

Performing a chkdsk scan. - After the scan is completed, restart your computer to make the necessary changes.
Check to see if the command runs properly.
4. Update your Windows
When using an outdated Windows, certain programs will not execute their tasks properly. which can lead to an error. Therefore, an outdated Windows can also be one of the reasons for the occurrence of this error. You must follow the instructions given below to update your Windows to the latest version:
- Open the Windows Settings by pressing the Win + I keys together.
- Navigate to Update and Security > Windows Update.
- Click on the “Check for Updates” option.
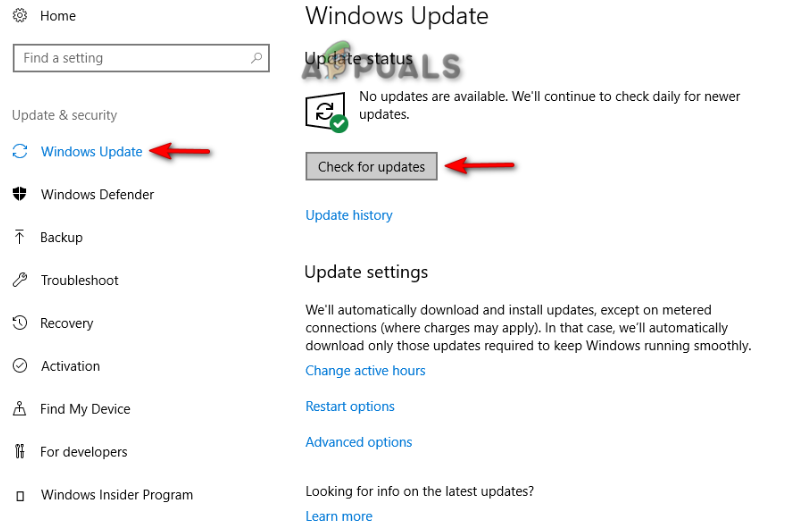
Checking an available Windows Update - After a Windows update is found, you must download it by clicking on the Download option on the page.
- Restart your system to make the necessary changes.
- Go to the Official Microsoft Web Page.
- Download the latest Windows Update by clicking on the “Update Now” option.
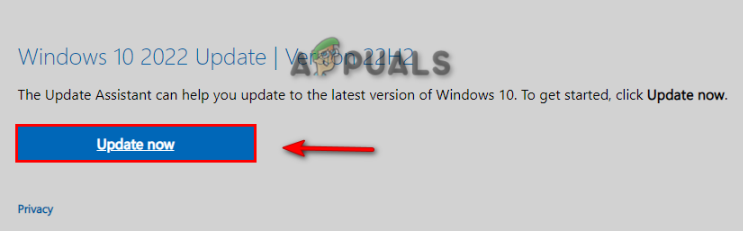
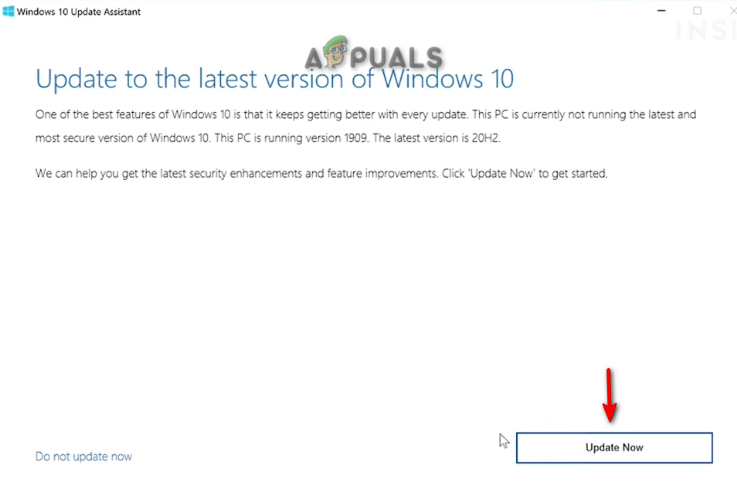
Downloading the Latest Windows Update - Install the update by clicking on the “Update Now” option on the Windows Update Assistant page.
Installing Windows Update - After the installation is completed, restart the computer by clicking on the Restart option.
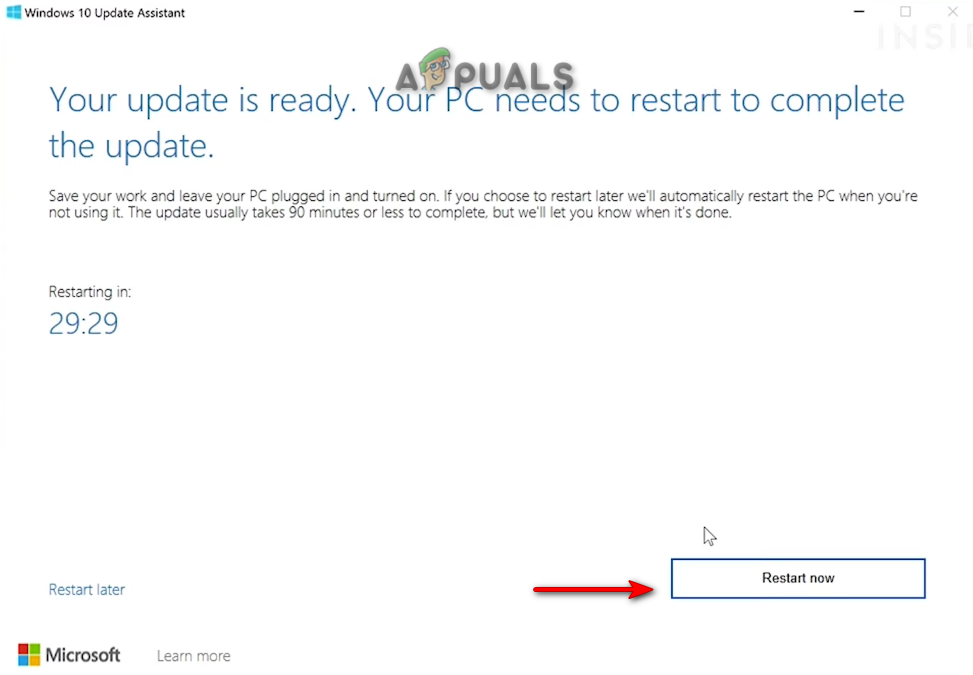
Restarting the Computer
5. Run the Command in Safe Mode
If the error still occurs in a Normal State, then you must test the system on Safe Mode. When booting on Safe Mode, the system starts with default programs and a minimal set of drivers. This mode will help you find the problem in the system. You can run the system on Safe Mode as shown below:
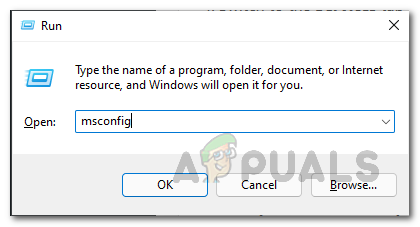
- Open the Run Command by pressing the Win + R keys together.
- Type “msconfig” in the search box and click OK.
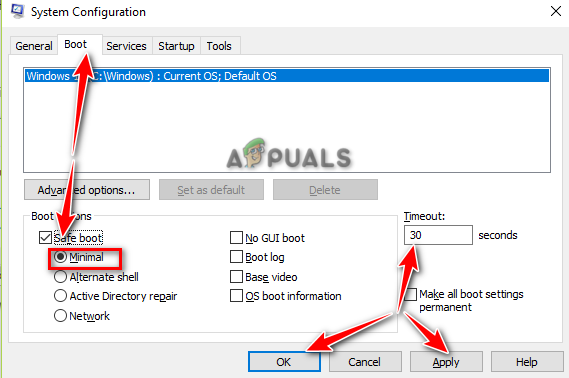
Opening System Configuration - Open the Boot tab and check the “Safe Mode” box.
- Click on “Minimal” under Safe Mode.
- Set the timer as per your choice and Click Apply and OK.
Booting System on Safe Mode - Restart your computer by selecting the “Restart” option on the System Configuration Prompt.
Restarting computer - Open the Windows Start Menu by pressing the Win key.
- Type “cmd” in the Windows Search bar.
- Right-click on the Command Prompt, and select the “Run as administrator” option.
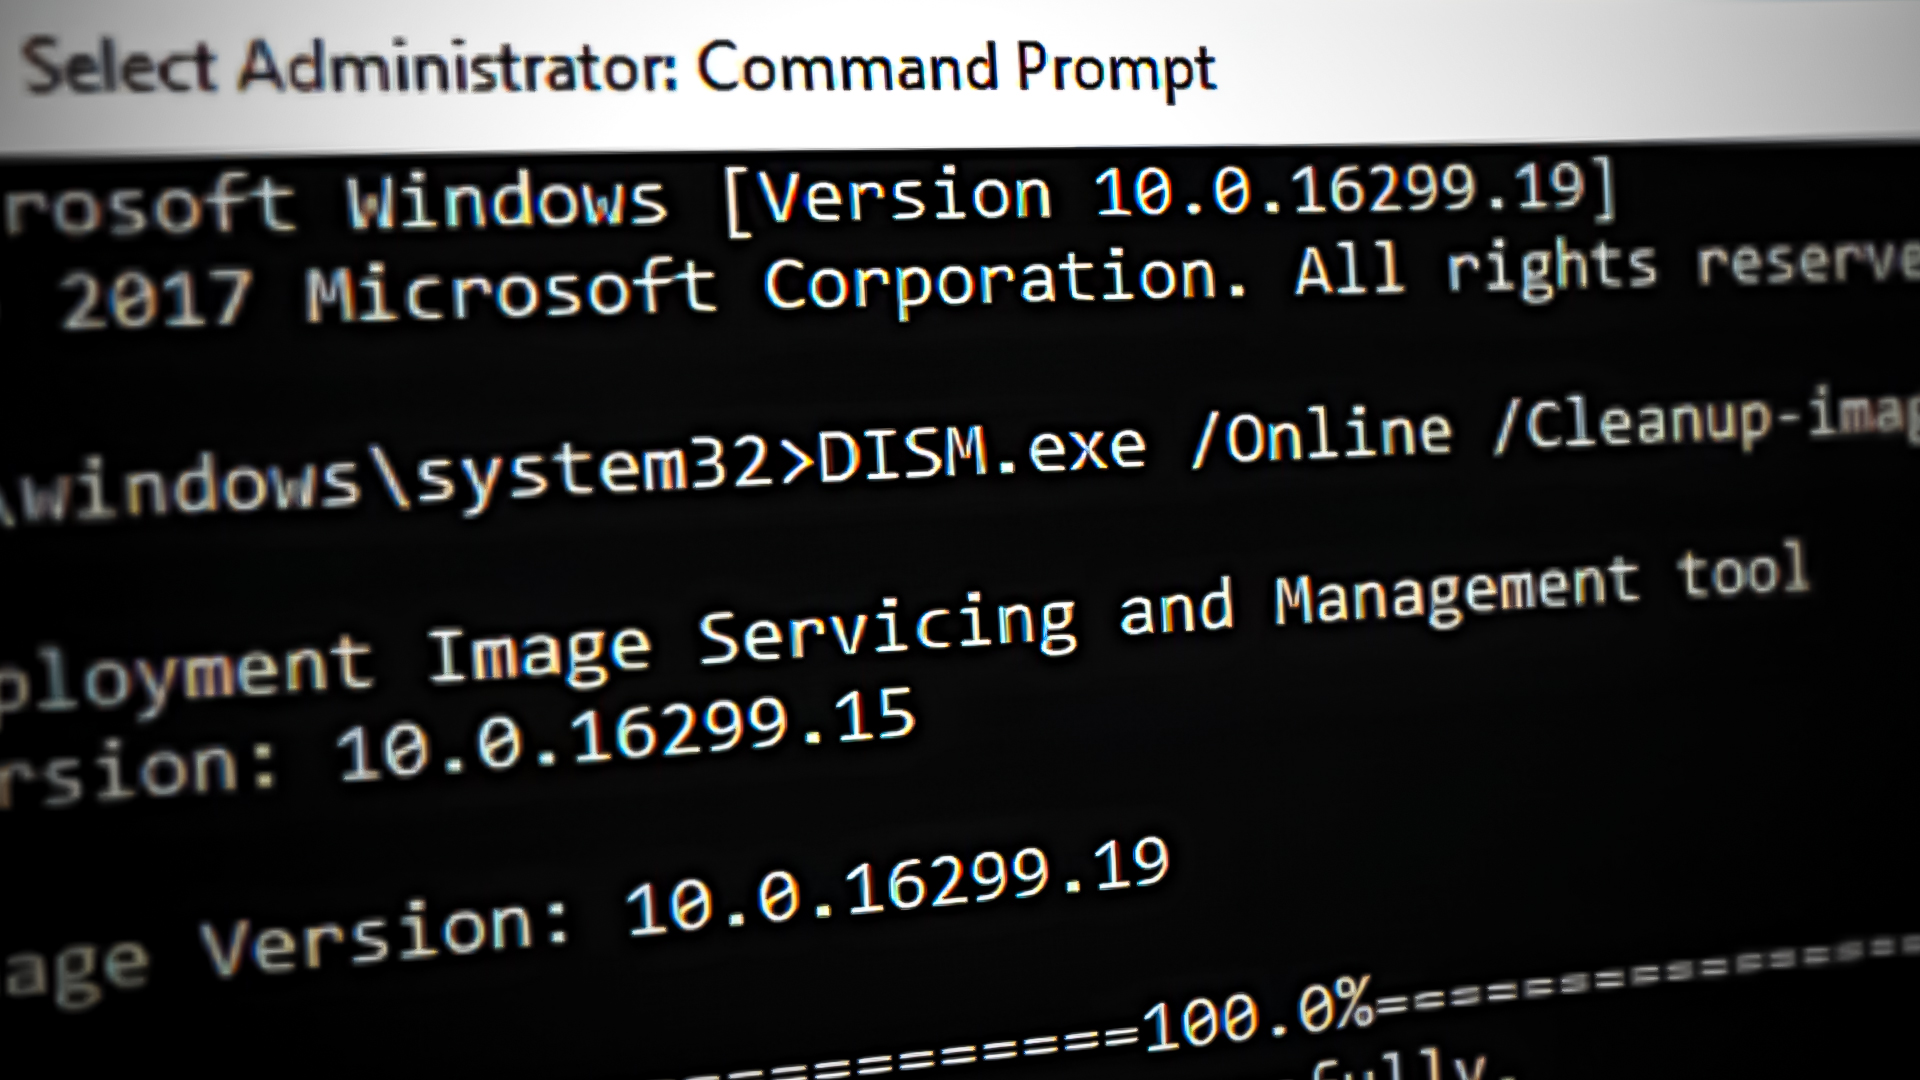
Running the Command Prompt as an administrator. - Run the DISM command by pasting the following command into the command prompt and pressing the Enter button.
Dism.exe /online /cleanup-image /restorehealth
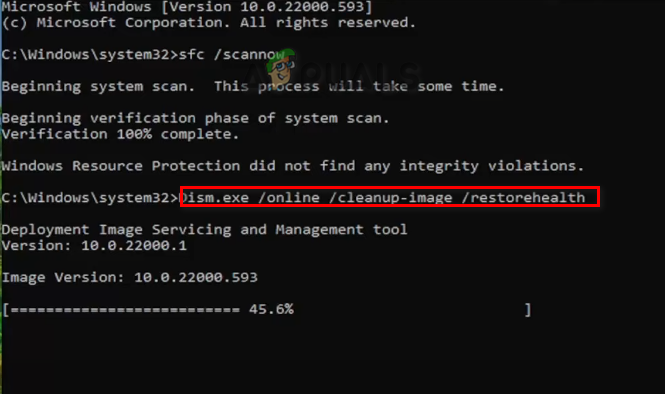
Running DISM Command on the Command Prompt
Command should run without getting stuck now.
6. Use In-Place Upgrade
When facing DISM command issues, you must use the “In Place Upgrade“. It is the final method before reinstalling Windows on your system and is commonly used for repairing and fixing restore-health errors.