How to Disable a Laptop’s Keyboard on Windows 10
Laptops aren’t like desktop computers – a laptop already has all the peripherals you could possibly need built into it. The basic computer accessories you need in order to operate a computer are a mouse, a keyboard and a monitor, and a laptop houses all three of these.
On most laptops, each peripheral cannot be disconnected and replaced on a whim as is the case with desktop computers, since every single peripheral is hardwired into the laptop. That being the case, if a laptop’s keyboard stops working, either partly or completely, you can’t simply disconnect it and connect a new one. You will have to have the laptop’s hood opened up and the entire built-in keyboard replaced. This can be quite costly, which is why most people with subpar or non-functioning laptop keyboards simply connect a normal, external keyboard to their laptops and use them instead. In such cases, and in many others, the laptop user would want to disable the laptop’s built-in keyboard so as to avoid unwanted or unintentional keystrokes on it being registered on the computer.
1. Disable the Laptop Keyboard Driver
On Windows 10, the latest and greatest in the long line of Windows Operating Systems, it is entirely possible to disable the keyboard that is built-in to a laptop. You can’t really use any computer (which includes laptops) without a keyboard, which is why you need to be sure to have an external keyboard connected to the laptop before you disable the built-in keyboard. To disable the built-in keyboard on a laptop running on Windows 10, you need to:
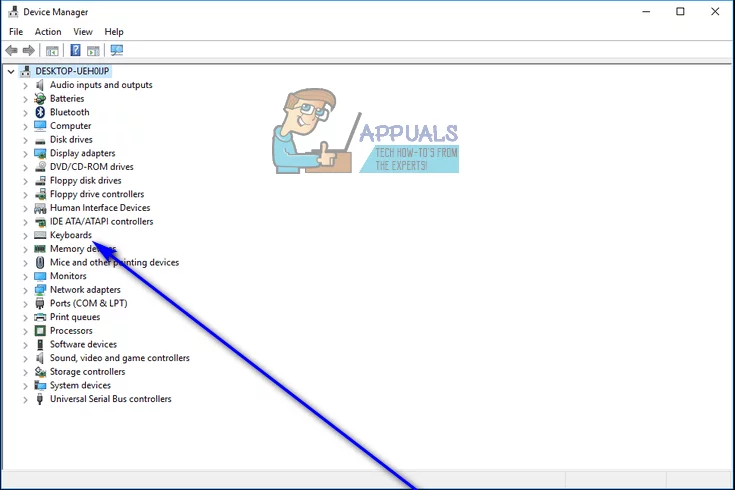
- Open the Device Manager. This can be accomplished any one of two ways – you can either right-click on the Start Menu to open the WinX Menu and click on Device Manager, or press the Windows Logo key + R to open a Run dialog, type devmgmt.msc into the Run dialog and press Enter to launch the Device Manager.


- In the Device Manager, locate and double-click on the Keyboards section to expand it.
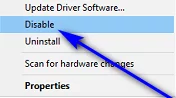
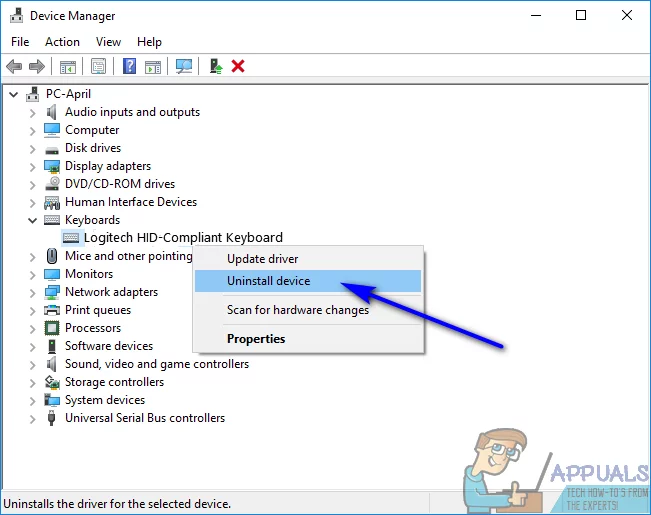
- All of the keyboards connected to your computer at that moment in time will be listed under the Keyboards section. Locate the listing for the laptop’s built-in keyboard, and right-click on it.
- In the resulting context menu, click on Disable.
- Click on Yes in the resulting dialog box to confirm the action and disable the laptop’s built-in keyboard.

If you don’t see a Disable option in the resulting context menu, fear not – you will see an Uninstall option, and you can click on that to uninstall the drivers for the built-in keyboard instead of simply disabling it. Once you do so, you will see a dialog box asking you to confirm the action – click on OK to provide confirmation and uninstall the drivers for the built-in keyboard.
If you do uninstall the drivers for the laptop’s built-in keyboard instead of disabling it, be wary – Windows 10 might automatically update the drivers after detecting the keyboard. If that happens, you will have to make your way back to the Device Manager and uninstall the drivers for the laptop’s built-in keyboard once again.
2. Disable the Service that controls the PS/2 port
If the method shown above didn’t help you, you can alternatively disable the port that controls the data and input of PS/2 Ports as most laptop keyboards are internally connected through that port. We will simply disable the power from that port because there won’t be anything controlling the data of that port once we disable the service. To disable the Service that controls the PS/2 Port, follow the steps shown below:-
- Click on the Search bar and search for Command Prompt then click “Run as administrator”.
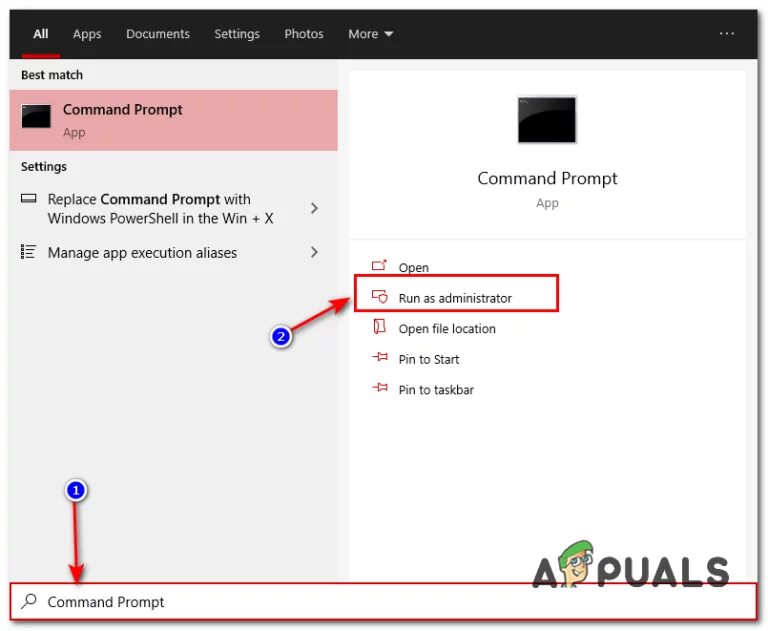
Opening Command Prompt as an administrator - Type the following command:-
sc config i8042prt start= disabled
- Now restart your computer and your laptop keyboard shouldn’t work.
- In case you want to re-enable the keyboard in the future you can use the following command:-
sc config i8042prt start= auto