How to Fix Crunchyroll Server Error on Xbox One
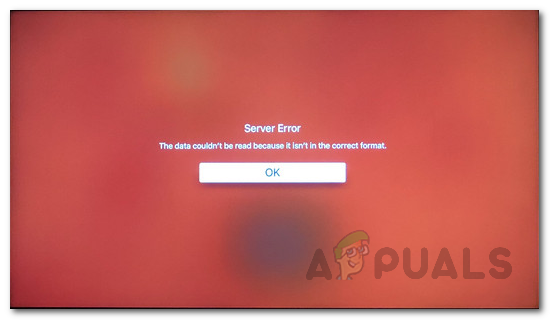
The Crunchyroll Server Error occurs when you try to open up the application after turning your Xbox One off. Upon opening the application, the users are promoted the “The data couldn’t be read because it isn’t in the correct format” error message. This is a very known issue and it seems to plague mostly Xbox users only. The application works perfectly fine on other platforms.
Nonetheless, we went through several user reports to find out the potential culprits of the said error message. Thus, we have compiled a list of the causes which often cause the Server Error message. These are:
- Turning off Xbox with Crunchyroll Running — As it turns out, the issue seems to be mostly caused when you power off your Xbox One while the Crunchyroll app is running. This means you don’t close the application properly before turning off your Xbox. In such a case, what you will have to do is do a force quit when you want to open the application. That will get rid of the error message.
- Crunchyroll Queue Size — It has also been reported that if you have a large queue size i.e. you have too many anime in your queue, the app might throw out the error message or even at times, crash. To prevent this from happening, you will have to remove some shows from your queue in order to reduce the size.
- Crunchyroll Saved Data — Another potential cause of the error message could be the application’s saved data. In such a scenario, you will have to delete Crunchyroll’s saved data from the Manage App menu and then launch it again. That should do the trick.
- DNS Server — For some users, the issue was caused by their default DNS configuration that was set from their internet service provider. Changing their DNS server to that of Google’s fixed the problem for them.
Now that we have been through the potential causes of the issue, we can start listing the methods that will fix the issue. Please note that these fixes might act as a temporary fix in most of the cases as this is an issue that needs to be resolved by Crunchyroll. These are the workarounds that have been reported as working by the community. With that being said, let us get started.
Method 1: Force Quit Crunchyroll Application
As we have mentioned above, the issue often appears when you haven’t closed the Crunchyroll properly before turning off your Xbox One. As it turns out, doing this will almost always result in a Server Error when you try to open up the application. Therefore, it is recommended that you quit the application properly before turning it off. At least until this issue has been patched by the developer team.
Follow the below instructions to quit the application:
- First of all, make sure that the Crunchyroll application is running.
- After that, hit the Xbox button on your controller. Now, you have to make sure that Crunchyroll’s app tile is highlighted.
- Then, hit the Menu button which brings forth various different options.
- From the menu, scroll down to the Quit option and select it.
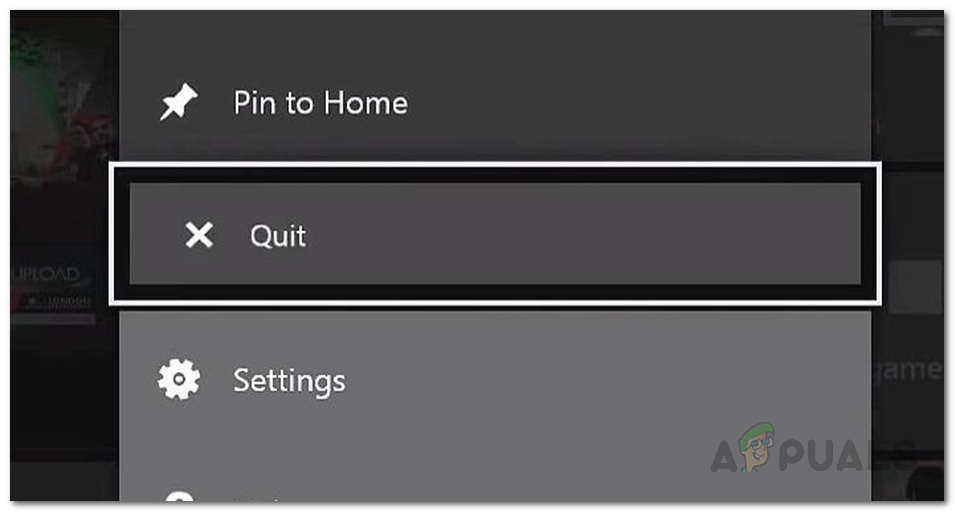
Xbox One Quitting App - Once you have closed the application, open it up again to see if it is working.
Method 2: Reduce Queue Size
In some cases, the Server Error issue is caused by the size of the shows in your queue. Other than that, some users have reported that their application often crashed because of this. Therefore, it is recommended that you reduce your queue size to see if you face the issue in the near future again. Doing so will save you from potential crashes in the future which is something that no one desires.
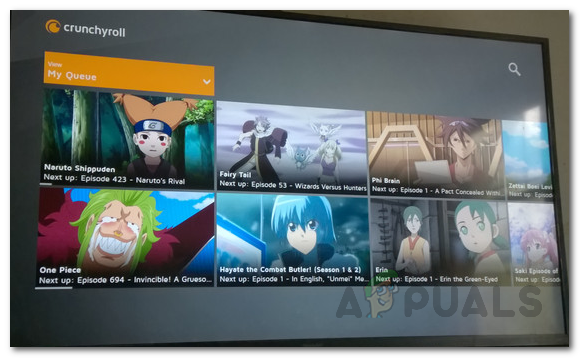
Reducing episodes from your queue is fairly easy. Just go to your Queue list and from there, you will be able to remove episodes without any hurdles.
Method 3: Delete Saved Data
Saved Data is something that acts as a cache for Xbox One applications. It contains various settings such as your Crunchyroll sessions, preferences, and more. In some cases, corruption in these data files can cause issues with the specific application. Therefore, in such a case, you will have to delete the saved data. This can be done very easily. Follow the instructions provided down below to delete Crunchyroll’s Saved Data.
- First of all, make sure the application is closed. Follow the first method mentioned to do this.
- After that, there are two ways that you can do this, one is to do it from the Manage Storage window which is a lengthy process. Secondly, you can do it directly by merely highlighting the application and going through the options which is quicker than the first option. We’ll go through the second option, therefore.
- Make sure to highlight the Crunchyroll application and then click on the Menu button to bring up more options for the application. From there, select the Manage App option.

Xbox One Manage App - After that, on the left-hand side, scroll down to Saved Data and then select the Delete All option. Then, you can launch the application again and it will show a pop-up window that says Syncing Data. Wait for it to complete.
Method 4: Change DNS Server
As it turns out, in some scenarios, the issue can simply be caused by your DNS server. Internet service providers use their own DNS servers to often monitor your internet activity and it usually faces speed issues due to high load. Therefore, using a DNS server from Google or other trusted providers like Cloudflare can be a valuable alternative.
Please make sure that you use this method if you are facing the issue not only on Xbox One but on other electronic devices in your home as well. To change the DNS server, do the following:
- First of all, hit the Xbox button on your controller and go to the System tab.
- Once there, select the Settings option.
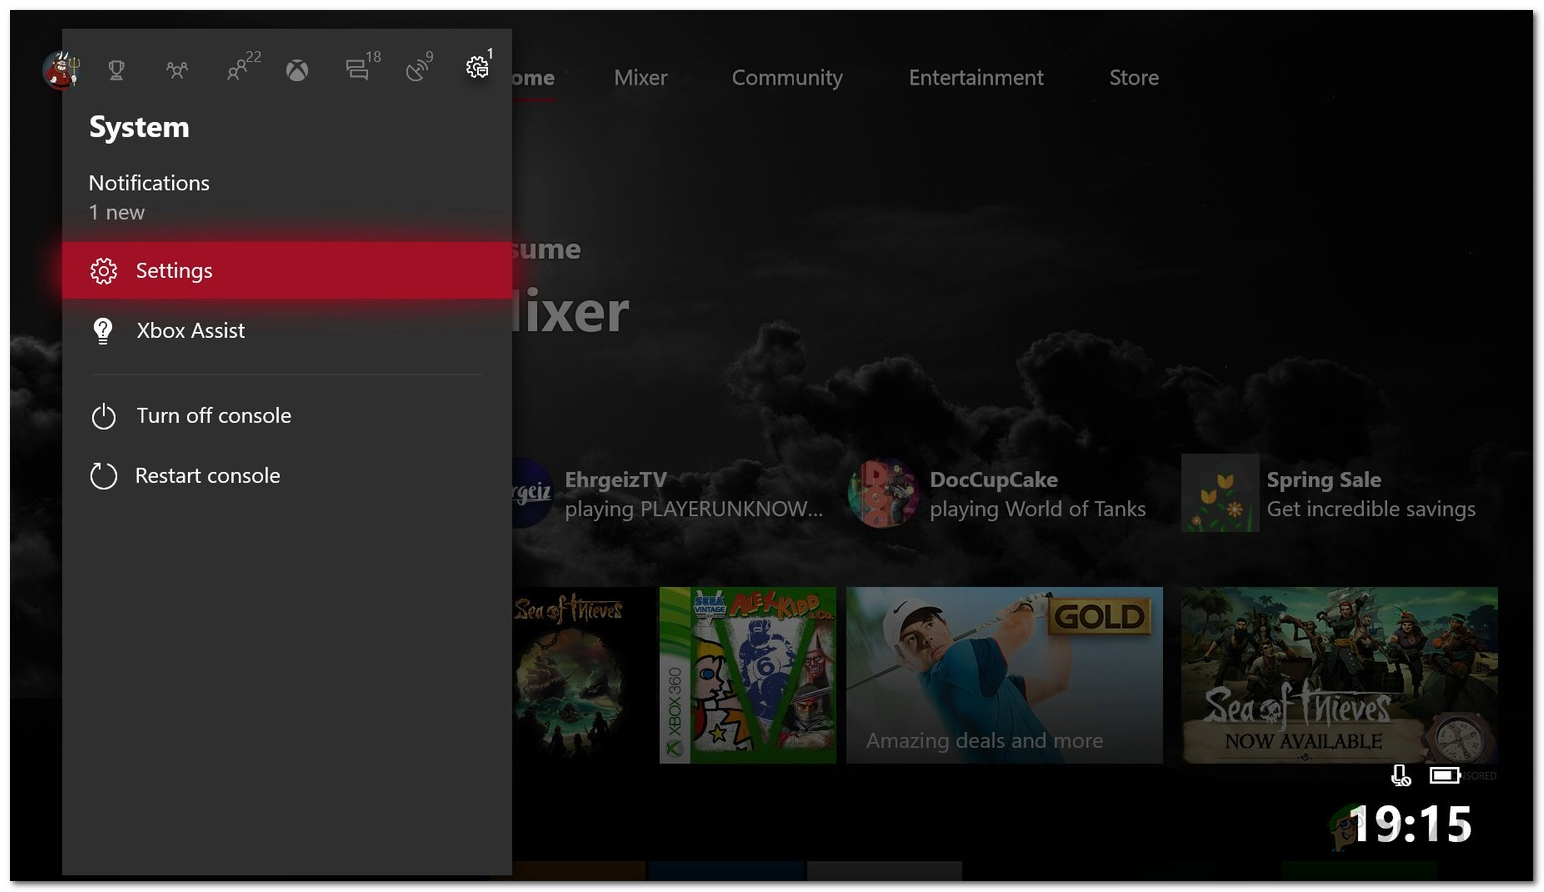
System Tab - Scroll down to Network and then select Network Settings.
- Once you are in the Network Settings window, select the Advanced settings option.
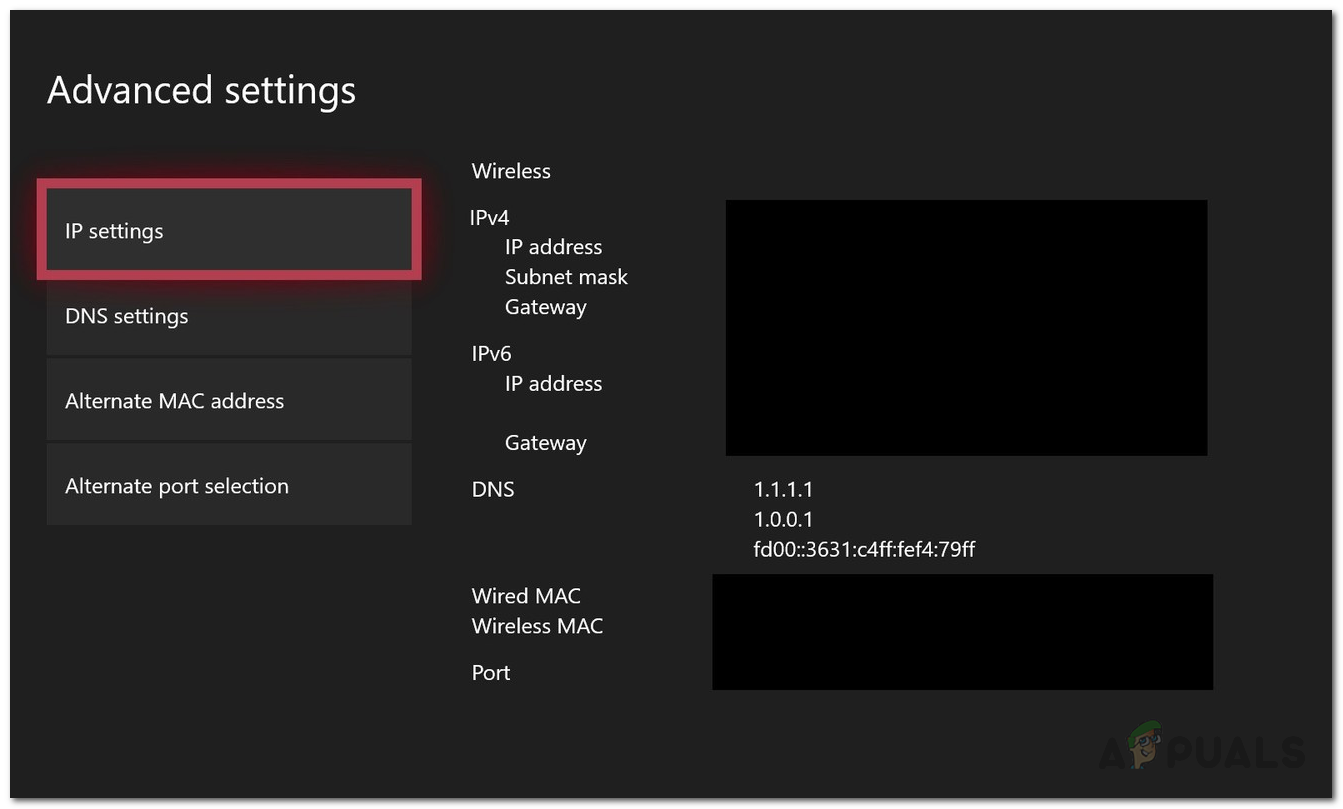
Network Settings - Move down to DNS Settings and then select Manual.
- Provide the new DNS servers that you wish to use. If you want to use Google’s DNS servers, enter 8.8.8.8 and 8.8.4.4 IP addresses respectively. In case you wish to use Cloudflare’s DNS servers, provide 1.1.1.1 and 1.0.0.1 IP addresses respectively.
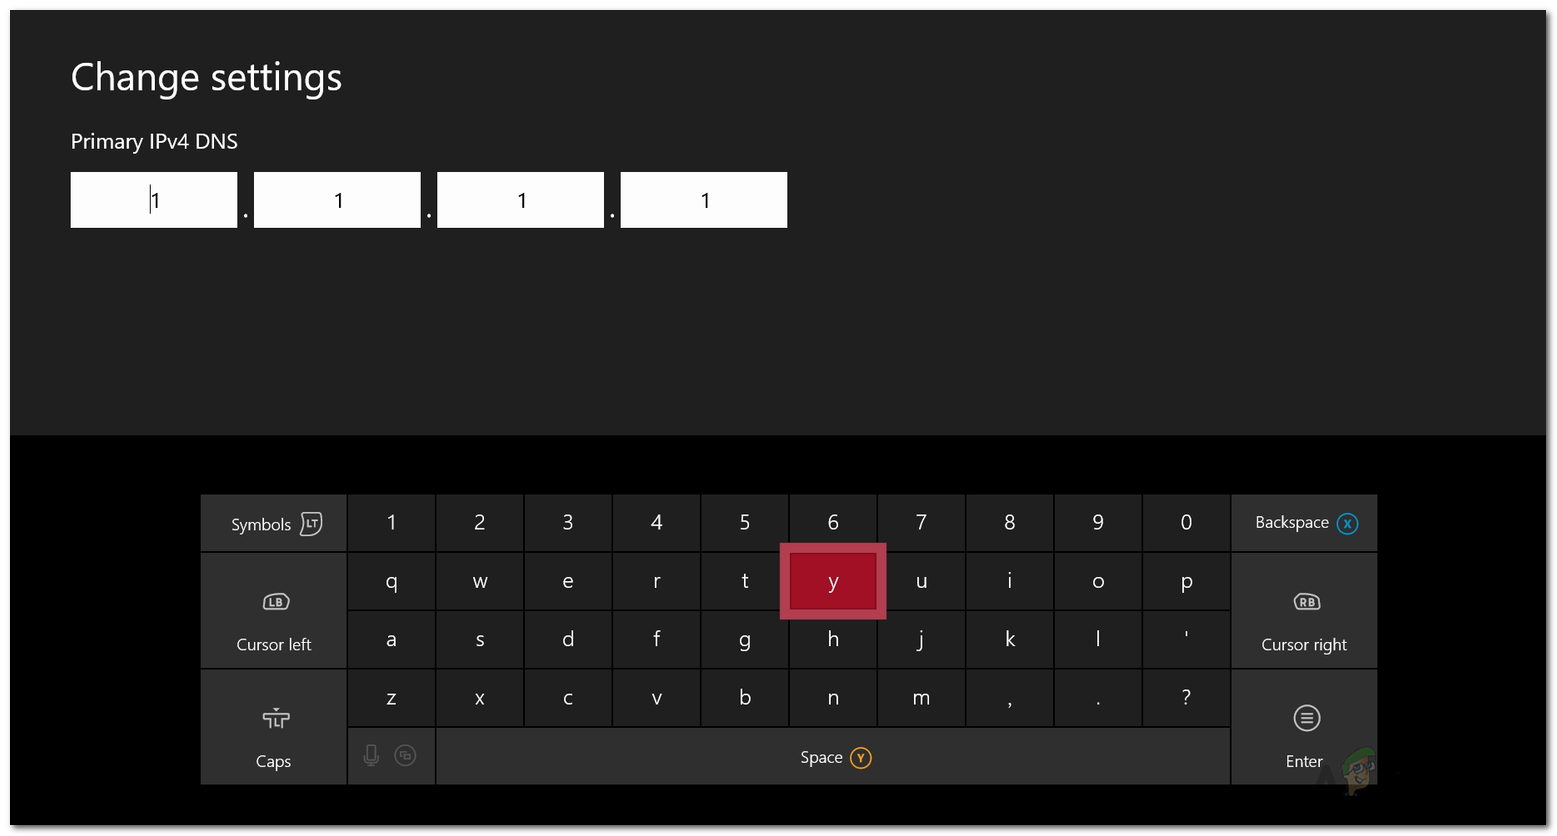
Changing DNS - Once you have entered the IP addresses of the new DNS servers, hit the B button to exit the menu. Now, Xbox will check your connection just to make sure that everything works fine.
Note: In case the issue is limited to your Xbox One device only, you can try restarting your modem as users have reported that as a potential fix for the problem.