Fix: “Couldn’t open connection to server” on Samsung Phones
The “Couldn’t open connection to server” error message is basically a toast that appears at the bottom of your screen. This error often occurs when something is wrong with your phone’s network settings which is why it is not able to establish a connection to the said server. The problem has been primarily reported by Samsung users and it appears to be only limited to Samsung smartphones. With that said, we actually have a few methods that can help you in solving the error message for good and we are going to go through them in this article so follow through.
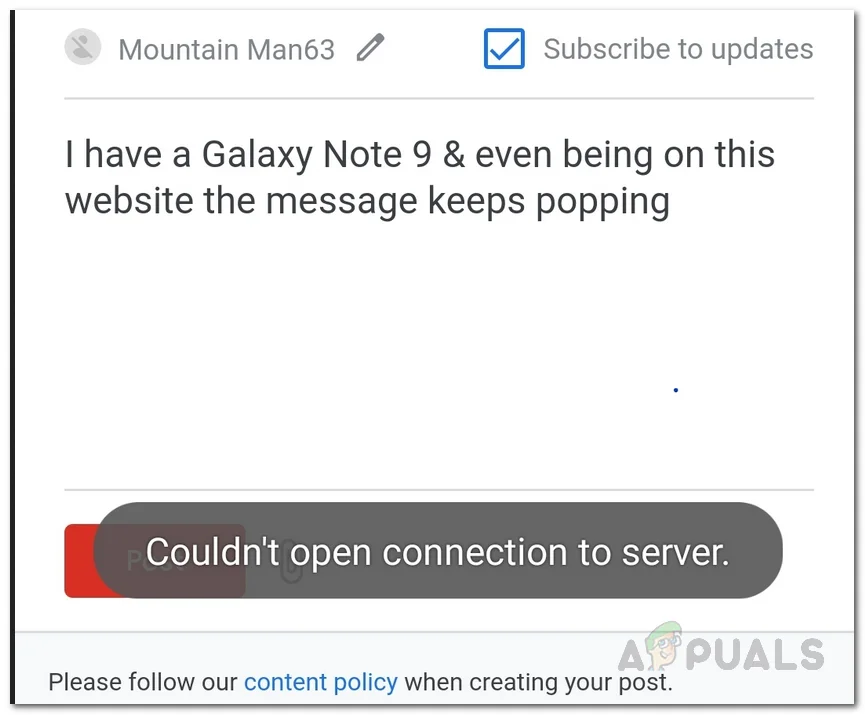
As it turns out, the primary reason that you are facing the error message is due to your network settings. The error is especially annoying because it keeps appearing in the form of a toast which is the correct term used for a message as such at the bottom of the screen. Regardless of what you are doing, the error message pops up again and again so it’s not really limited to a certain application which causes the problem. Now, aside the network settings, some third-party apps on your system can also cause the problem. To understand this more, let us first have a look at the reasons in more detail before we get into the different solutions available.
- Installed Applications — One of the main reasons why you encounter the mentioned error message can be due to the applications that are installed on your phone. Reportedly, this is often caused by Smart Switch which is an app from Samsung that lets you transfer files across devices. In such a scenario, you will have to uninstall the application to get rid of the error message.
- Network Settings — As it turns out, since the error message suggests that it wasn’t able to establish a connection to the server, it can be, in most cases, due to your phone’s network or wifi settings. When this happens, you can easily resolve the problem by resetting the network settings on your phone.
Now that we have gone through the potential causes of the problem, we can get started with showing you the different ways of getting rid of the error message in question. With that said, let us get right into without any further delay.
Reboot your Device
As it turns out, the first thing that you should do when you encounter the error message mentioned above is to go ahead and reboot your mobile phone. More often than not, your phone can run into issues where the services running in the background can malfunction and require a system restart. This can be achieved by restarting your phone which will start everything up fresh after it boots up. Restarting one’s phone is essentially the obvious thing to do whenever you run into an issue like this.
Therefore, go ahead and restart your phone by holding down the power button and then choosing the Restart option that is shown on the screen. Once your phone boots up again, see if the error message still appears.
Reset Network Settings
As we have mentioned above, the most probable reason due to which you encounter the problem in question is the network settings on your phone. It isn’t rare for phones to run into connection issues due to whatever reason. The good thing is that problems like these can be easily addressed by simply resetting the network settings on your phone. When you reset your network settings, it is important to note that you will be losing the WiFi networks that you are connected to. This means that you will have to enter the password again and pair any bluetooth devices as well. With that said, follow the instructions given down below to reset your network settings:
- First of all, open up the Settings app on your phone.
Opening Settings App - Then, on the Settings screen, swipe up and then tap on the General Management option.
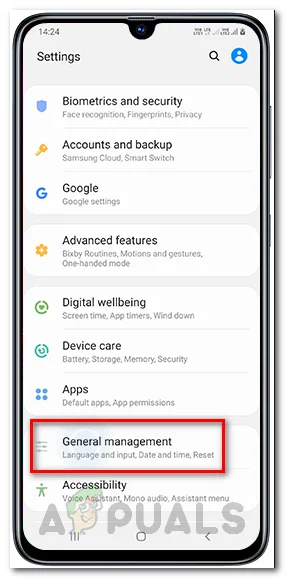
Opening General Management - On the General management screen, tap the Reset option at the bottom.
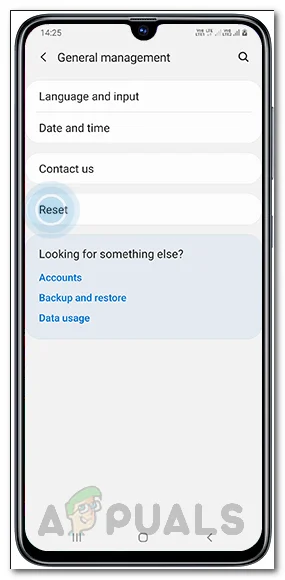
Pressing Reset Option - Once you are there, go ahead and tap on the Reset network settings option.
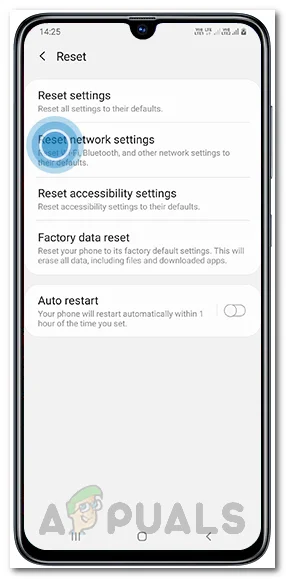
Resetting Network Settings - To reset your network settings, tap the Reset settings button shown.
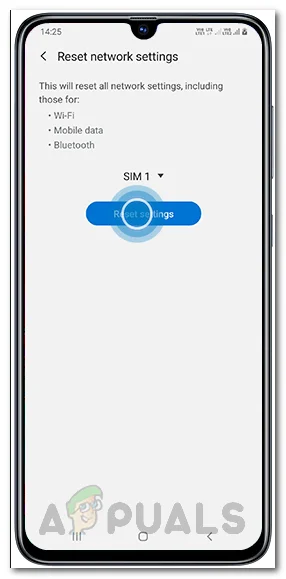
Pressing Reset Settings Button - Finally, you will be asked to confirm the action so go ahead and press the Reset button again.
- Once you have reset your network settings, connect to your network again and see if the error message is still there.
Uninstall Smart Switch
As it turns out, Smart Switch is an app developed by Samsung that serves the purpose of transferring data like photos, messages and even contacts from your phone to any other device or vice versa. While using Samsung Smart Switch can be really useful application, it can sometimes cause the connection problem that you are facing. This has been reported by multiple users who were facing a similar issue where Smart Switch turned out to be the culprit. Therefore, in such a scenario, you will have to simply uninstall Smart Switch from your device. To do this, follow the instructions given down below:
- First of all, open up the Google Play Store on your phone.
- Then, in the search provided, search for Samsung Smart Switch Mobile.
- When taken to the app’s page, tap the Uninstall option to remove the application from your device.
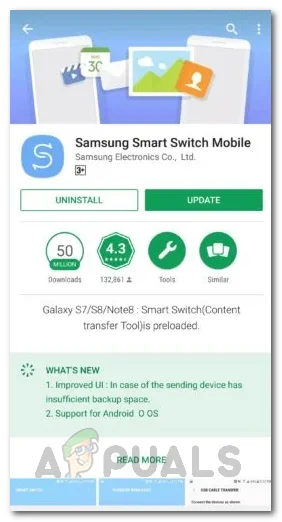
Uninstalling Samsung Smart Switch - Once it has been uninstalled, see if you still face the problem in question.
Clear Visual Voicemail Data
In some scenarios, the problem in question can also be caused due to the voicemail application that is installed on your system. This has been especially the case with AT&T users. As it turns out, there is actually an easy fix to this and that is to clear the app’s data on your phone. This includes the cache and other temporary data that is stored on your phone. This can be done easily via the settings. Follow the instructions given down below:
- First of all, open up the Settings app on your phone.
Opening Settings App - Then, swipe up and then tap on the Apps option.
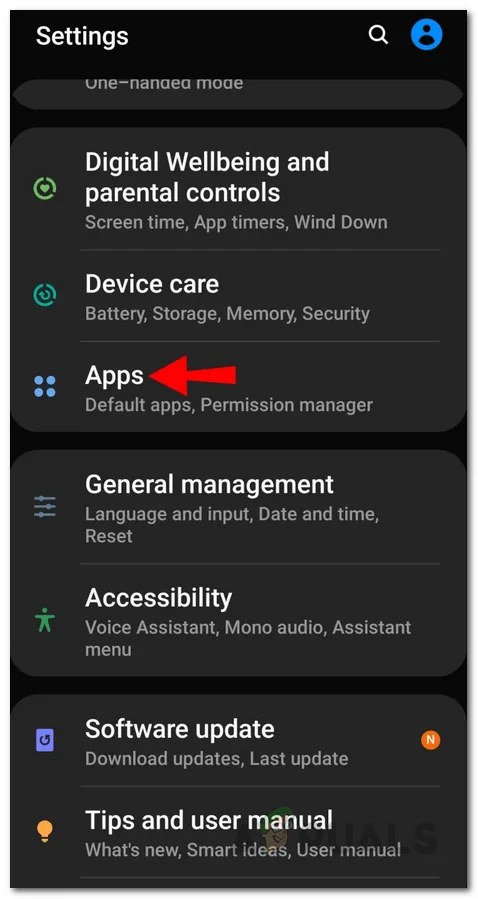
Opening Apps Settings - From the list of apps shown, find Visual Voicemail on the list and tap on it.
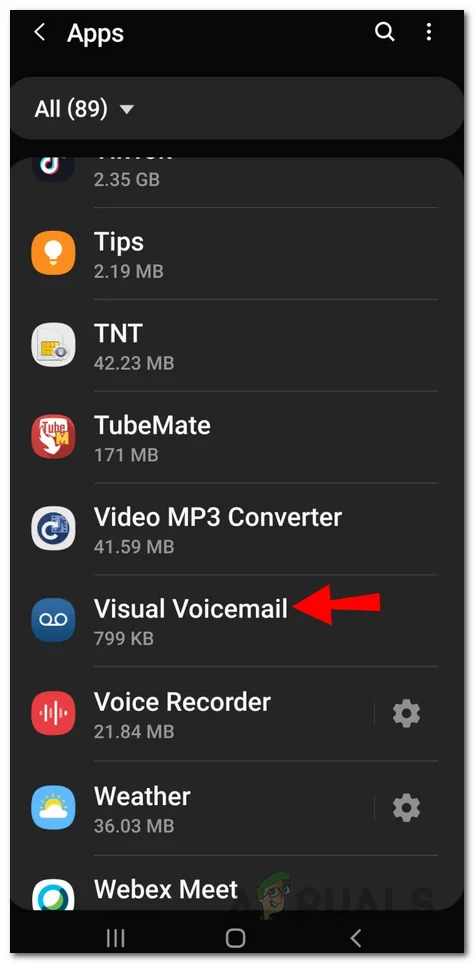
Locating Visual Voicemail App - Then, on the Visual Voicemail app’s screen, tap the Storage option.
- Finally, tap the Clear cache and Clear data options at the bottom.
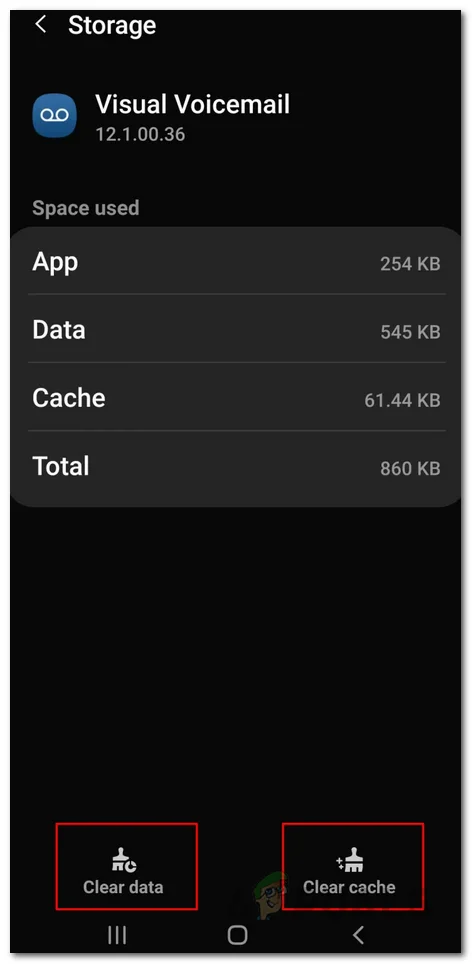
Clearing Visual Voicemail Data - Once you have done that, see if the error message still appears.
Start Phone in Safe Mode
As it turns out, in some cases, the problem can be caused due to a random third-party application on your phone. While Smart Switch and Visual Voicemail were known to cause the issue, it is very possible that another third-party application can cause it on your phone as well. However, the problem here is that you can’t locate the culprit directly.
Therefore, to ensure that the problem is indeed being triggered by a third-party application on the phone, you will have to start in Safe mode. In Safe mode, all third-party applications are disabled and so the phone is running only the required services in the background. If you don’t face the problem in Safe mode, then that will verify the suspicion of a third-party application causing the issue. In such a scenario, you can use apps like Toast Source that will tell you what program on your phone is actually generating the toast that you are seeing. Toast is essentially the message that is shown at the bottom of the screen much like the error message. To start your phone in safe mode, follow the instructions given down below:
- First of all, go ahead and power off your smartphone completely.
- Once you have, power on the device and as soon as you see the Samsung logo appear, press and hold the Volume down key.
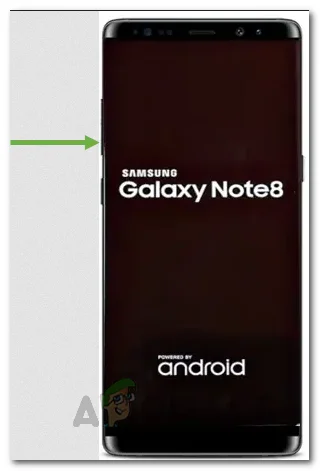
Volume Down Key - Upon doing this safely, your phone shall start in safe mode with the said text visible on the bottom-left corner of the screen.
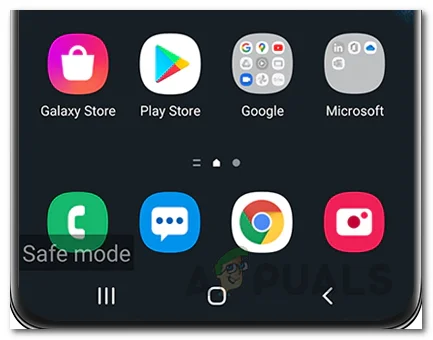
Started in Safe Mode - Now, check if the error message in question persists.
In case you no longer see the message, then it is obvious that it is due to a third-party app. Restart your phone normally and try to locate the culprit. To make it easier, you can use an app like Toast Source as we mentioned above which will essentially tell you which program is causing the toast to appear.