How to Fix CDVD READ ERROR in PCSX2 Emulator
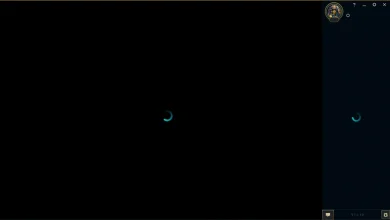
The Black Screen Error (CDVD READ ERROR) occurs in the PCSX2 emulator when users attempt to use this piece of software to play PS2 games. This issue occurs with multiple games and with several different configurators of this emulator. The error message can only be visible in the program log.

In most cases, this particular error will occur when you attempt to play a PAL version of a game with a version of the PCSX2 emulator older than 1.4. This happens because previous versions built around playing NTSC games, which made a lot of PAL ISOs unplayable.
In case you have an AMD CPU, chances are the problem will occur due to an incorrect renderer that was auto-assigned. To fix the issue in this case, you will need to access the Video (GS) settings of your emulator and set the Renderer to Direct3D9 (Hardware). But if you have a GPU with DirectX11 support, you should set the Renderer to Direct3D11 (Hardware).
Finally, PCSX2 is notoriously known for its inability to play games directly from a DVD drive. So in order to work around this inconvenience, you need to create an ISO out of your game disk and either mount it conventionally or use the internal feature to load the ISO into PCSX2.
Method 1: Install Version 1.4 of PCSX2
As it turns out, in most cases the issue occurs whenever users attempt to play a PAL version (Made for Europe) of a game. Keep in mind that older versions of PCSX2 are mainly built around NTSC, which might lead to the apparition of this issue whenever the user attempts to play the PAL ISOs.
If this scenario is applicable, you should be able to fix the issue by uninstalling your current version and then installing version 1.4 from the official website. Several affected users have confirmed that this operation has successfully allowed them to launch their favorite PS2 games without encountering the Black Screen Error (CDVD READ ERROR).
Here’s a quick guide on uninstalling the current version of PCSX2 and installing the universal version (PAL and NTSC):
- Press Windows key + R to open up a Run dialog box. Next, type ‘appwiz.cpl’ and press Enter to open up the Programs and Features menu.
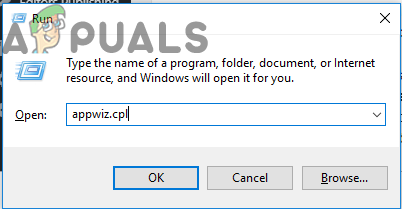
Typing in “appwiz.cpl” in the Run prompt - Once you’re inside the Programs and Features window, scroll down through the list of installed applications and locate your PCSX2 installation, right-click on it and choose Uninstall from the context menu.
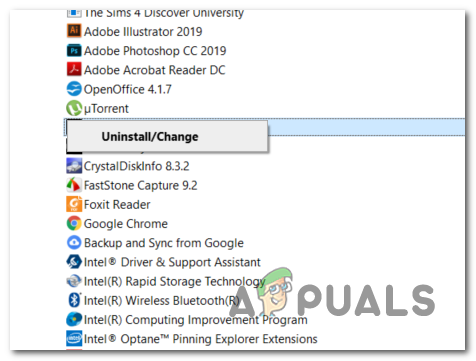
Uninstalling the old version of PCSX2 - Inside the uninstallation window, follow the on-screen instructions to complete the uninstallation, then restart your computer to complete the uninstallation.
- After the next startup is complete, visit this link (here), make your way to the Files category and click on the Download button associated with PCSX2 1.4.0 Standalone Installer.
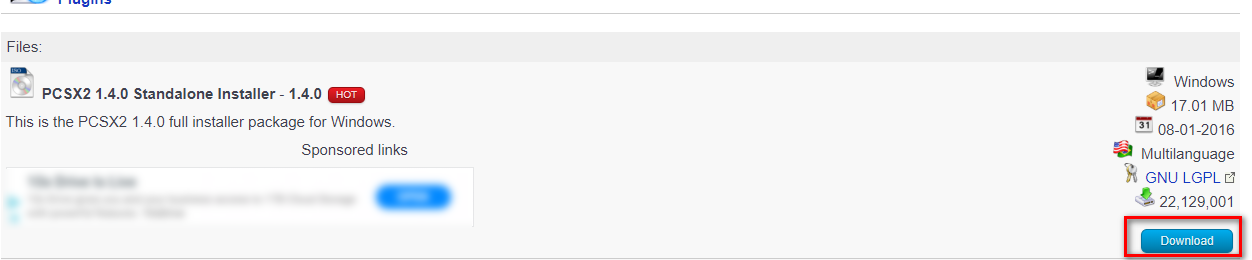
Downloading the standalone installer of PCSX2 1.4 - Once the download is complete, open the installation executable that you just downloaded and follow the on-screen to complete the installation of the latest version of PCSX2 1.4.
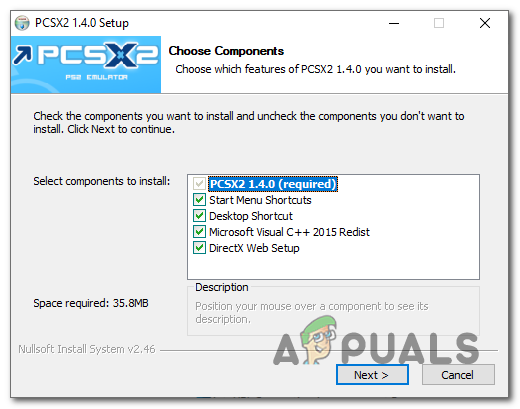
Installing the latest version of PCSX2 - Once the installation is complete, proceed with the installation of the missing DirectX Runtime versions if you are prompted to do so.
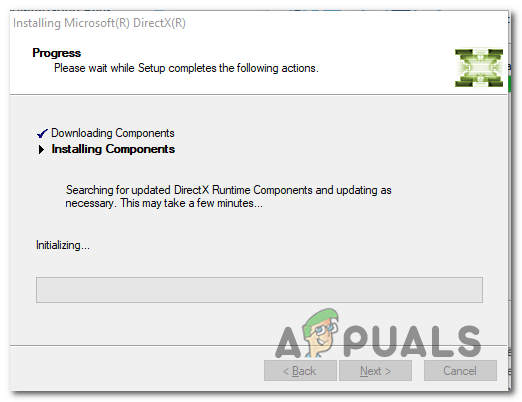
Installing the latest version of DirectX - After the operation is completed, close the installer window and restart your computer once again.
- At the next startup, open the version of PCSX2 that you just installed, mount the image that was previously triggering the Black Screen Error (CDVD READ ERROR) and see if the issue is now resolved.
In case the same problem is still occurring, move down to the next potential fix below.
Method 2: Using Direct3D9 (Hardware) Renderer
As it turns out, if you have an AMD processor, chances are your PCSX2 Emulator might use a different Renderer technology that will prevent certain games from running. This happens because the PCSX2 emulator has an automated feature that automatically scans for the best render technology according to the CPU configuration.
While it works just fine for INTEL processors, it might go for Open GL(Software) if you have an AMD processor, which will prevent certain games from running.
Several affected users that were also encountering this issue have confirmed that they were able to resolve the issue after they accessed the Video GS Plugin settings and modified the default renderer.
Here’s a quick guide on doing this:
- Open your PCSX2 Emulator and load your PS2 BIOS when asked to do so.
- Once you get to see the main program interface along with the Program log, use the ribbon bar at the top to access Config > Video (GS) > Plugin Settings.
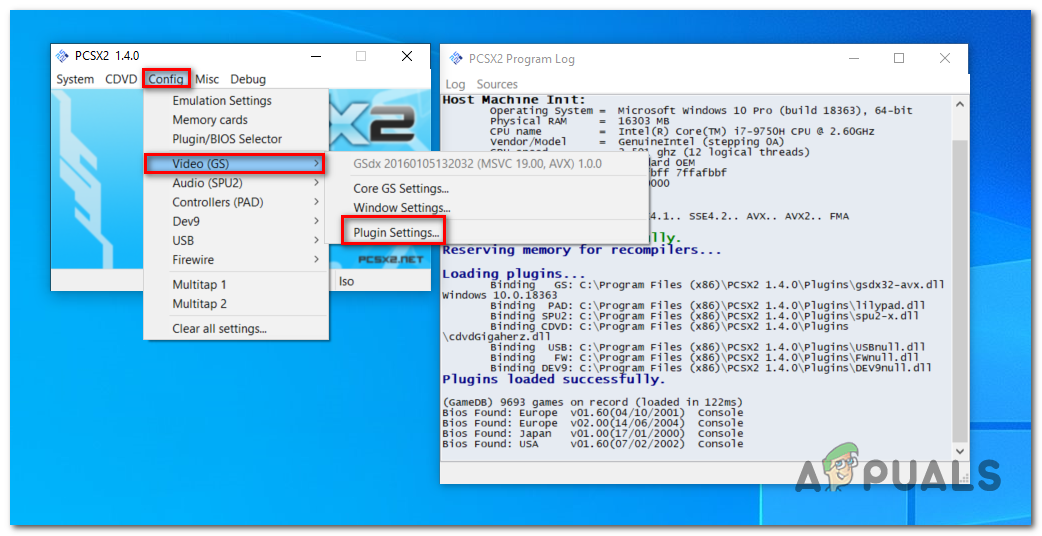
Adjusting the Plugin Settings - Once you’re inside the GSdx Settings menu, expand the drop-down menu associated with Renderer and change it to Direct3D9 (Hardware), then click Ok to save the changes.
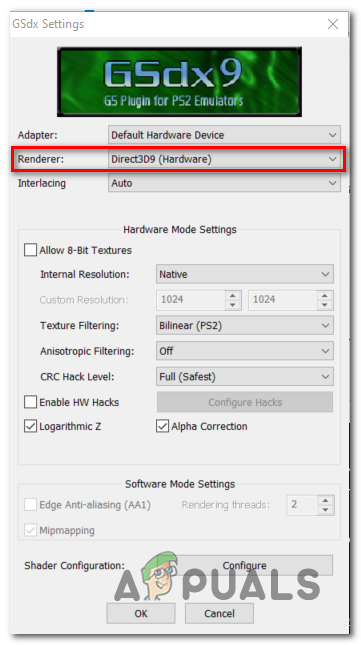
Set the default renderer Note: If the Renderer is already set to Direct3D9 (Hardware), change it to Direct3D9 (Software) and click ok to save the changes.
- Before launching the game again, close & open the PCSX2 1.4 once again. Keep in mind that the program needs to restart in order for this operation to be successful.
- Launch the game that was previously causing the Black Screen Error (CDVD READ ERROR) issue and see if the problem is now resolved.
In case the same issue is still occurring or this method wasn’t applicable, move down to the next potential fix below.
Method 3: Creating an ISO of the game DVD
With certain PS2 classics, the Black Screen Error (CDVD READ ERROR) will occur due to PCSX2’s inability to play games directly from a DVD drive. The vast majority of titles need to be re-dumped into an ISO using ImgBurn or a different program before they can become playable.
This might seem like an extra hassle, but a lot of affected users have confirmed that this operation was the only thing that helped them run their PS2 games on their computer using the PCSX2 emulator.
Here’s a quick guide on how to create an ISO out of your Game file using ImgBurn and load it into PCSX2:
- Open your default browser and navigate to this link here.
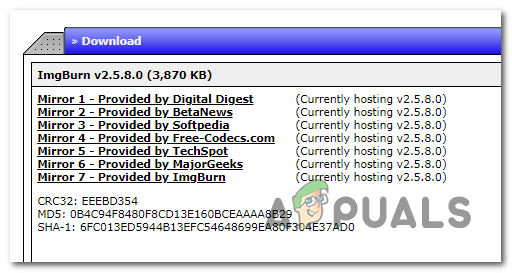
Downloading the latest version of ImgBurn - Download the installation executable and wait until the operation is complete. Once it is, open it and follow the on-screen prompts to complete the installation of ImgBurn.
- After you agree with the license agreement and complete the installation of ImgBurn, restart your computer and wait for the next startup sequence to complete.
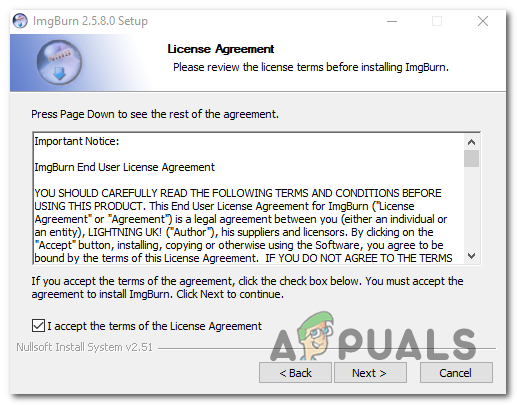
Installing ImgBurn - Open Imageburn and click on Create Image from Disk button from the list of available options.
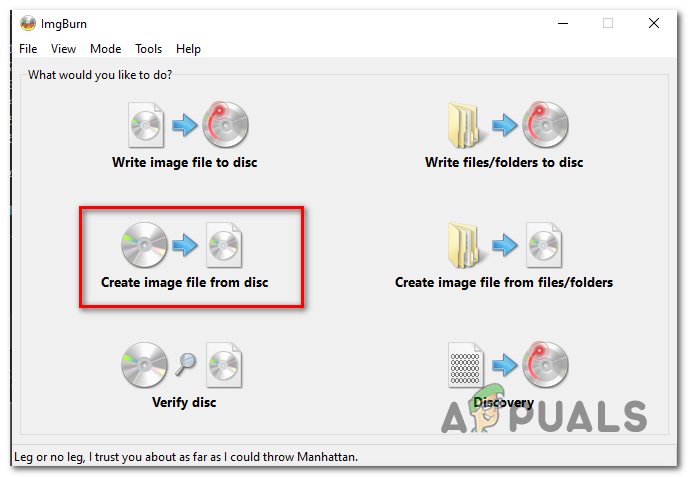
Creating an image from disk - Next, choose a destination where you want to create the ISO and click on the Icon below to start the process.
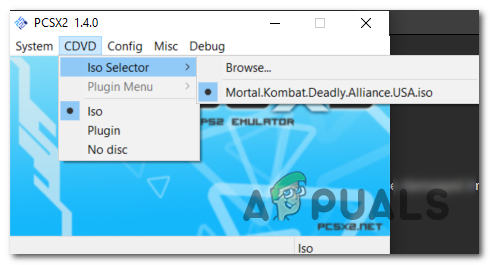
- Wait until the process is complete, then open the PCSX2 emulator, select CDVD from the ribbon bar at the top and choose ISO from the list of available options.
- After you do this, go to CDVD > ISO Selector > Browse, then browse to the location where you just created the ISO previously with ImageBurn and double-click on it to load it inside PCSX2 emulator.
Browsing for the correct ISO file - After you successfully manage to load the ISO of the game in the PCSX2 emulator, go to System (using the ribbon menu) and click on Boot CDVD from the drop-down menu.
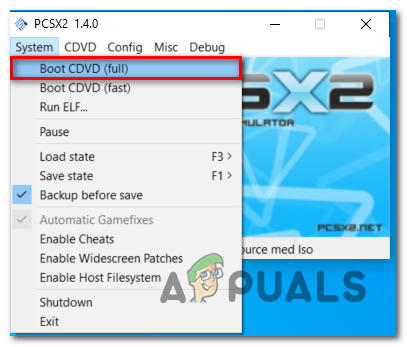
Booting the game using the BootCDVD function - If all goes well this time, the application should start without any issues.
In case you’re still encountering the same Black Screen Error (CDVD READ ERROR) issue, move down to the next potential fix below.
Method 4: Changing the GSDX Renderer to DirectX11
If you’re using a newer dedicated GPU, the default Renderer that PCSX2 assigns will most likely produce this issue by default. In order to work around it, you will need to access the GSdx Settings of your emulator and change the default Renderer to DirectD11 (Hardware).
A lot of users that encountered this problem have confirmed that this operation is what finally allowed them to launch PS2 games without encountering the Black Screen Error (CDVD READ ERROR).
Note: This method will not work unless you have a dedicated GPU card that supports DirectX11. Doing this on an integrated or older GPU with no DirectX11 support will trigger a different error.
Here’s a quick guide on changing the GSdx Renderer to DirectX11:
- Open your PCSX2 emulator and click on Config from the ribbon bar at the top.
- Once you get there, select Video(GS) and then click on Plugin Settings.
- When you get to the GSdx Settings, expand the drop-down menu associated with Renderer and set it to Direct3D11 (Hardware).
- Click Ok to save the changes, then close your PCSX2 emulator before opening it up again and launching the game.
- This startup should occur without the annoying Black Screen Error (CDVD READ ERROR).