The 13 Best macOS Terminal Commands to Get the Most Out of Your Mac in 2024
Mac
 Reviewed by Huzaifa Haroon
The Terminal is one of the mightiest utilities available on the macOS, that often gets overlooked. It can perform countless functions and some functions are even specific to it. It is an incredibly handy tool and every Mac owner should know how to wield.
What is Terminal and How Does it Work?
The macOS Terminal is a Command-Line Interface (CLI) that responds to commands input by the user to perform a variety of functions. The Terminal is basically the raw interface for interacting with your Mac. Owing to this attribute, it can let you tinker with your Mac to a greater extent than you can do through the normal interface. It is command-specific and responds only to specific words that are designated command lines.
Although it may seem a bit complicated at first, it is relatively easy to use the Terminal and does not require you to be some kind of tech-wiz. That’s why we’re here to start you off with these 15 essential commands for the Terminal, so you can get a little taste of what the Terminal can truly offer.
How to Open the Terminal?
To open the Terminal, there are several ways. We will be using the Spotlight method due its simplicity.
- Click on the magnifying glass icon on the Menu bar to start up Spotlight.
- Look up ‘Terminal’.
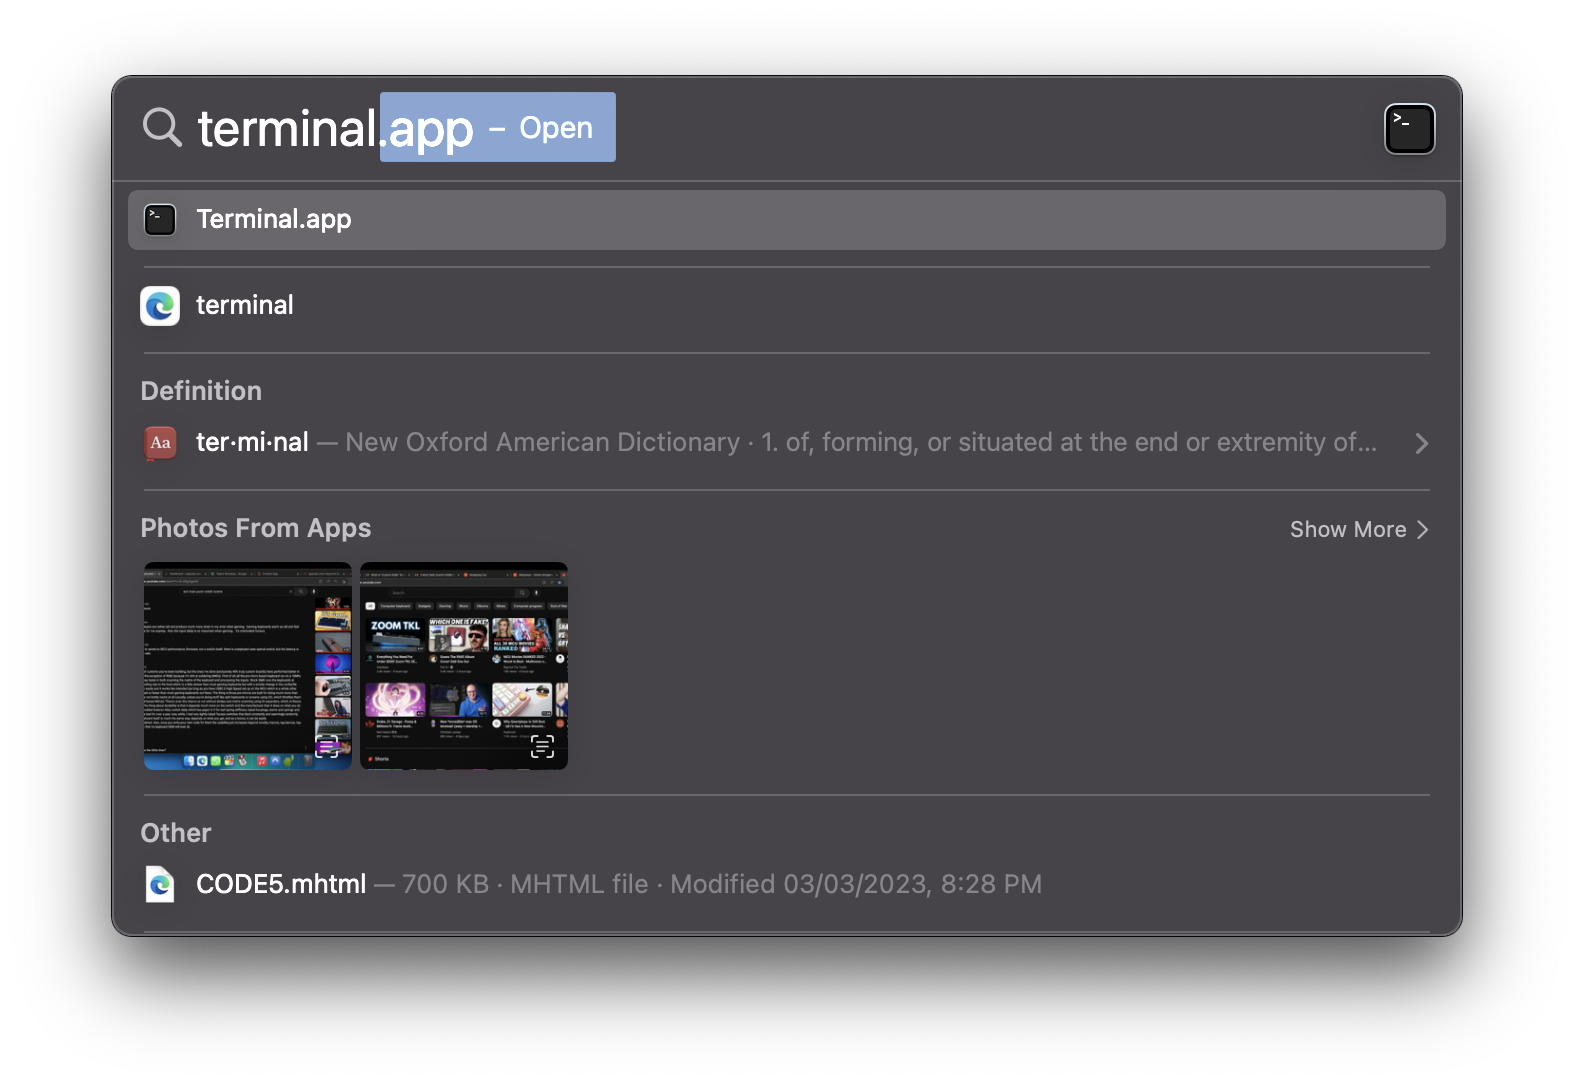
- Press ‘Return’ on the correct search result. Terminal should be up and running now, so let’s get started.
Essential Terminal Commands and Their Functions
Here is a table to start you off with the Terminal. Some of the commands have been explained in detail below.
| Commands | Functions |
|---|---|
| say “anything” | This is a great command to try out with your friends. This command makes your Mac say whatever thing you want. Simply enter the command on the Terminal and replace the “anything” with whatever you want it to say. |
| curl -O [insert URL] | Download files from the Internet |
| sudo spctl –master-disable | Disables the Gatekeeperon your Mac |
| sudo spctl –master-enable | Enables the Gatekeeperon your Mac |
| softwareupdate -l | Checks for software updates for your Mac. |
| curl https://wttr.in/ | Checks the weather forecast. |
| sudo shutdown -h [+time in seconds] | Essentially a command to shut down your Mac. If you want to shut it down instantly, replace the time with “now”. |
| sudo shutdown -r [+time in seconds] | Essentially a command to restart your Mac. If you want to restart it instantly, replace the time with “now”. |
| networkquality | Checks your Internet speed |
| ditto [original folder path] [new folder path] | Copies files from one folder to another |
| cat [file path] | View the contents of any file. Although if you try to view any image or, usually, any kind of non-text document, its usually outputs uncomprehensible drivel. |
| man | Opens up the Terminal user manual. |
| defaults write com.apple.screencapture location [path of where you want your screeenshots saved] | Changes the location of where screenshots are saved by default. Follow this up with the below command: killall SystemUIServer |
| caffeinate | Keeps the Macawake. |
| defaults write com.apple.screencapture [image file type] | Changes the default format of screenshots captured to any type you want. Some common image file formats include JPG, PNG, TIFF, etc. |
| ln -s [/path/to/original] [/path/to/link] | Creates symbolic links. |
| defaults write com.apple.finder AppleShowAllFiles -bool TRUE | Shows all hidden files and folders. |
| defaults write com.apple.screencapture disable-shadow -bool TRUE | Disables drop-shadows on screenshots you capture, only displaying the window you captured. Follow this up with the below command: killall SystemUIServer |
| top | Displays the Terminal’s version of Activity Monitor. |
| kill [PID] | Terminates a process. |
| sudo dscacheutil -flushcache; sudo killall -HUP mDNSResponder | Clears out your DNS cache. |
| defaults write NSGlobalDomain NSDocumentSaveNewDocumentsToCloud -bool FALSE | Stops apps from saving to iCloud by default. If any time you want to revert to the default setting, simply change the “FALSE” in the command to “TRUE”. |
| uptime | Check how long your Mac has been running. |
| sudo systemsetup -setrestartfreeze on | Allows the Terminal to restart the Mac if it crashes or freezes. |
| youtube-dl | Download YouTube videos. |
| defaults write com.apple.screencapture name “New Screen Shot Name” | Changes the default name by which screenshots are saved. Follow this by entering the command below: killall SystemUIServer |
| defaults write com.apple.dock persistent-apps -array-add ‘{“tile-type”=”spacer-tile”;}’ | Adds spacers to your Dock. Follow this command with the one below: killall Dock |
| sudo chmod 777 [path to file] | Alter the permissions of a file. |
| sudo chmod -R 777 [path of folder] | Alter the permissions of a folder. |
| sudo chmod 644 [path to file] | Prevent the modifying of a file. You can still access and view the file. |
| sudo chmod 644 [path of folder] | Prevent the modifying of a folder. You can still access and view the folder. |
| sudo chown [your short user name] [path to file] | Change the ownership of a file to your account. |
| sudo chown [your short user name] [path to folder] | Change the ownership of a folder to your account. |
| defaults write com.apple.dashboard mcx-disabled -boolean TRUE | Gets rid of Dashboard. Follow this command with the one below: killall Dock. At any time to bring the Dashboard back, simply replace the “TRUE” with “FALSE”. |
| ping [URL] | Pings the URL to check whether the website is functioning properly. |
| ls -R [path to folder] | Lists the contents of a folder. |
| history | Displays your command history |
| defaults write com.apple.dock static-only -bool TRUE | Hide inactive apps on the Dock. Follow this up with the command: killall Dock |
| cd [directory] | Changes the path where the Terminal is operating and outputting data. |
| zip -er [output folder name.zip] [folder that is to be compressed] | Compresses a folder and outputs it to the path of your choice. First use the cd to set the path where you want the compressed folder to be output to. |
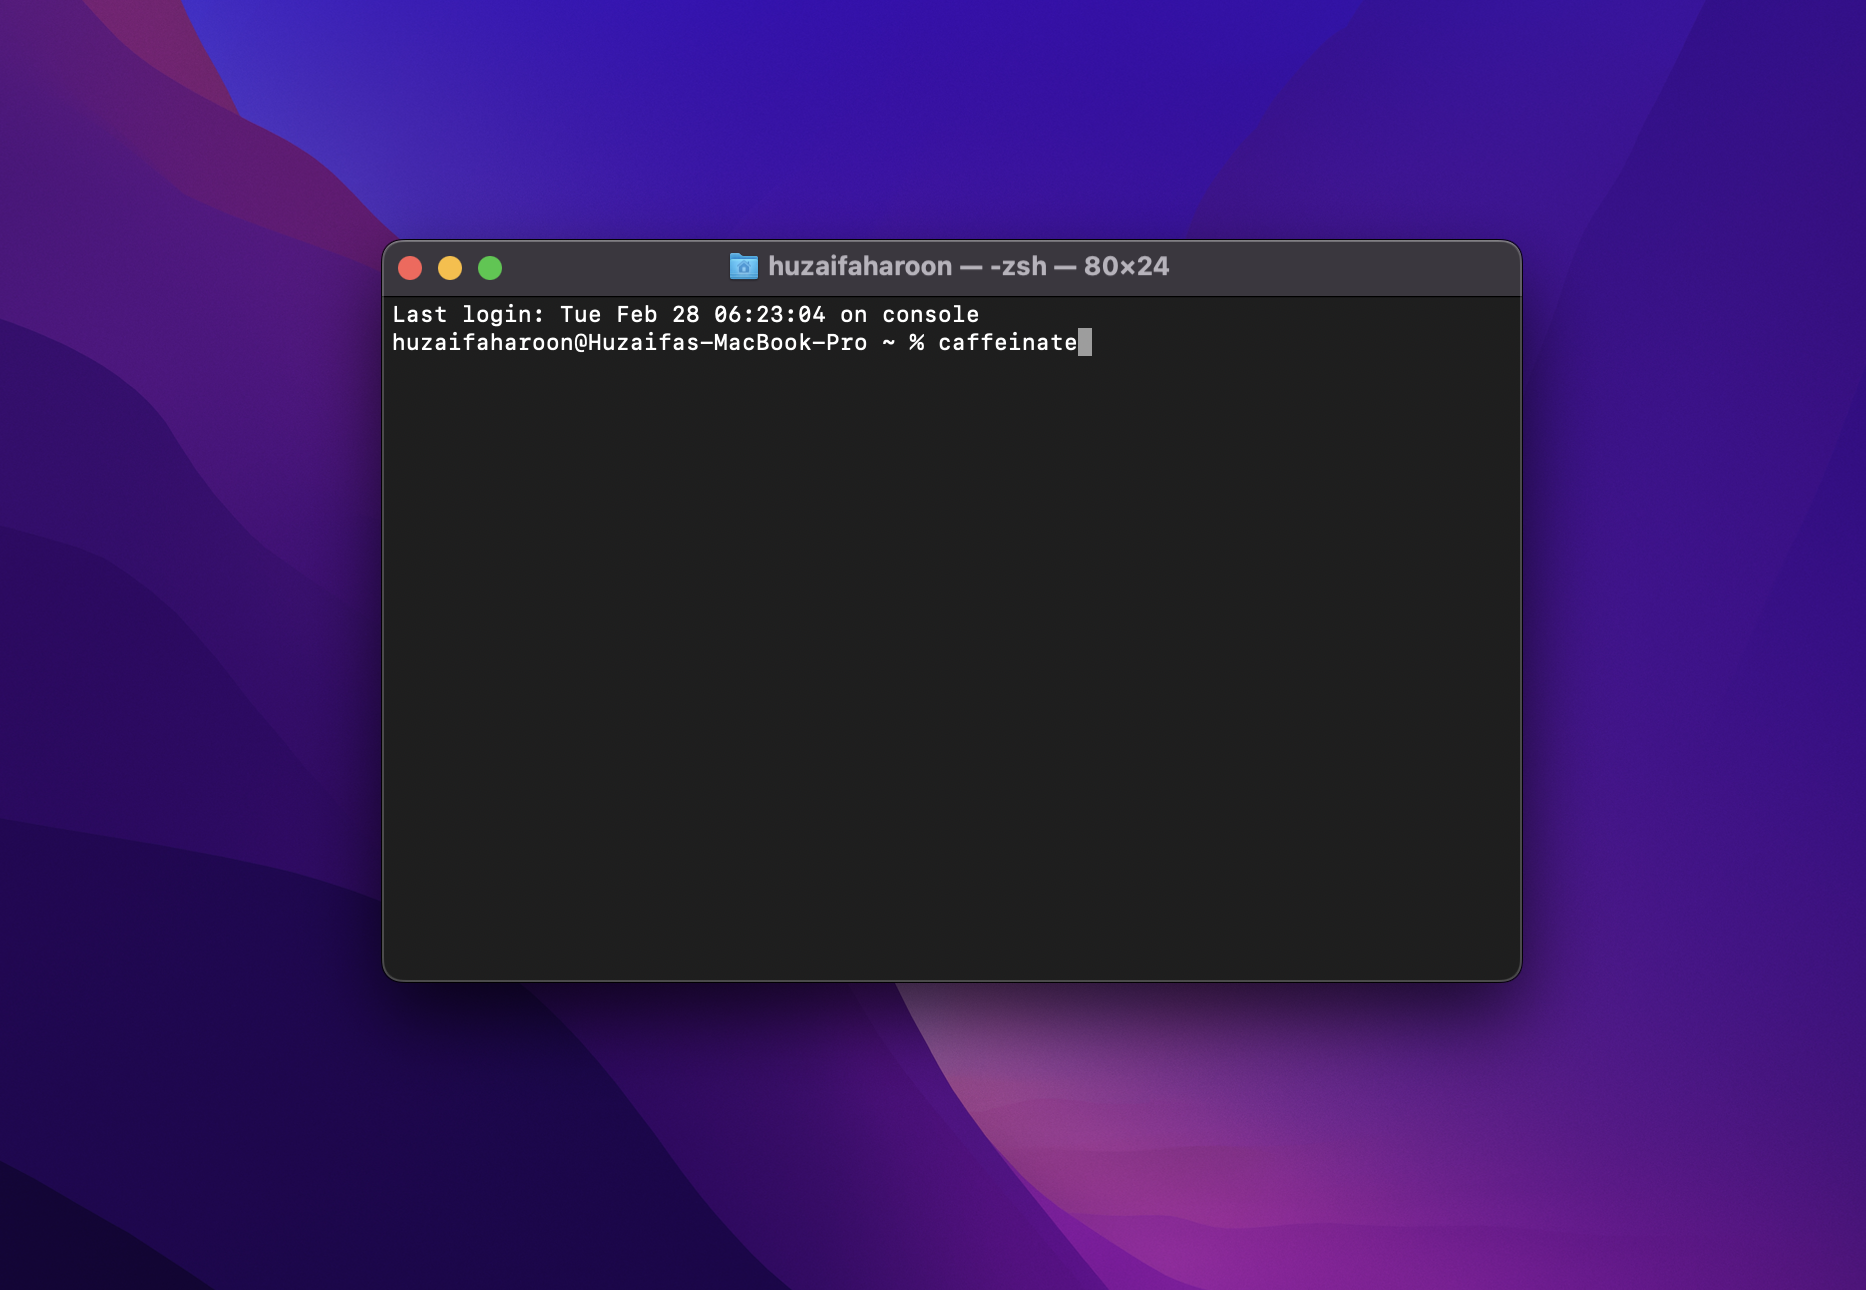
1. Keep your Mac awake
Everybody finds themselves in situations where they have to leave their work on short notice. Often, there is some important process running that you have to keep a watch over e.g. a download or an installation, as the system may fall asleep over a long period of inactivity. Instead of looking around for third-party apps to keep your Mac awake, make use of the Terminal. Simply enter this command to keep your Mac awake and prevent it from falling asleep.
caffeinate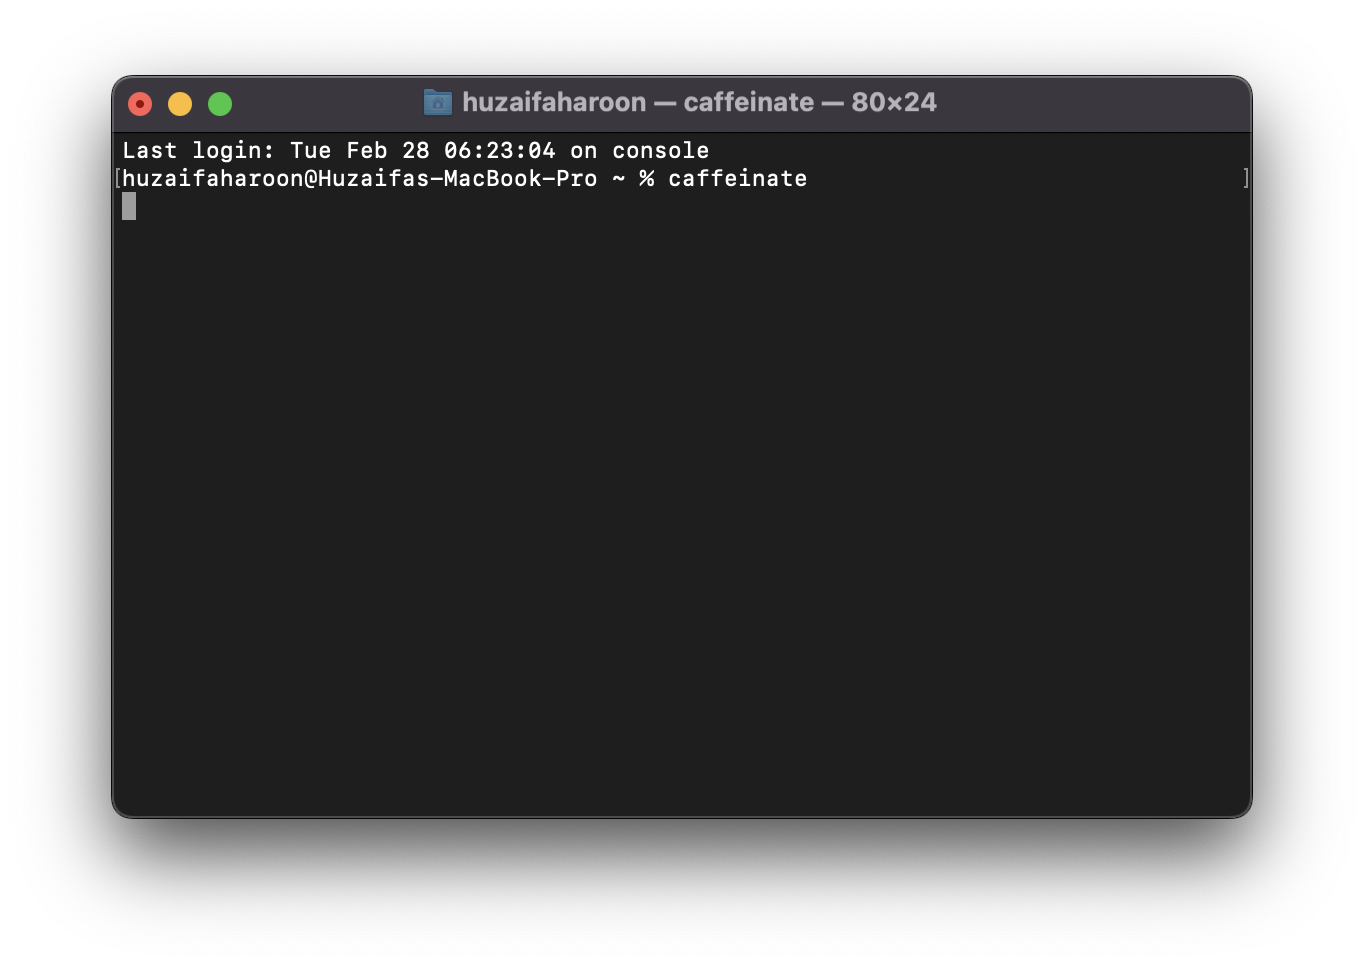
To exit this state, press Control + C or simply exit the Terminal. If you want to “caffeinate” your Mac for a set amount of time, try this command:
caffeinate -t[time in seconds]
2. Download files from the Internet
Nearly everyone would prefer downloading files through Safari on macOS. However, you don’t necessarily need to open Safari (or any other browser) to download something if you a direct download link (DDL) for it. The following command is handy for when your browser is acting up, but keep in mind that it does not work with just any random link. Read up on how cURL Downloads work if you want to learn more about which links qualify.
The downloaded file will be found in the root folder of your Mac user account, so first, change the download location to your Downloads folder with this command:
cd ~/Downloads/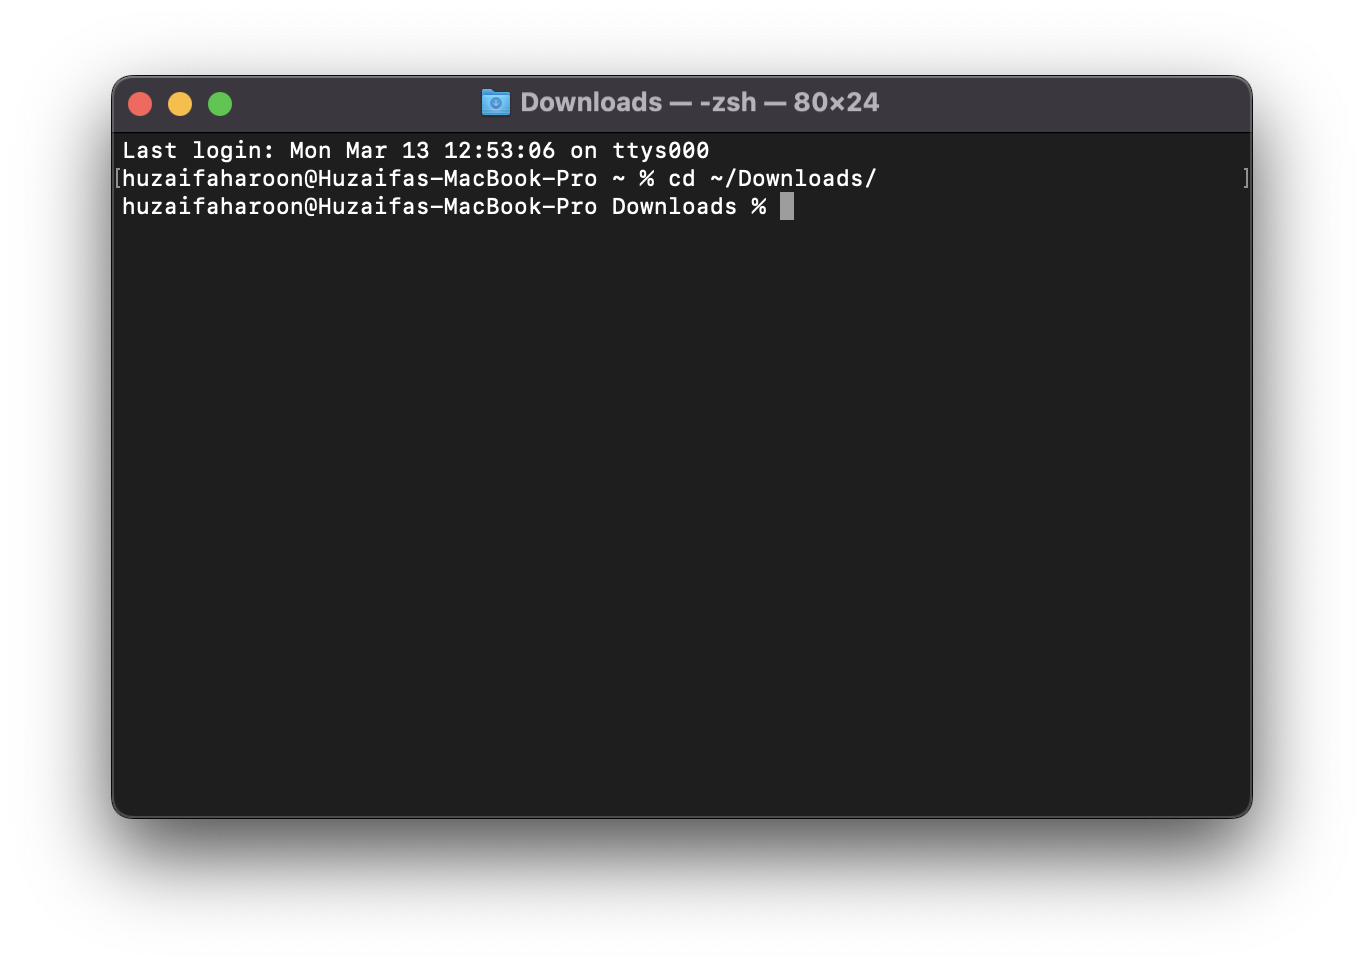
After that, simply enter this command on the Terminal along with the link to begin downloading the file:
curl [insert URL]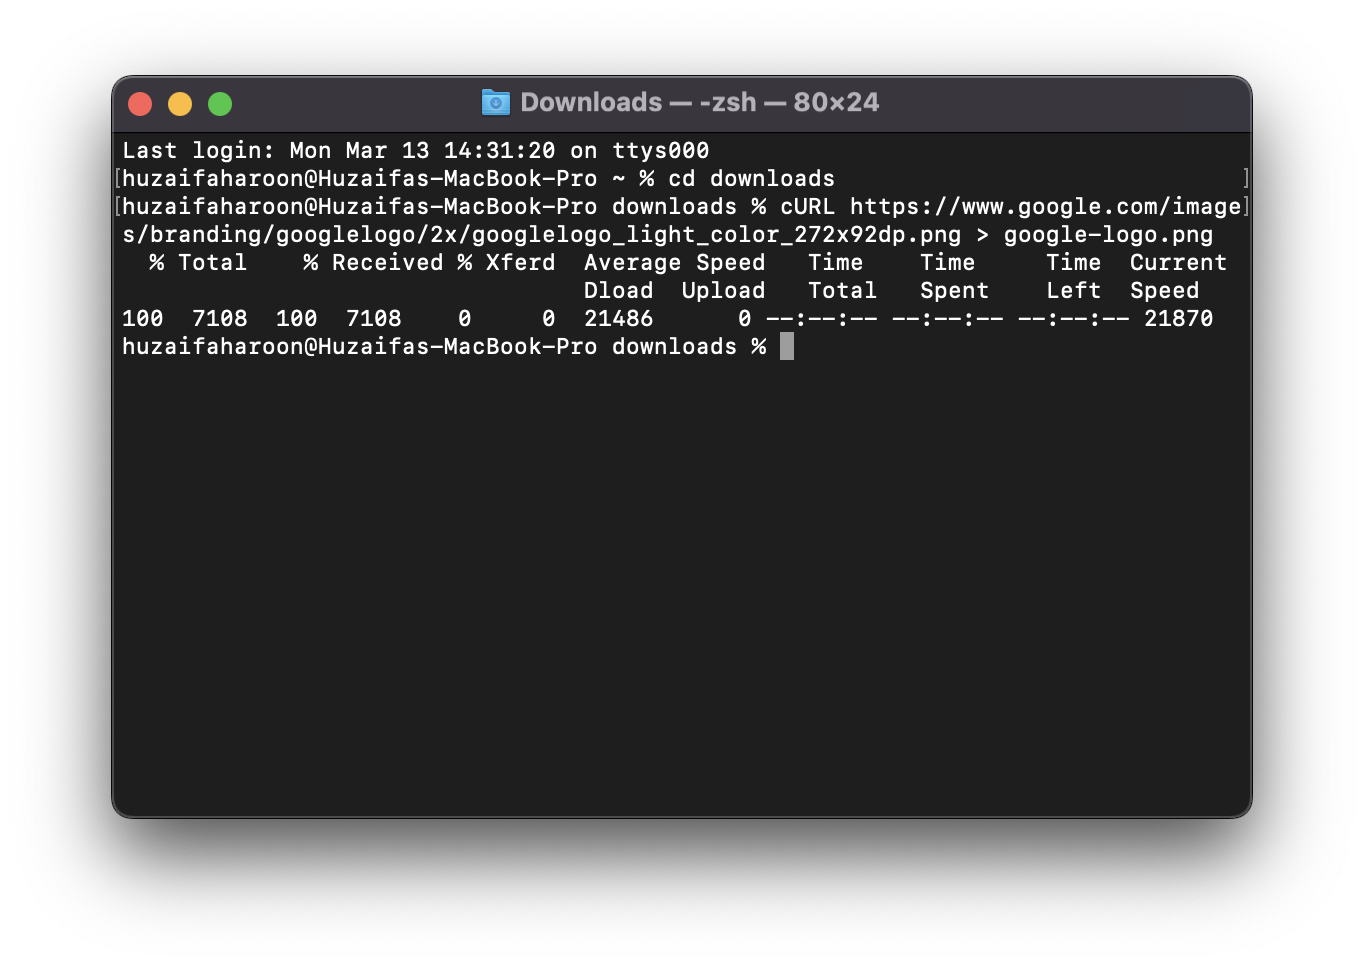
3. Automatically restart your Mac when it crashes/freezes
Usually, system crashes/freezes are unpredictable. One thing that you should first do, in case this happens, is to have patience and hope that it will start working again. If it doesn’t, hold down the power button to restart your Mac. Another precaution that we can take is to enter this command on the Terminal. This command allows the Terminal to restart your Mac automatically if it senses a crash/freeze coming or if one occurs.
sudo systemsetup -setrestartfreeze on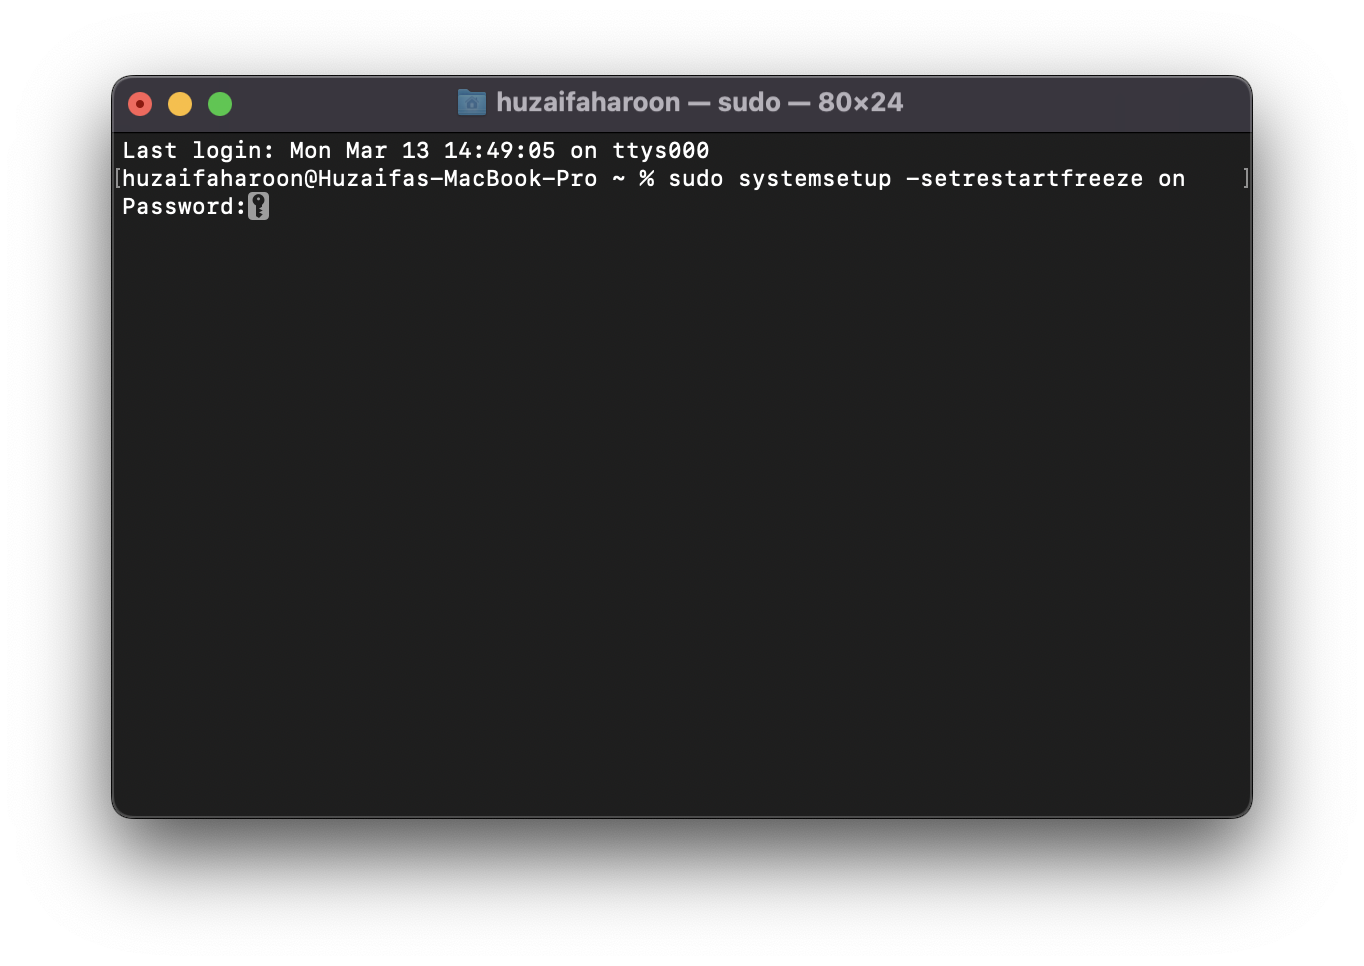
4. View hidden files and folders
macOS, by default, hides files and folders that are crucial to the system so that you don’t delete them by mistake. But, where external drives are concerned, this feature becomes a hinderance. To view hidden files and folders simply enter this command:
defaults write com.apple.finder AppleShowAllFiles -bool TRUE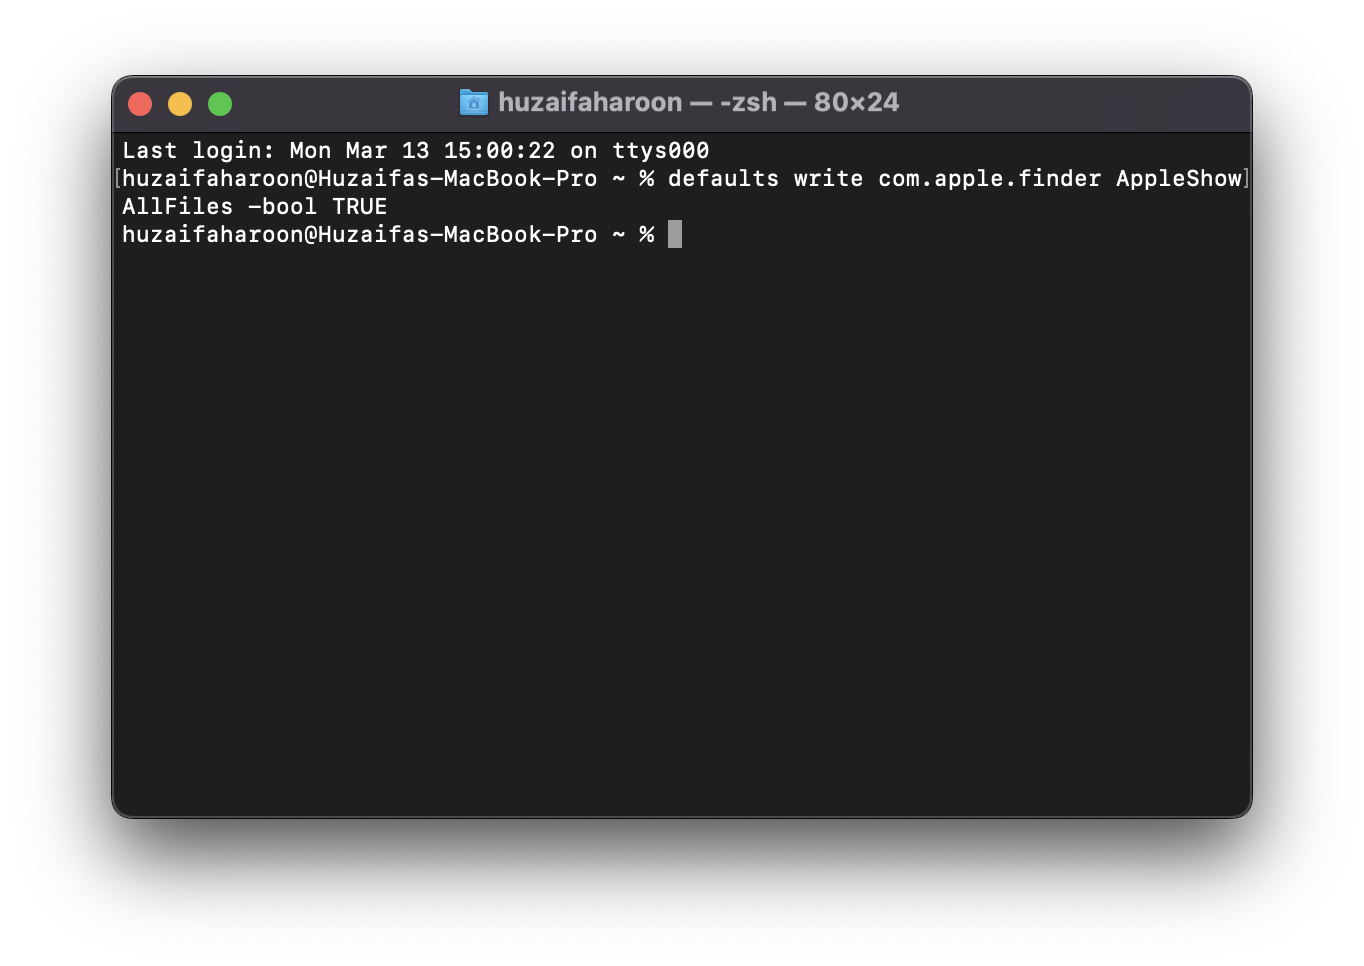
Then follow this up with the command below to restart Finder:
killall Finder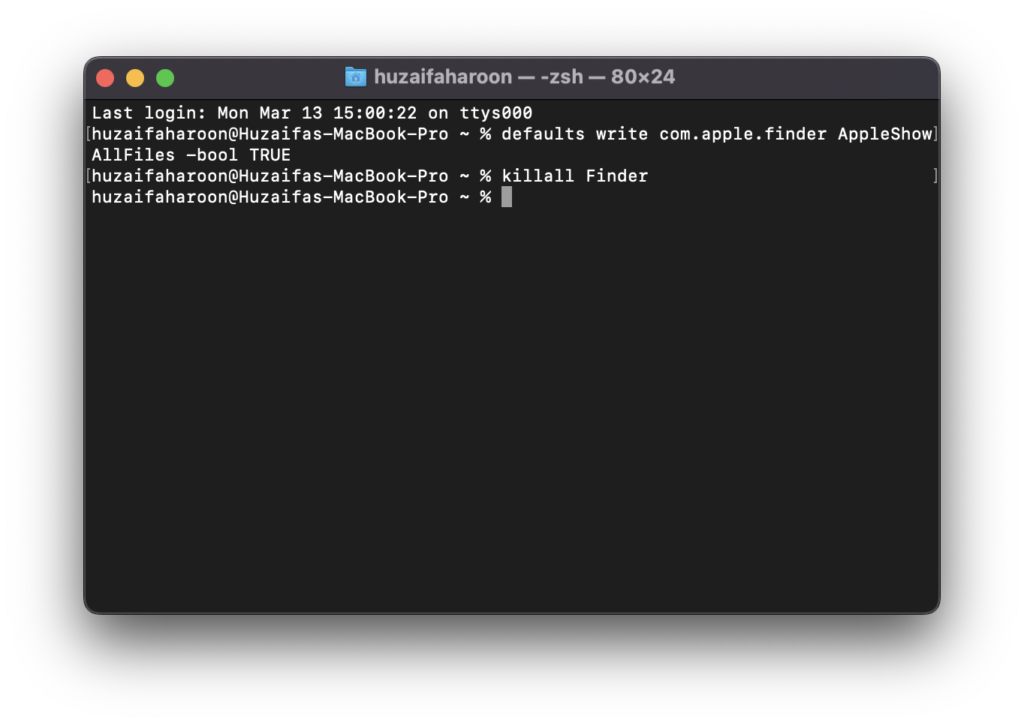
There you have it! Now you can view all the hidden files on folders on your Mac. To hide them all again, simply replace “TRUE” in the above command with “FALSE”.
Note: Always do a Google search to check whether the hidden file or folder you want to delete is not vital to the system.
5. Clear out DNS cache
It is recommended to clear out your DNS cache every once in a while. Doing so can alleviate several browsing ailments such as problems in loading websites, error 404s, etc. Clear out your DNS cache with the following command:
sudo dscacheutil -flushcache; sudo killall -HUP mDNSResponder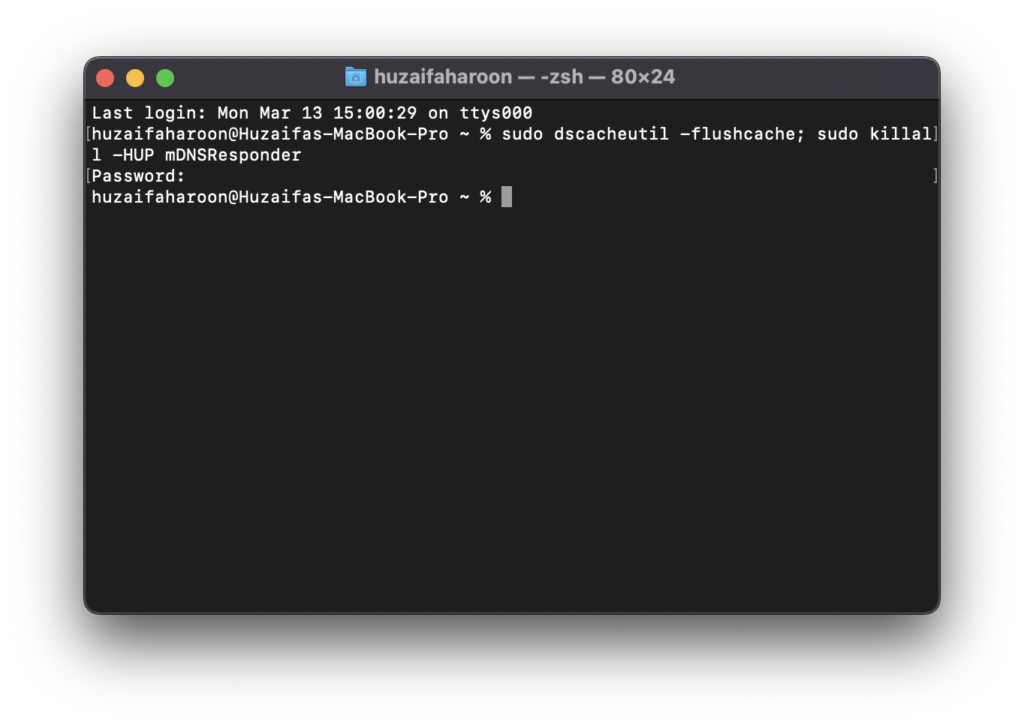
Entering the command will generate a password prompt. Enter your Mac user account password and hit Enter.
6. Terminal User Manual
Everything nowadays comes with its own instruction manual and guidelines on how to use the object carefully and effectively. The Terminal is no different. Simply enter this to display a user manual of the Terminal:
man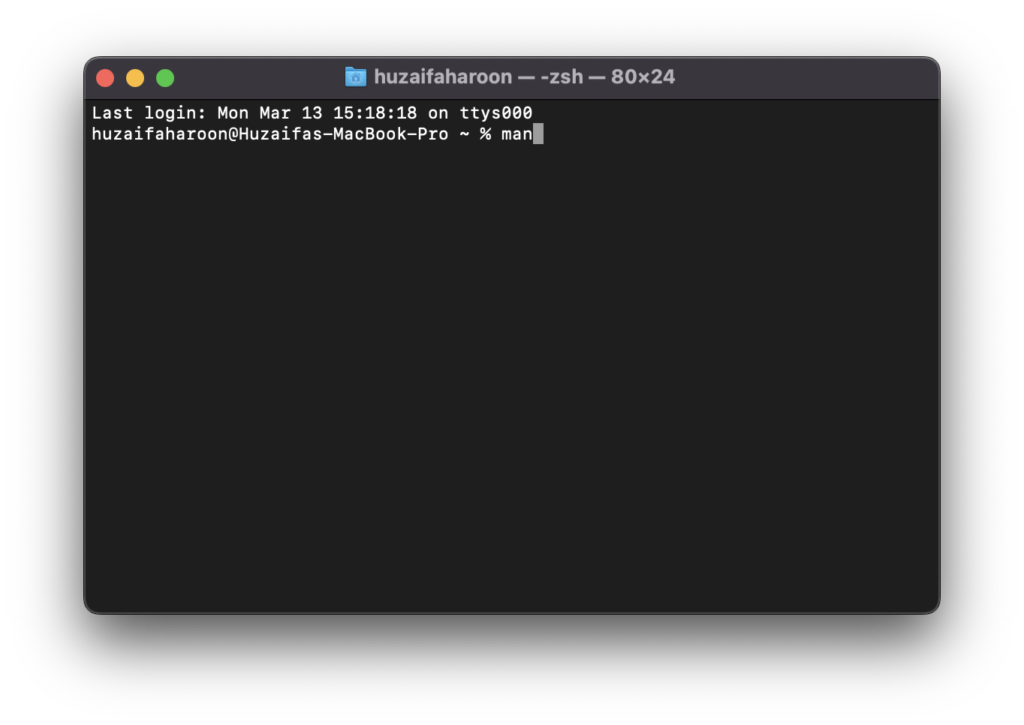
To get more details about a specific command, use this command:
man [command]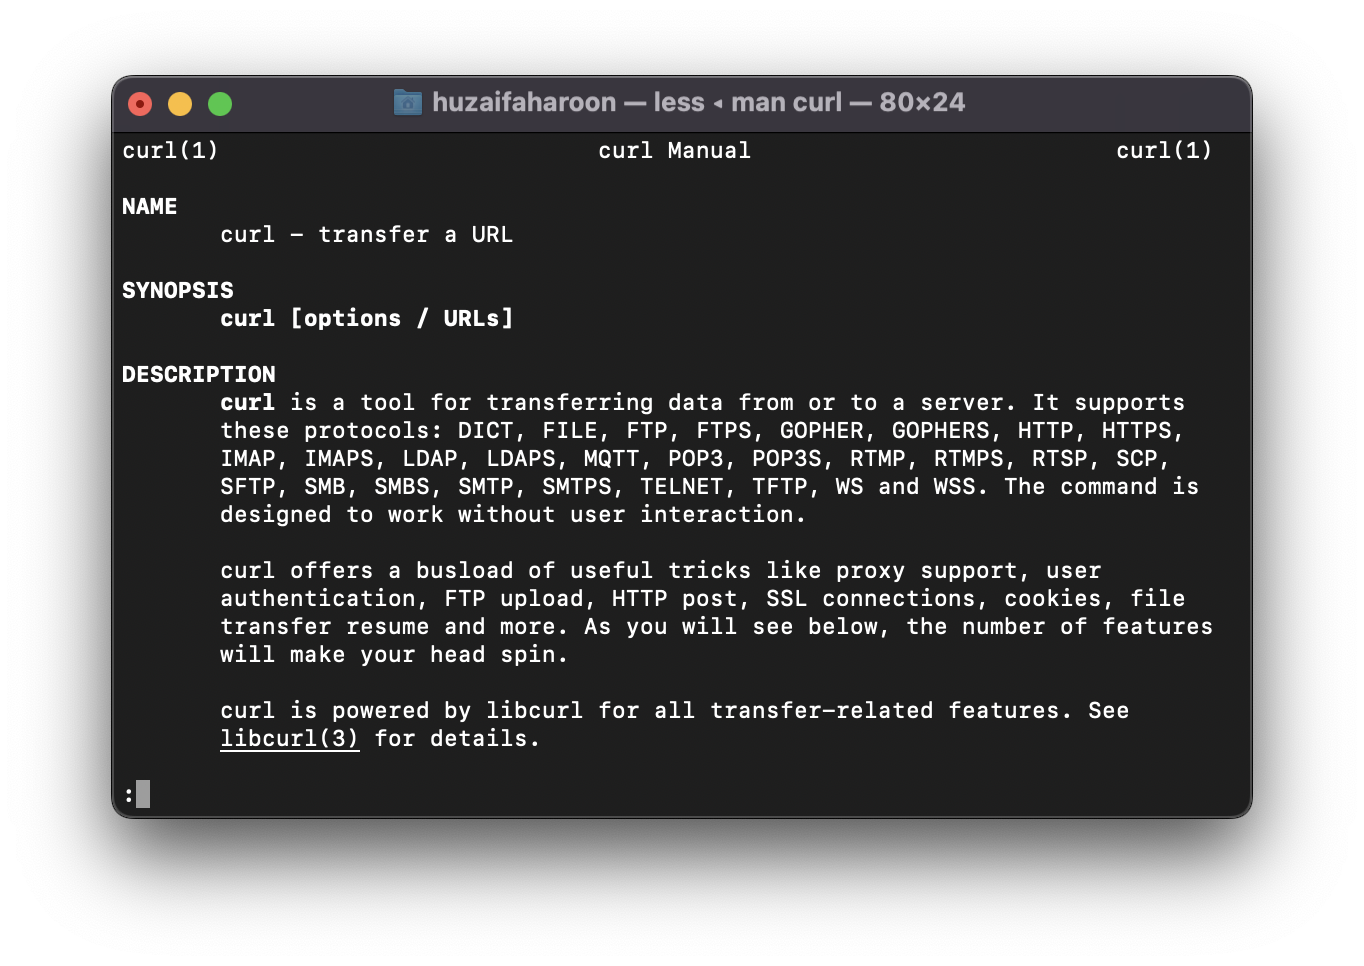
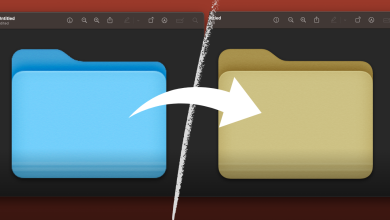
7. Create Symbolic Links
Symbolic Links are similar to shortcuts on Windows. In Windows, you can right-click on any file/folder and select “Create shortcut” to make an easy-access point for that file/folder. In macOS, you can do this through the Terminal with the help of the following command:
ln -s [path to original] [path to link]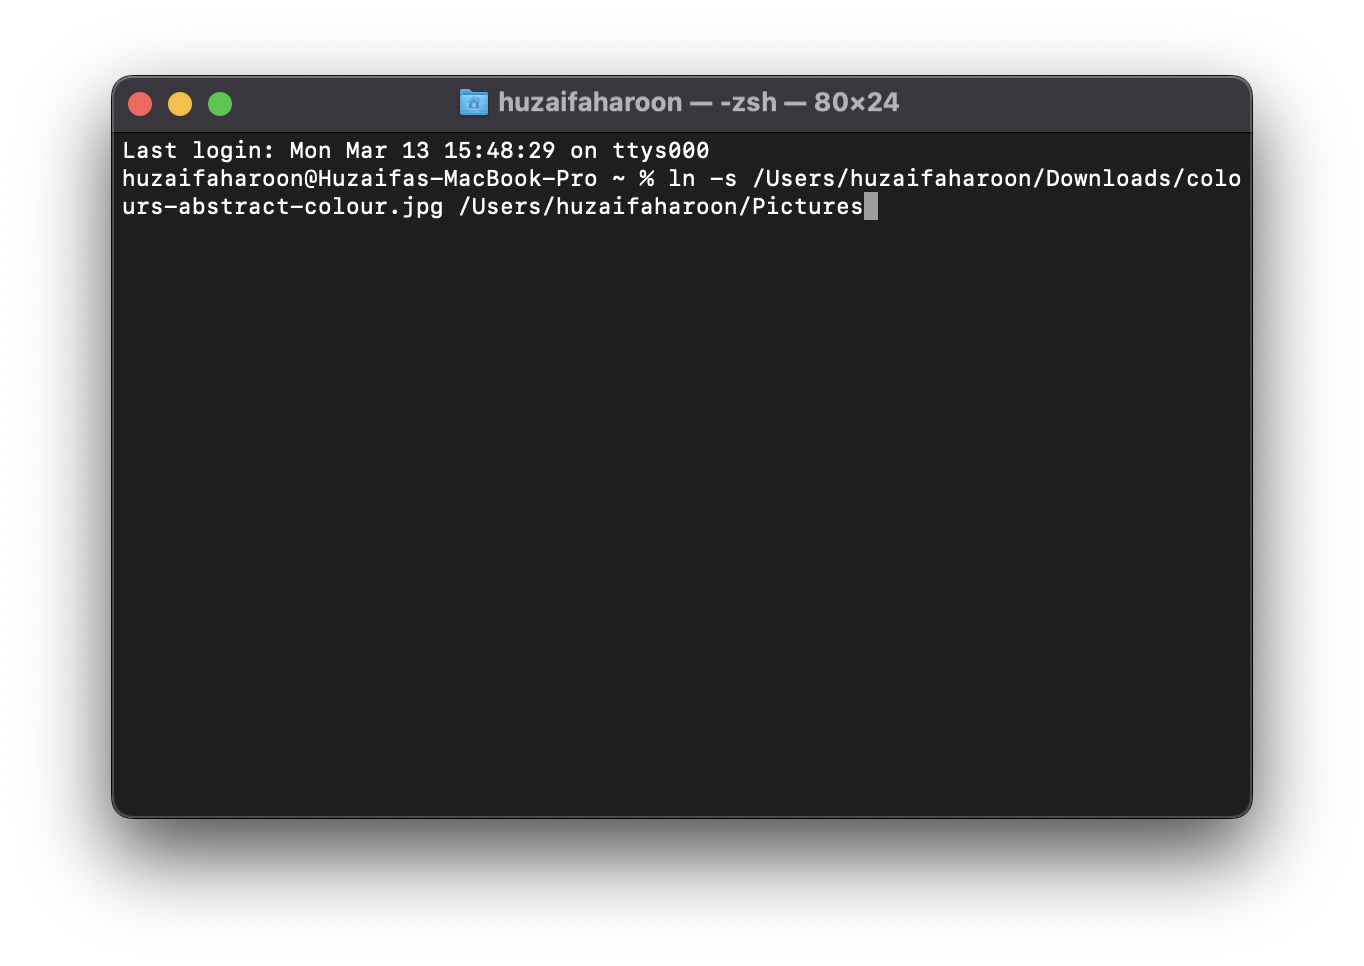
Replace [/path to original] with the directory of the file/folder of which the shortcut is supposed to be made, and, replace [path to link] with the directory of where the shortcut is supposed to be made. See the screenshot above for example.
8. Activity Monitor in Terminal
The Activity Monitor on macOS is a functionally the same as the Task Manager on Windows. It displays the processes and applications running in the background. The Terminal has its own version of the Activity Monitor, which can be accessed with the following command:
top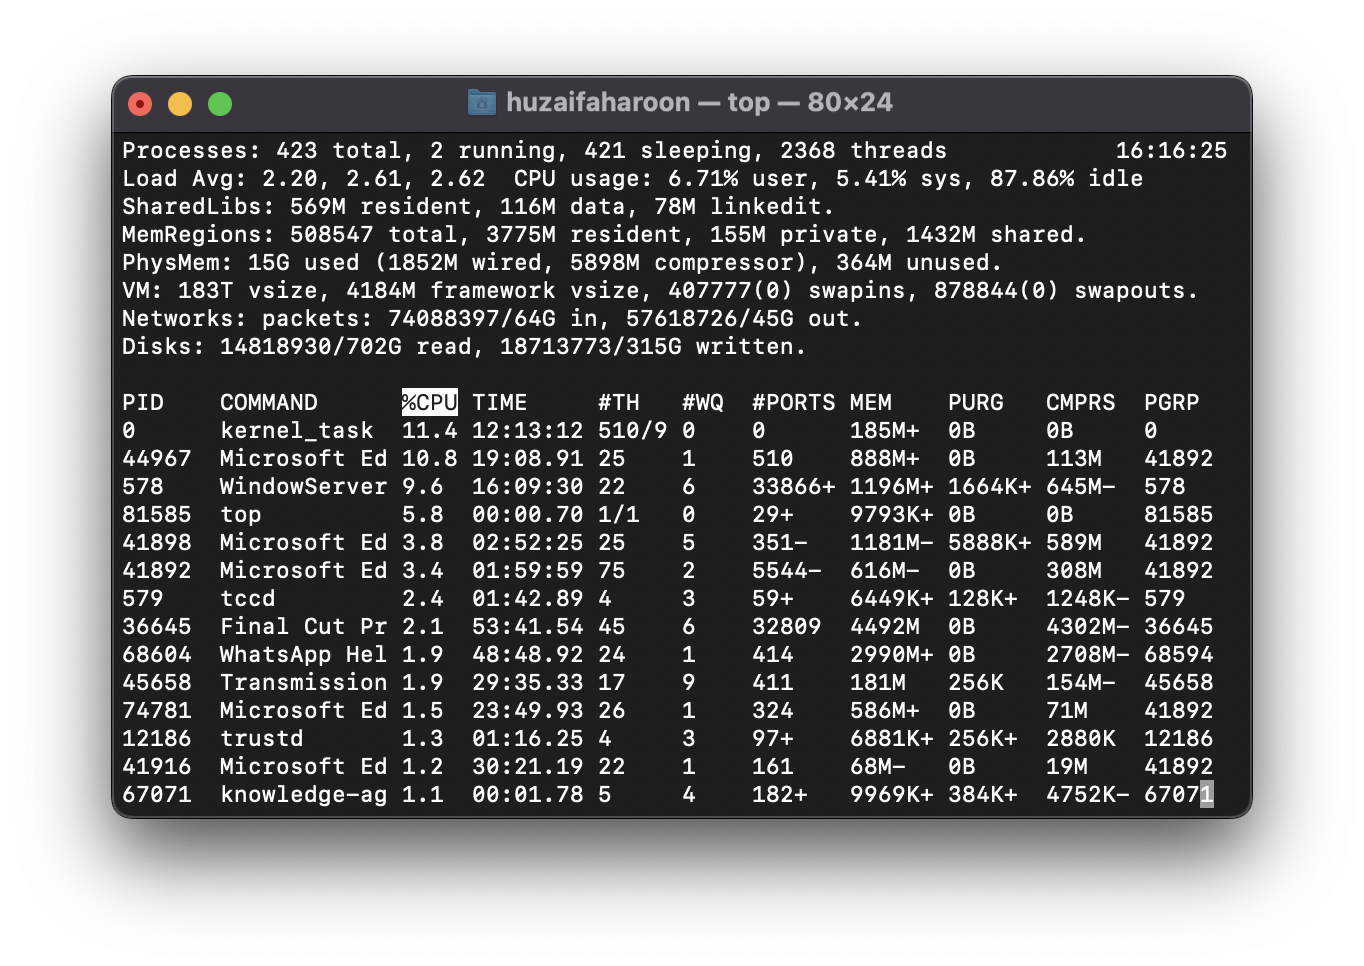
Upon entering the command, a list of all the processes and applications running will be displayed along with their rate of memory consumption, uptime, PID (Program ID), etc. To end a process, enter the following command:
kill [PID]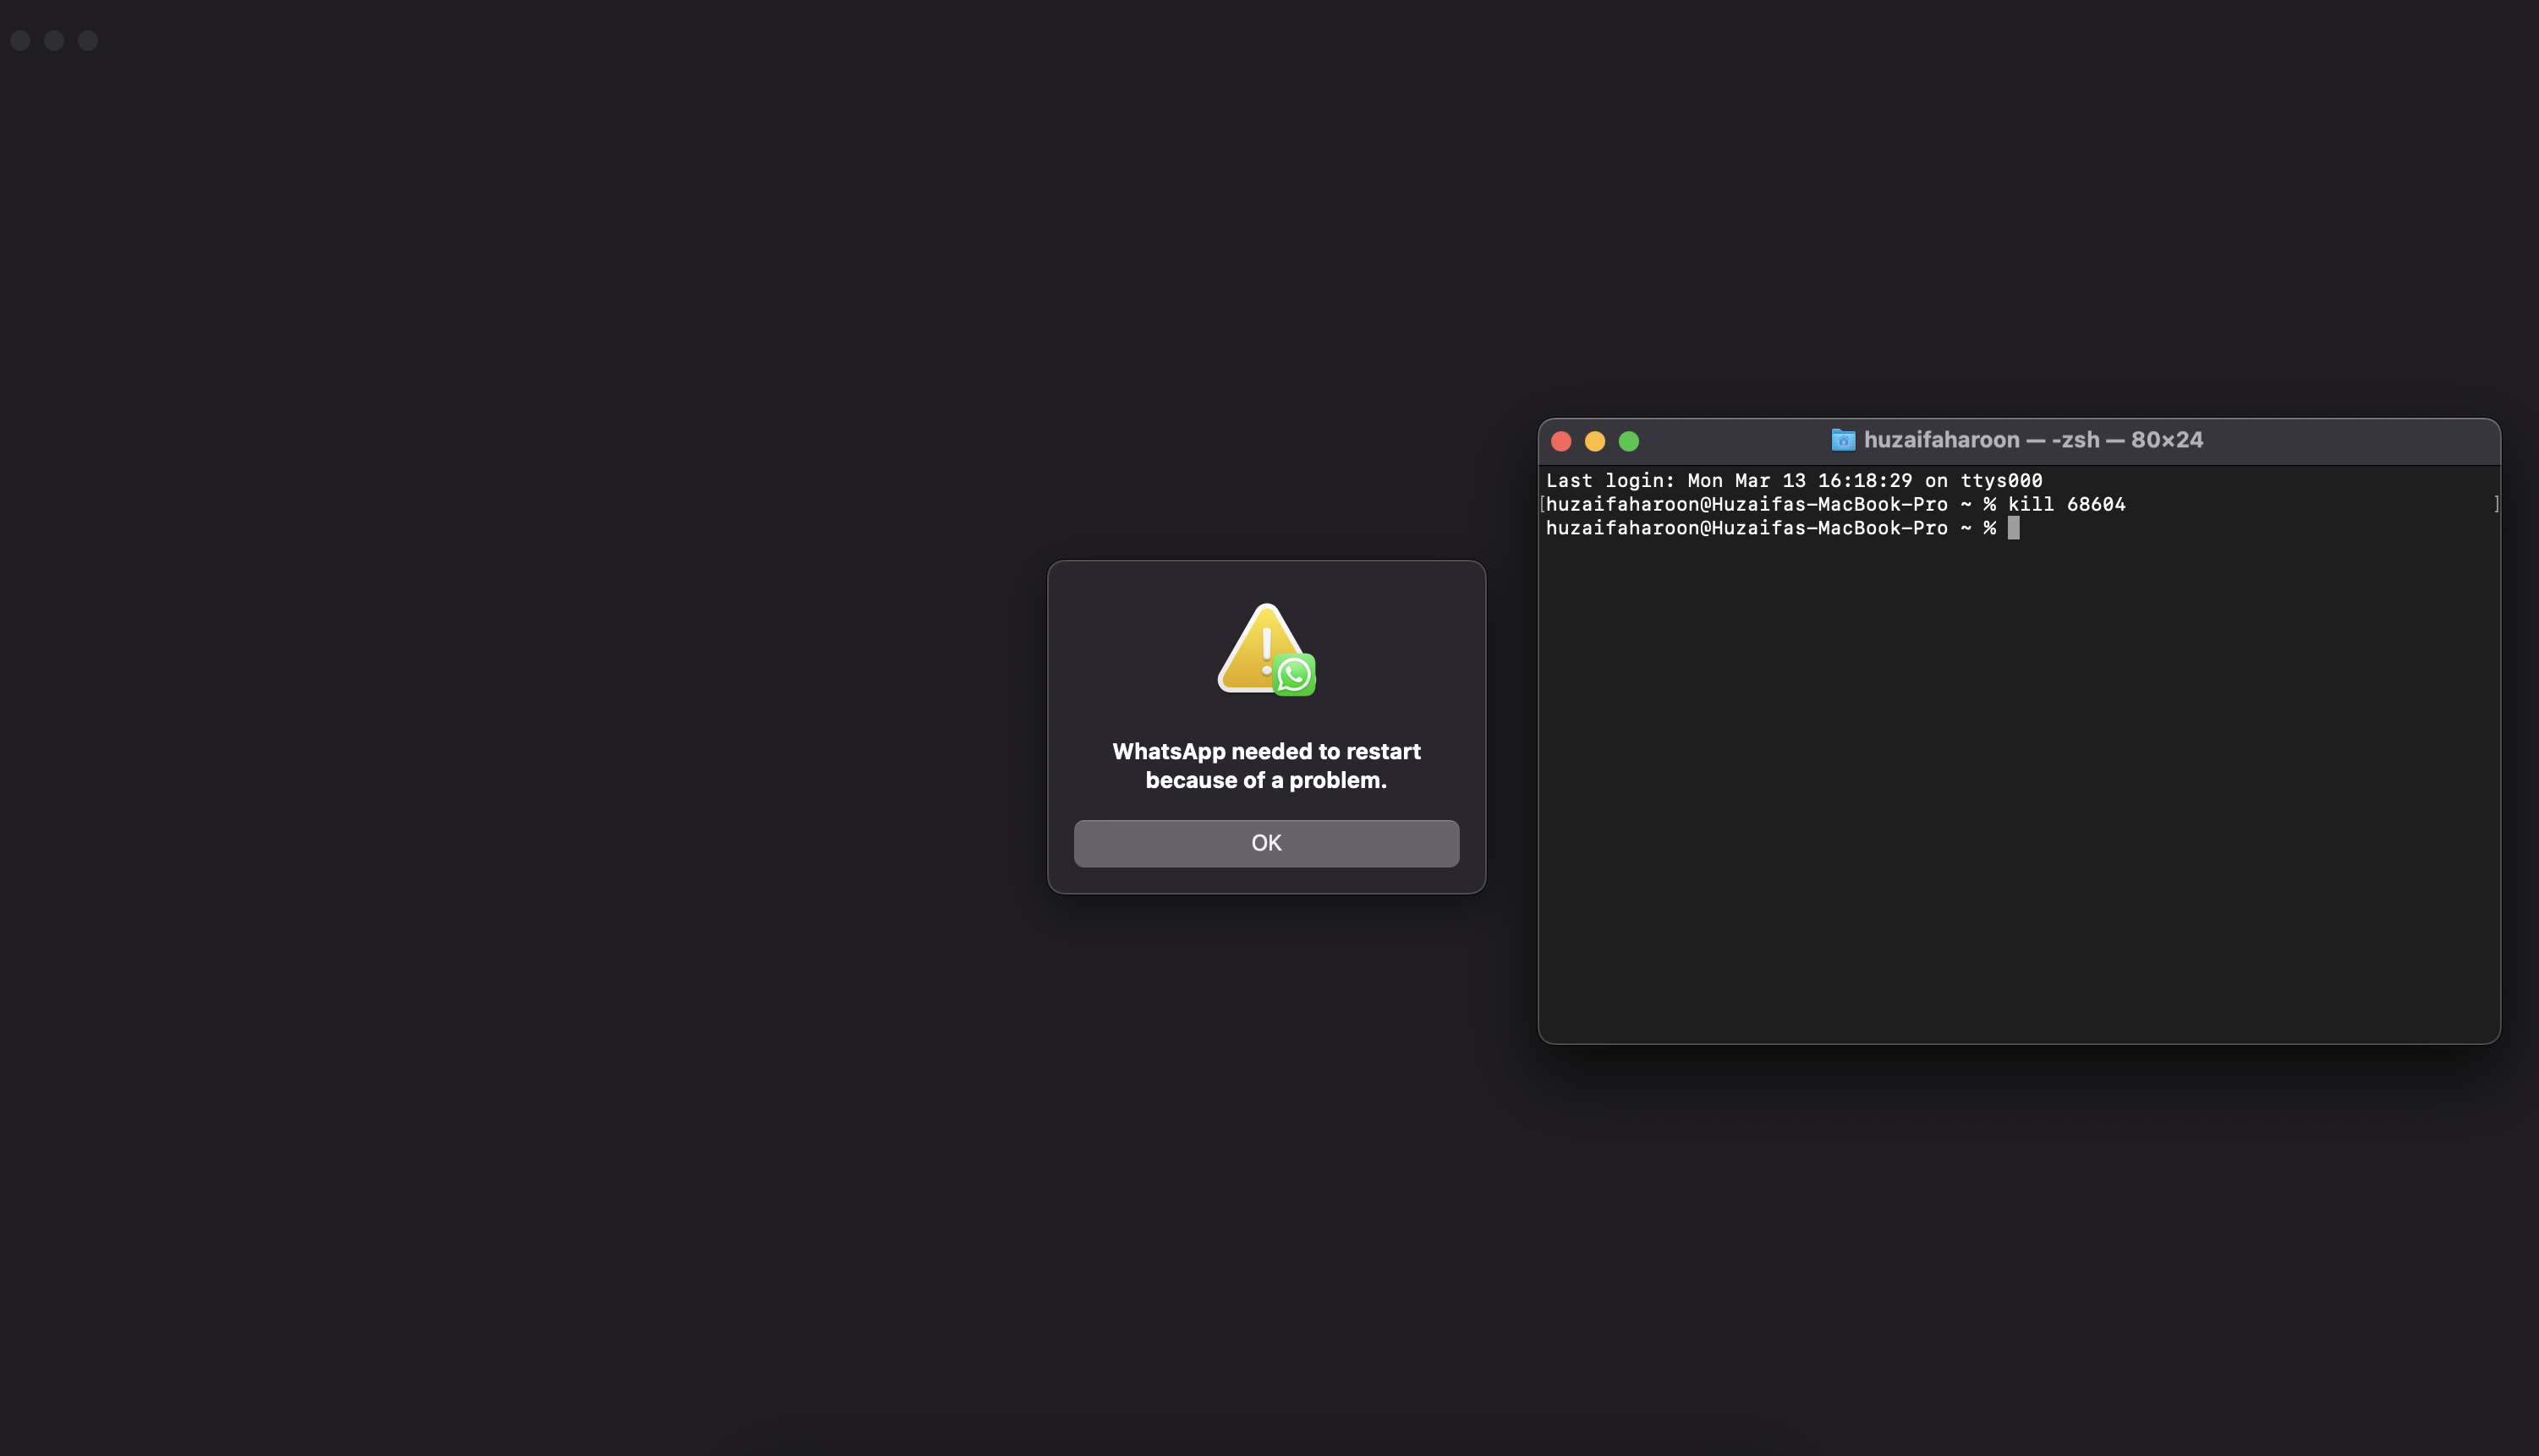
If there are multiple processes being run by the same name or same application, enter this command:
killall [process name]9. Command History
At any time to check your command history, input the command below:
history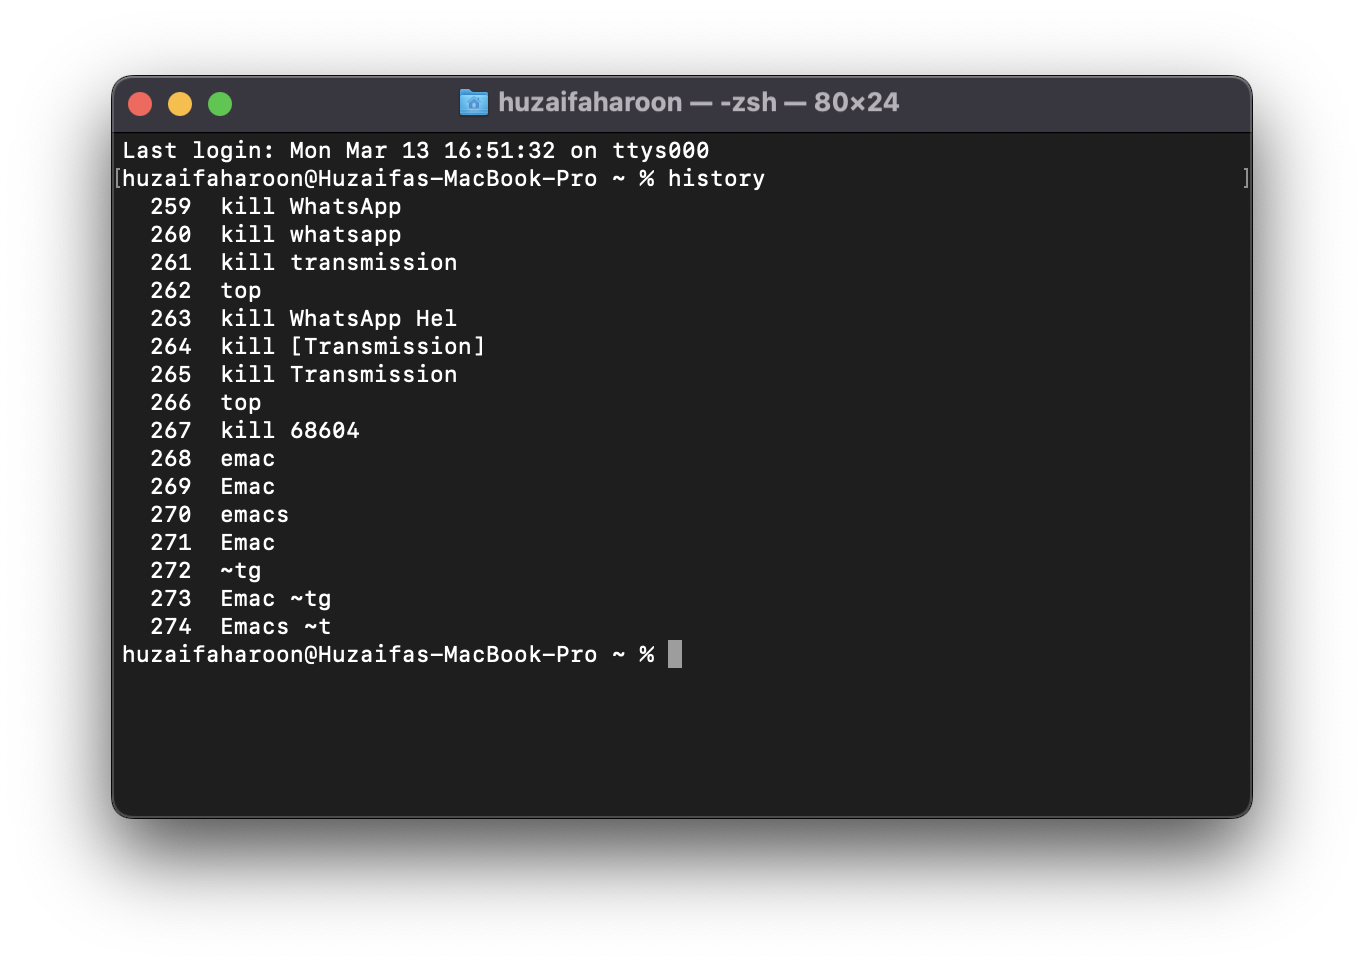
At any time to search for a specific command, extend the following command:
history | grep [command]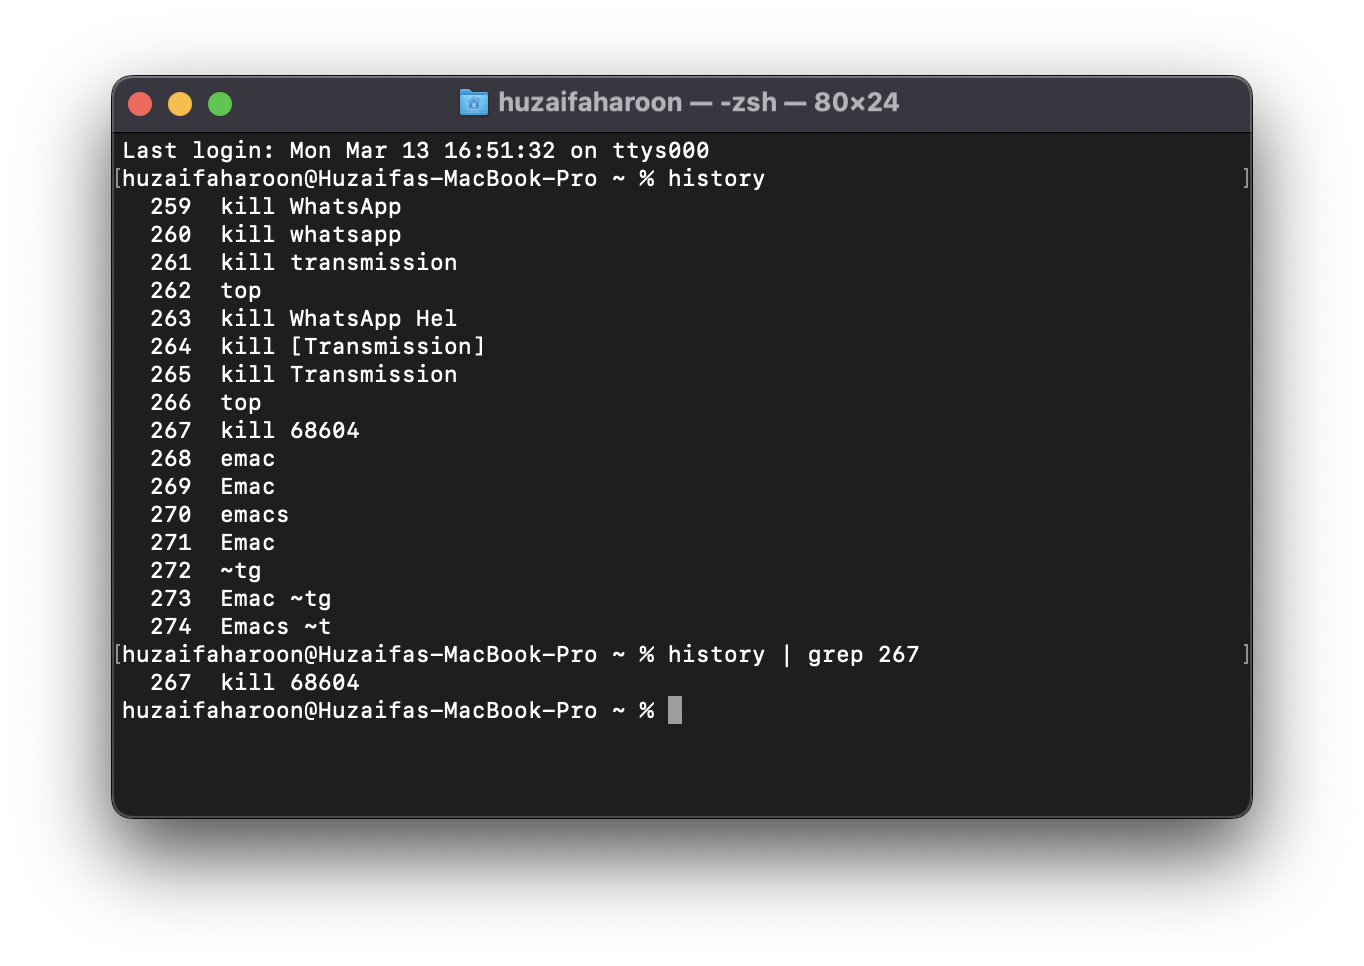
If you want to clear your command history, enter the following command:
history -p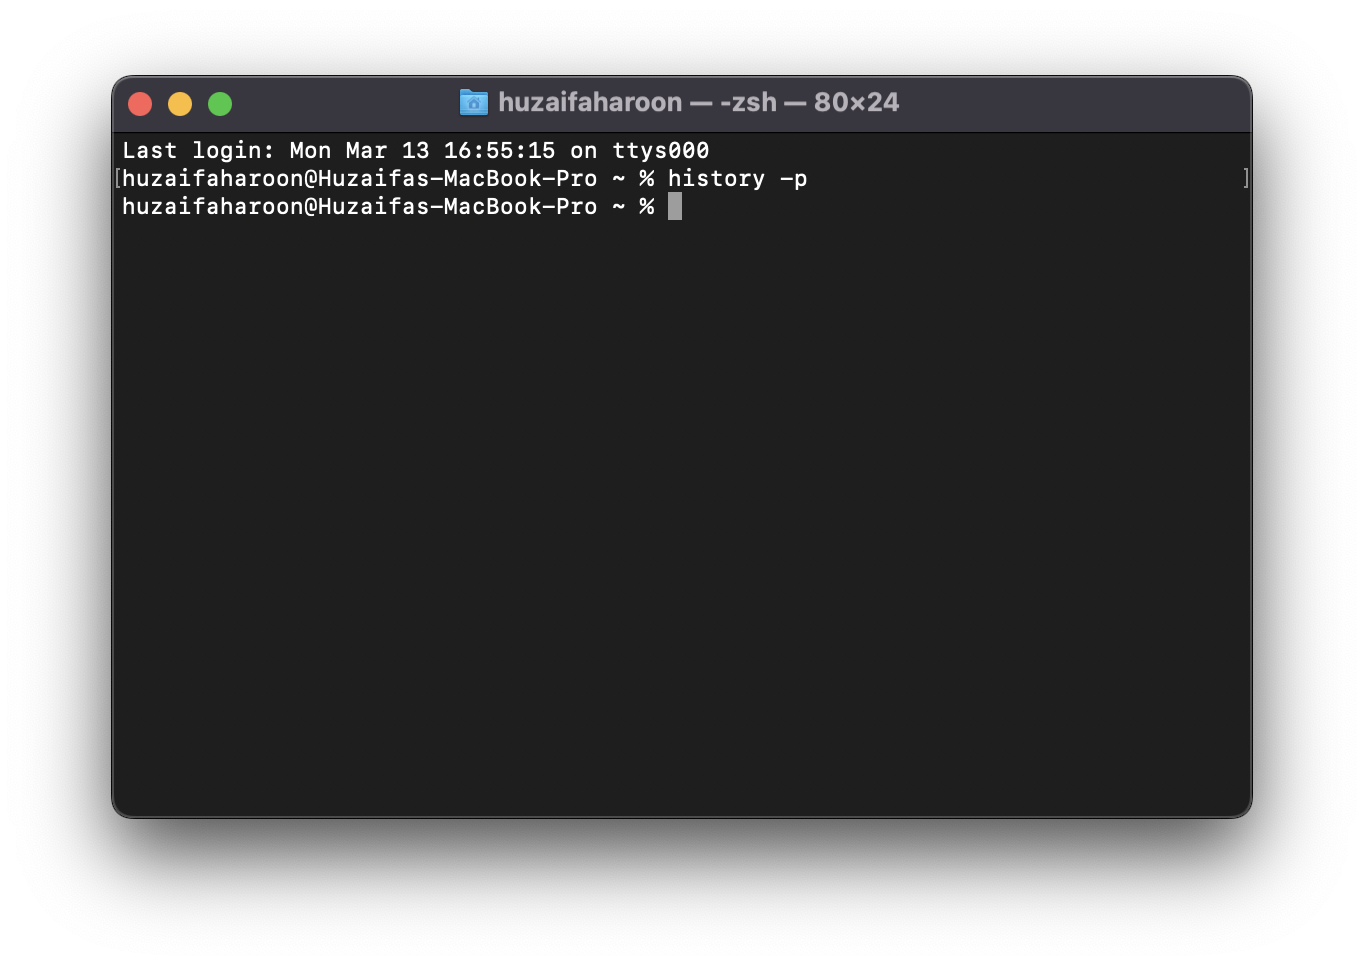
10. Download YouTube videos
This is not technically a command a system command. To do this, you need to first have Homebrew installed on your macOS. You can do this by following this guide. It may seem like a hassle but it is undoubtedly much more simpler that installing a third-party app or trying to download it from some ad-ridden website. Keep in mind that you do need Homebrew installed on your Mac in order to pull this off.
After installing Homebrew, enter this command on the Terminal:
brew install youtube-dl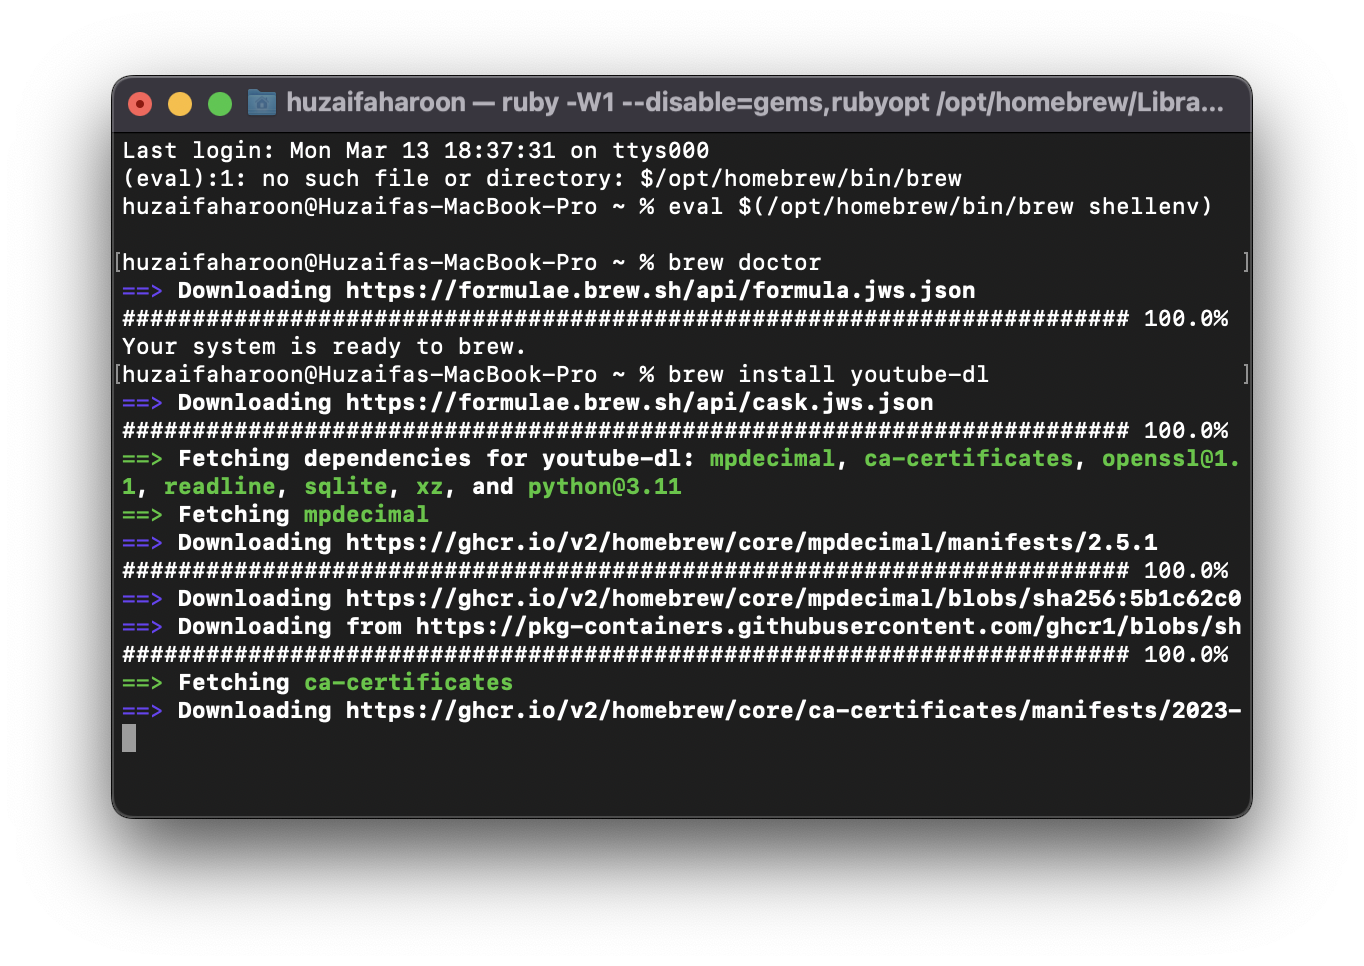
It will begin downloading a package. Once done, you can now download your favorite videos from YouTube with the help of a simple command:
youtube-dl [video URL]The complete guide and full set of features for this tool are available through here. We would like to warn users, though, that this command proved to be quite buggy at our end. It seems to work fine for some users, and causes issues for others.
11. Pinging a website
If you find yourself unable to access a website, you can check whether it is properly receiving data from your end and transmitting it back to you. Simply enter the following command:
ping [URL/IP address]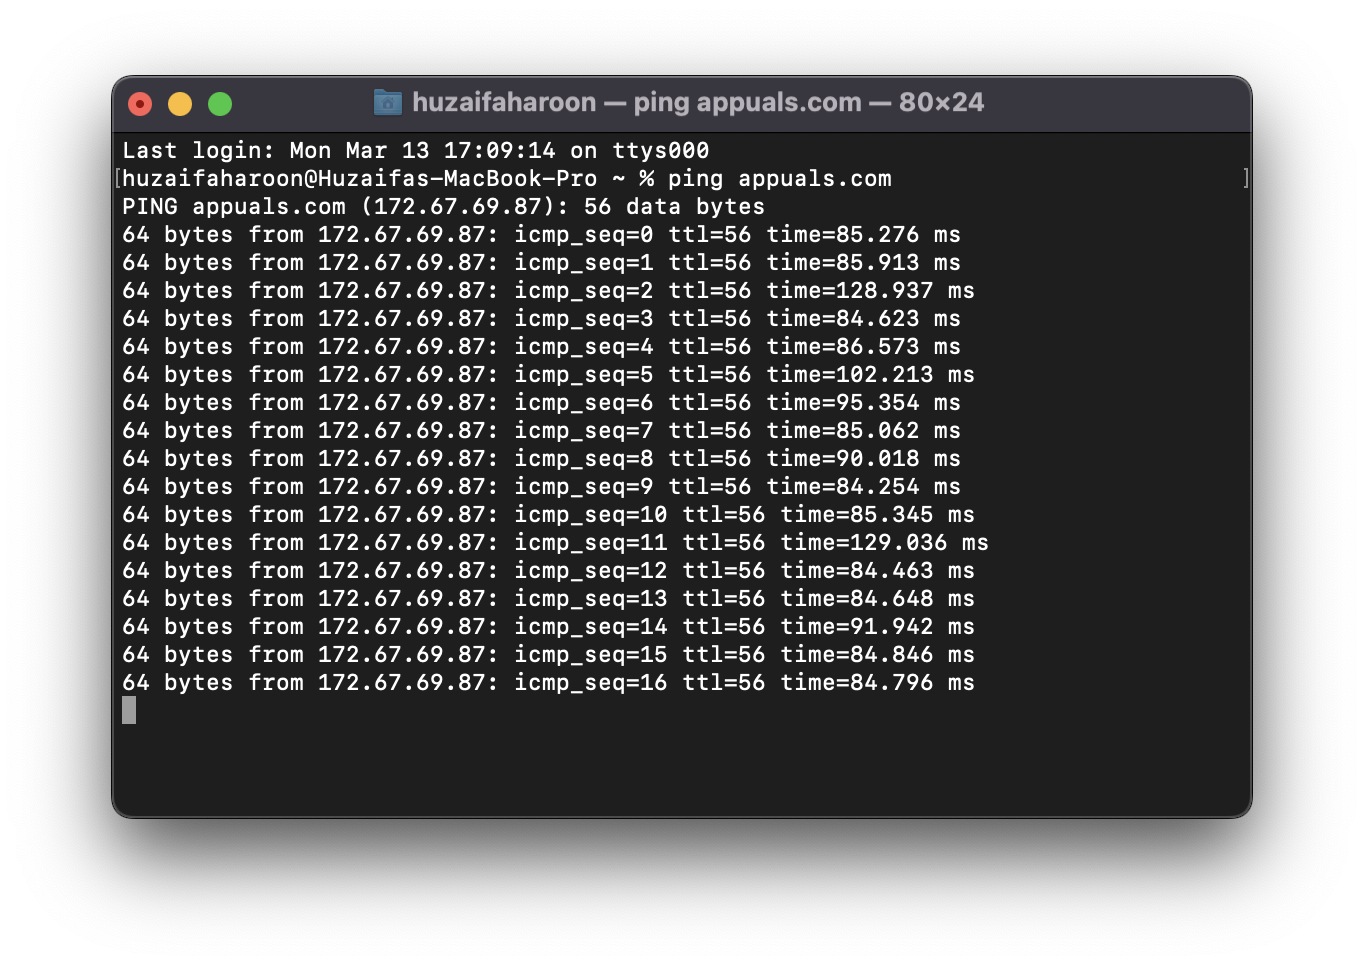
This command can also be performed on your own router and IP address.
12. Check your Internet speed
Why bother yourself by running a web browser to check your Internet through sites such as Speedtest.net, when you can do it on the Terminal with 1 simple command! Yes, you read that right. Just pop up the Terminal, and enter this command:
networkquality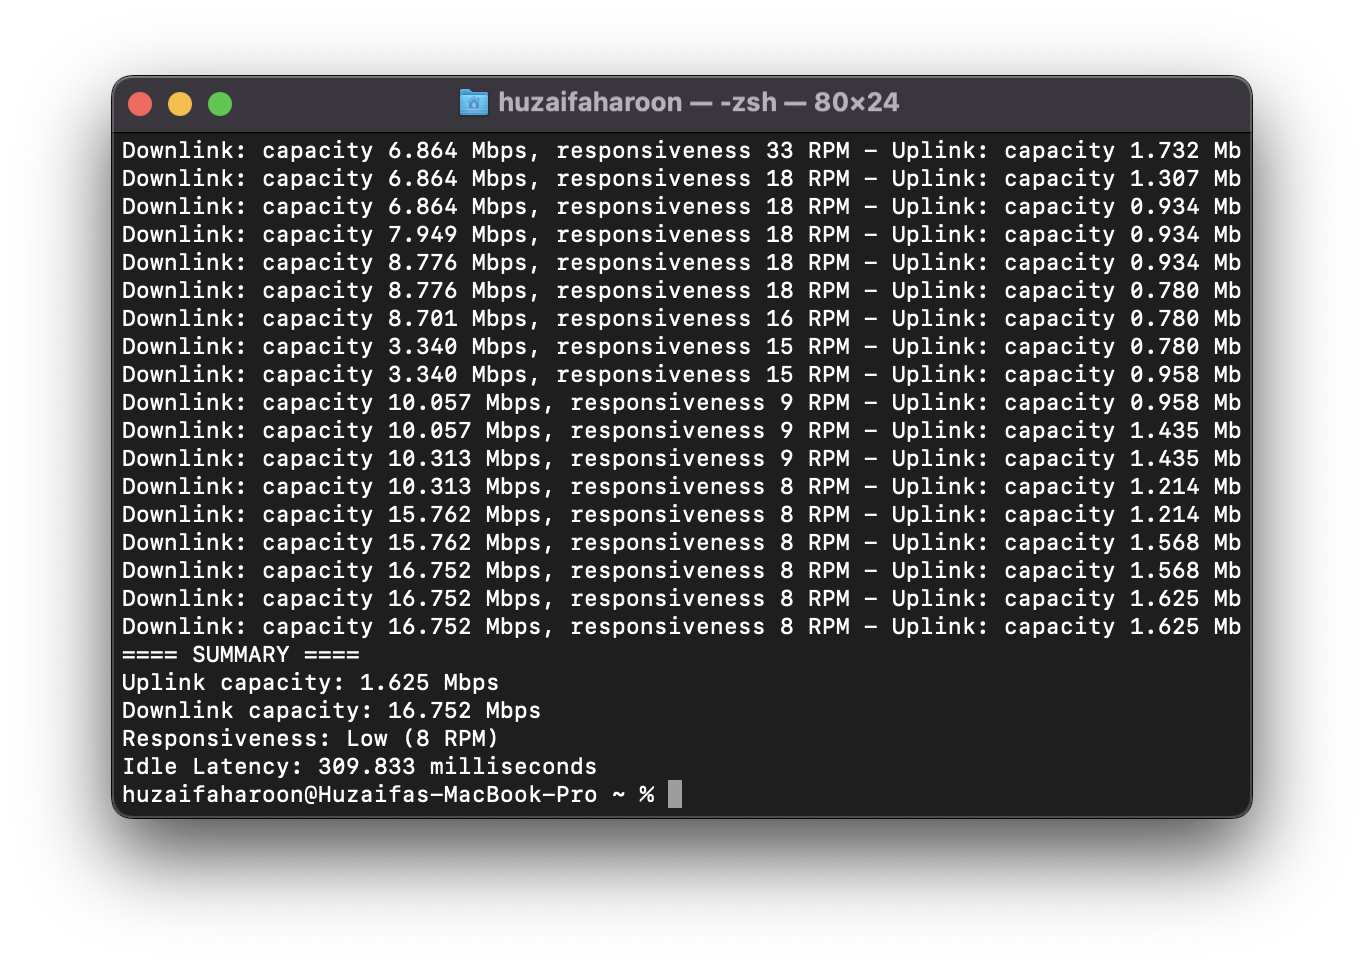
It will begin displaying a bunch of tests it’s carrying out and, after a short while, return with the test results that give you a clear and comprehensive status of your Internet speed.
13. Disable Gatekeeper
Gatekeeper, on Macs, is a behind-the-stage security feature that ensures that only verified apps run on your Mac. It checks if the app is downloaded from the App Store, comes from a verified developer and if it is free from any kind of computer viruses. However, if you feel that Gatekeeper is preventing you from installing and running an app, that you know is safe to use, simply disable it with this command:
sudo spctl --master-disable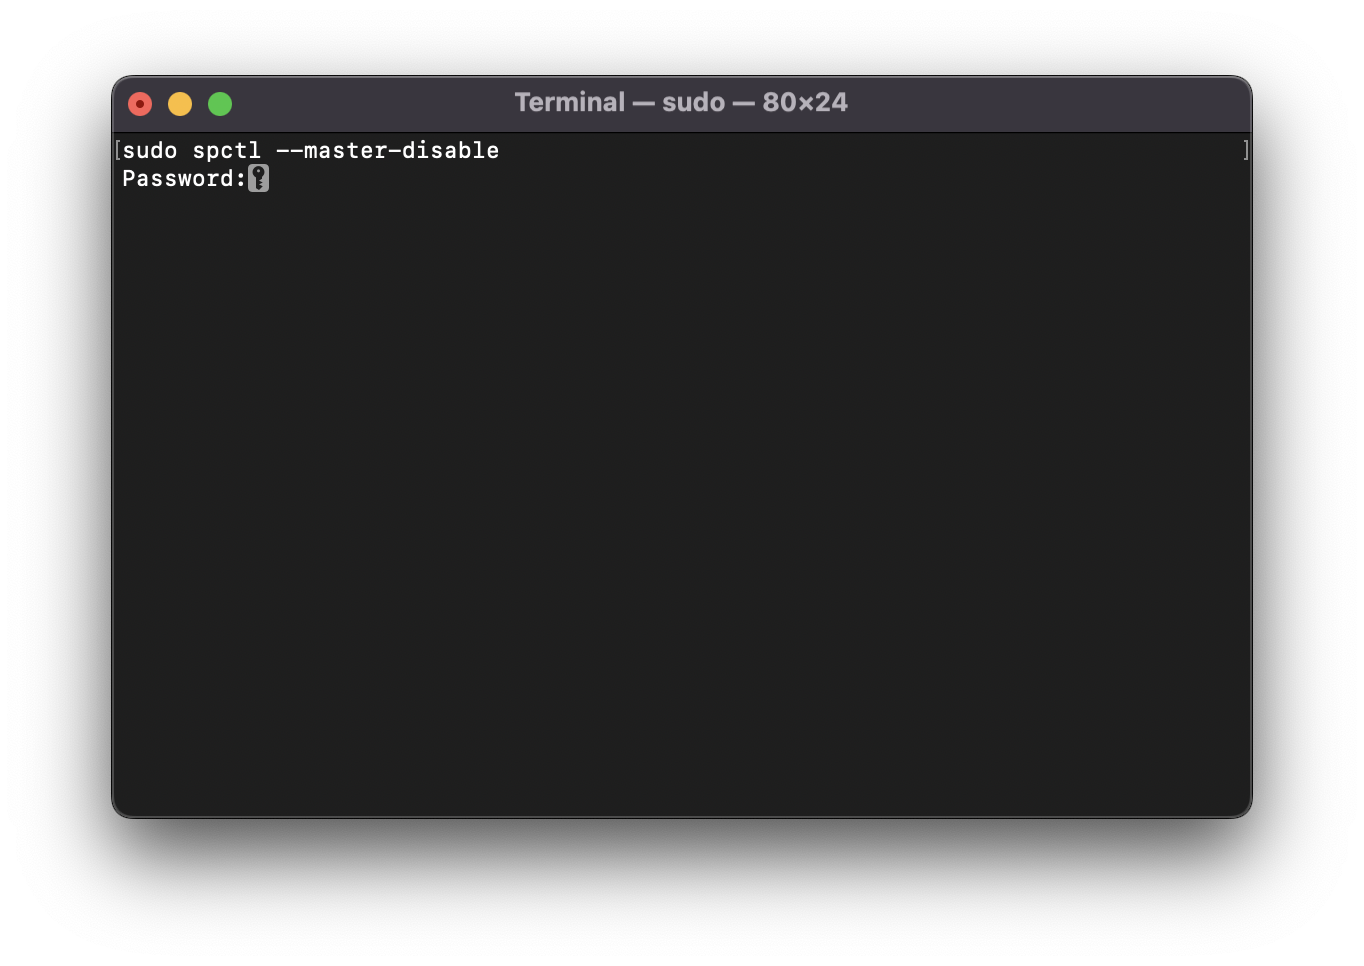
To enable the Gatekeeper back again, simply enter this:
sudo spctl --master-enable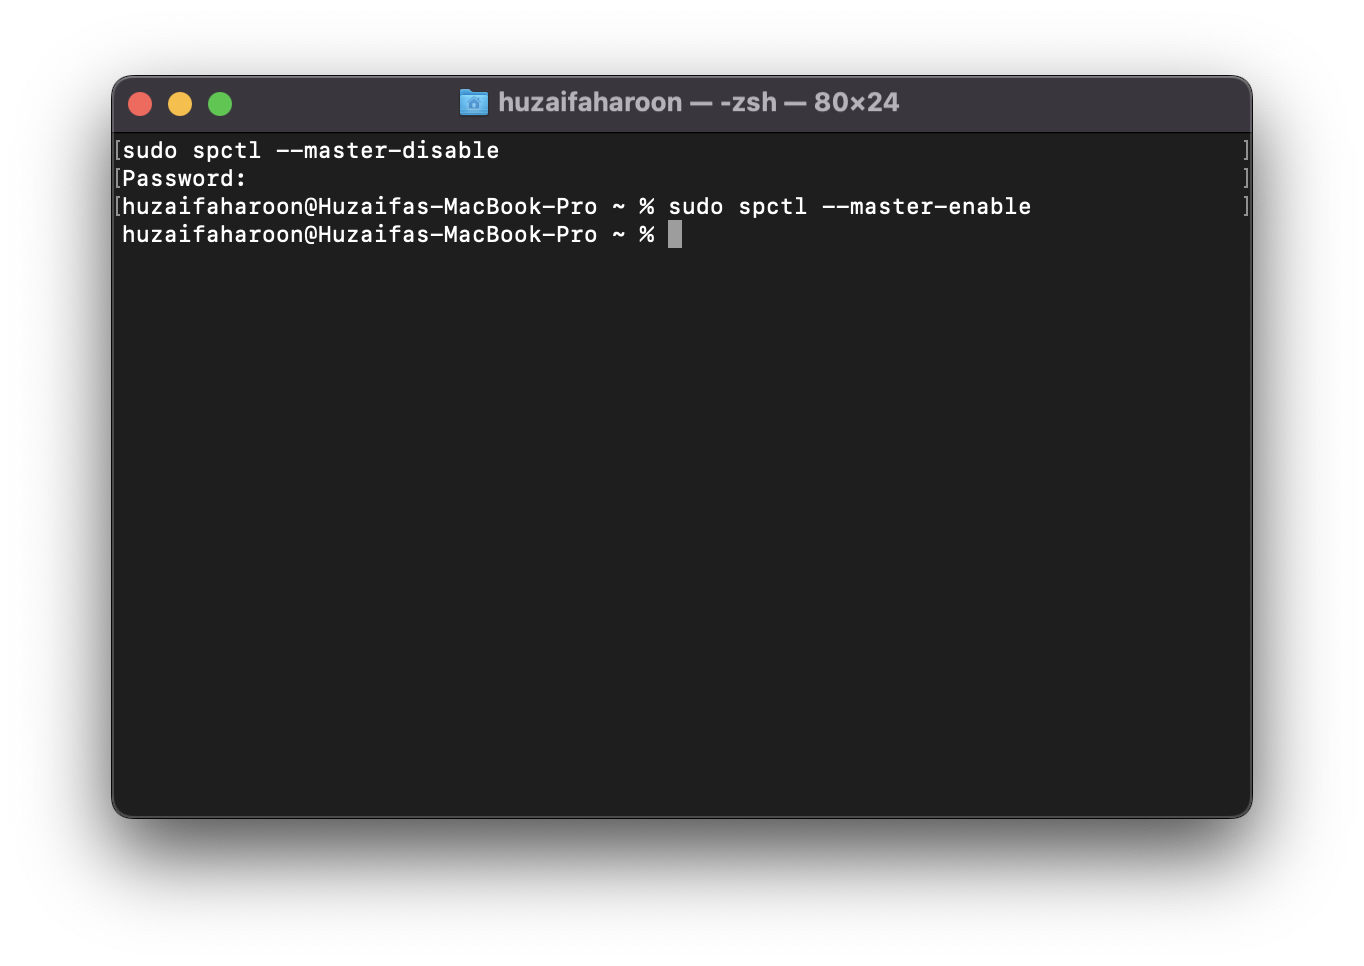
Note: Only use this command if you’re sure that the app in question is, indeed, safe to install and use. We are responsible for any harm that may come to your Mac.
That’s all folks!
Hope this helps you take advantage of probably the most overlooked utility on macOS and makes you a professional Mac user. Have fun testing these commands out with your friends.
Reviewed by Huzaifa Haroon
