How to Fix Black Screen After Changing Refresh Rate?
When you set a refresh rate higher than what your monitor can handle, either accidentally or intentionally, your monitor may not be able to process the display signal, resulting in a black screen.
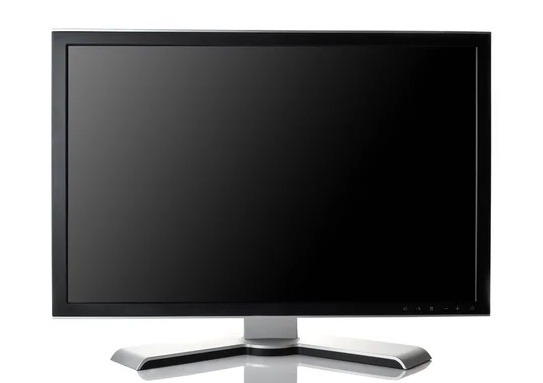
This issue is common among users trying to overclock their monitor’s refresh rate. They force the monitor to function beyond its compatible and rated refresh rate, which causes the monitor to display a black screen.
Often, this issue can be resolved simply by waiting for 15 seconds without clicking anything or pressing any keys while the screen is black. By default, Windows and any third-party resolution-changing programs will automatically revert your refresh rate back to the default or previous setting to prevent this issue.
However, there are times when this may not solve the problem because the confirmation pop-up may be accidentally dismissed by pressing the ‘Enter’ or ‘Esc’ keys.
In such cases, your only option is to remove and reinstall your computer’s graphics driver completely. Doing so will reset all graphics settings and configurations back to their defaults.
Since the screen is completely black, and you cannot navigate or download a program, you must boot your computer into safe mode with networking. Then, download a program that can detect and remove the graphics driver from your computer, reboot into normal Windows mode, and reinstall the driver.
We will walk you through this process in the following steps:
Step 1. Boot Into Safe Mode
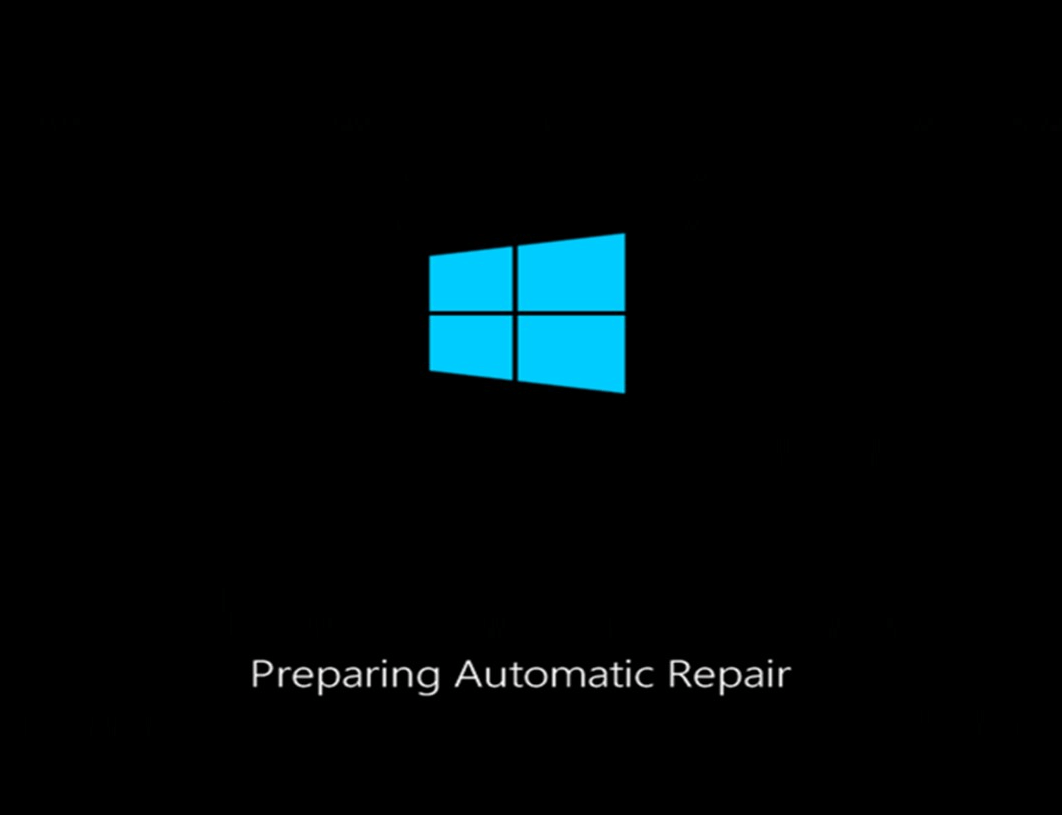
- Shut down your computer and turn it back on.
- After the Windows logo appears, shut down the computer again. Repeat this action three times. On the fourth attempt, Windows will automatically begin Preparing Automatic Repair.
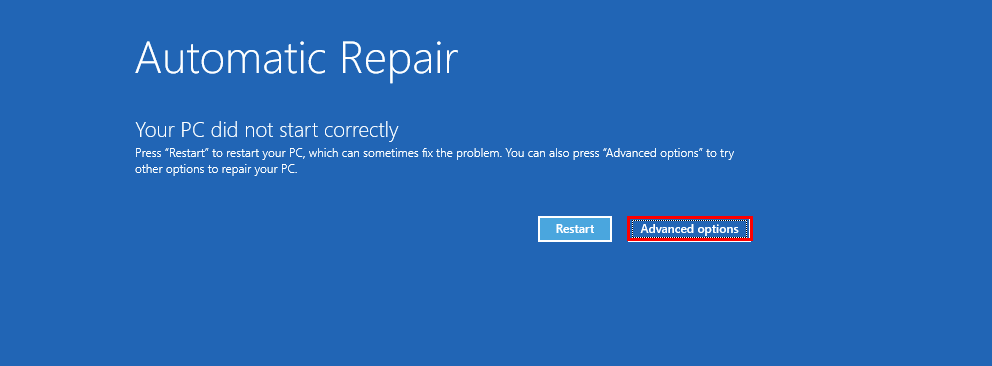
- After it loads, click on Advanced Options.
- Go to Troubleshoot > Advanced options > Startup Settings.
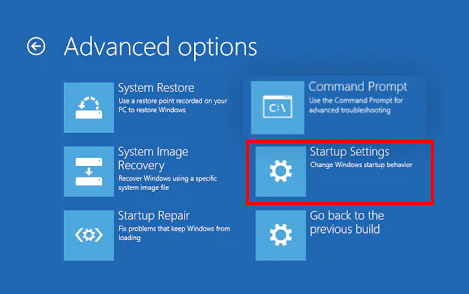
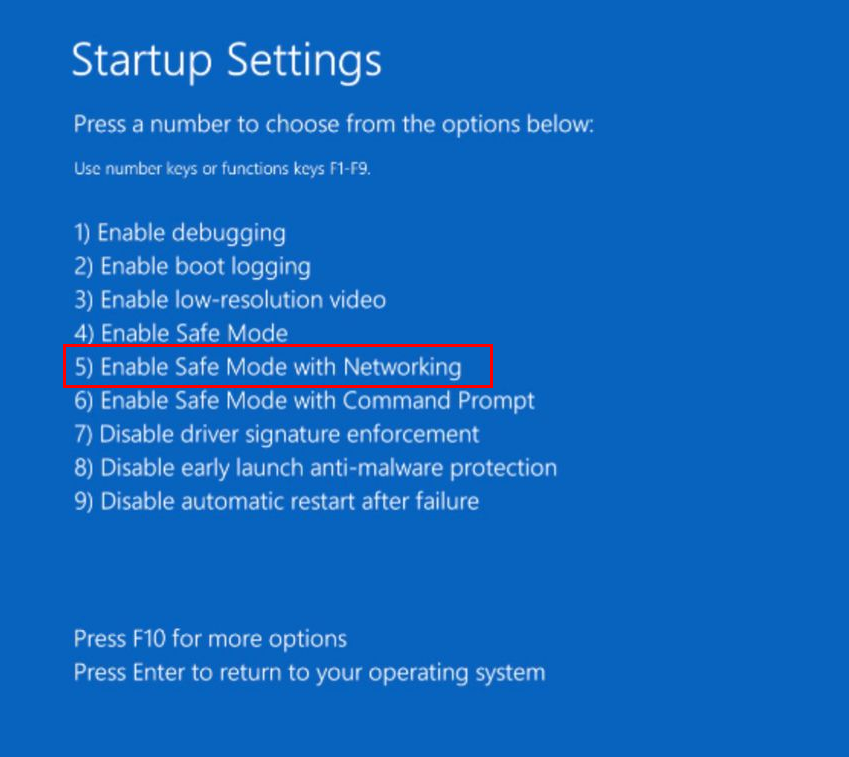
- Press 5 or F5 to Enable Safe Mode with Networking.
Step 2. Download DDU
DDU, or Display Driver Uninstaller, is a reliable and compact utility designed to completely erase display/graphic drivers from your system. The default method for removing display drivers in Windows doesn’t always thoroughly eliminate all files and registries. Therefore, we will use this tool for a proper uninstall.
Note: If network drivers are not functional in Safe Mode, you may need to download DDU on a different computer and transfer it via USB or other means.
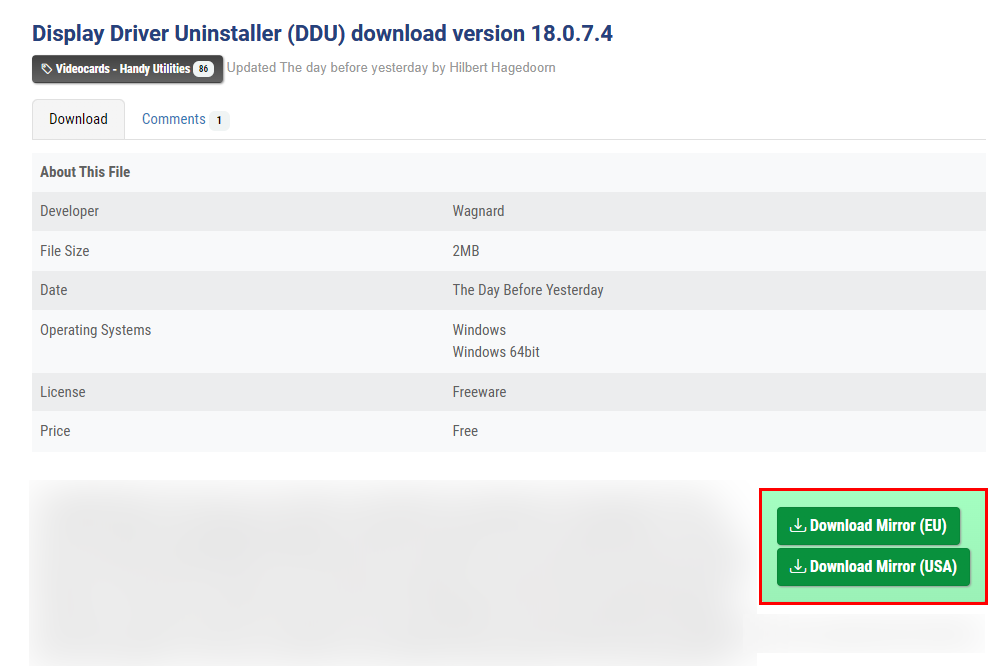
- Navigate to the following website.
- Choose Mirror (EU) or Mirror (USA)—whichever is closer to you.
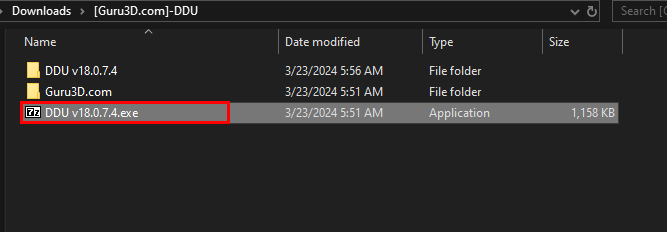
- Download and extract the files.
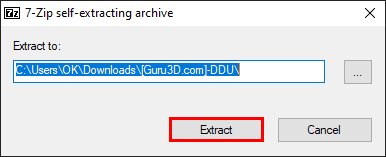
- Double-click the .exe file that you have just extracted.
- Choose a suitable file location and click Extract.
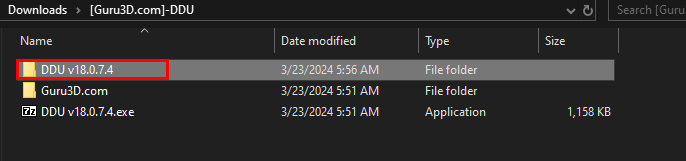
- Open the newly extracted folder (DDU v18.0.7.4).
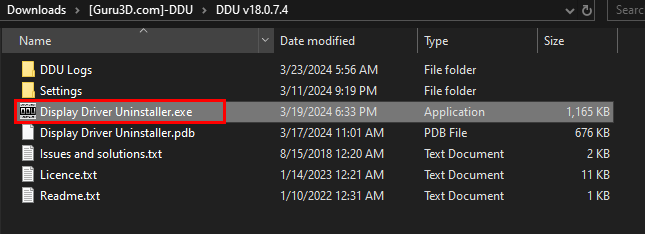
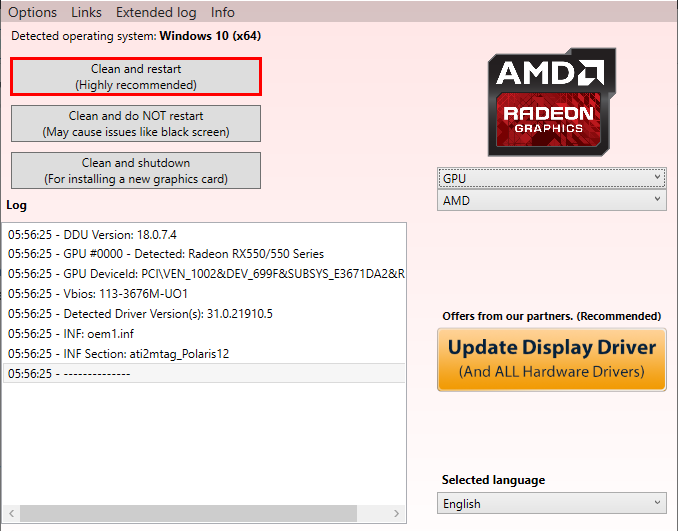
- Run the Display Driver Uninstaller.exe to open the uninstaller.
- Select your Device type on the right side.
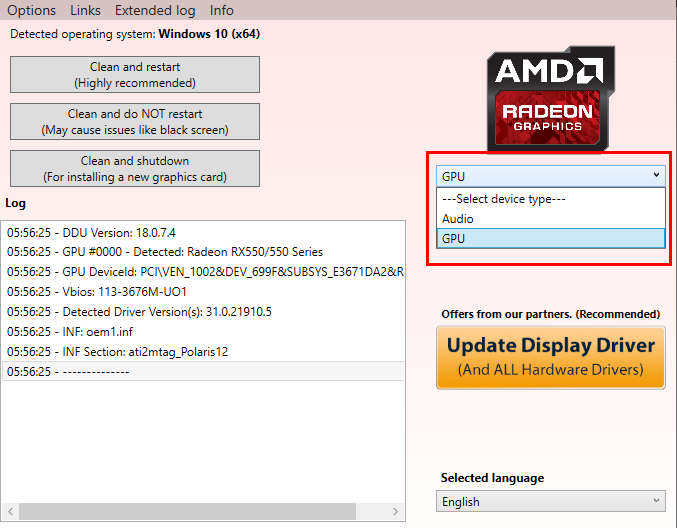
- Finally, click on Clean and restart.
Step 3. Re-install Graphic Drivers
Once you have booted into safe mode and removed your display drivers using DDU, you’ll need to reinstall the graphic drivers.
To reinstall your graphic drivers, refer to the guide on our website: https://appuals.com/update-graphics-driver-windows/