How to Stop Armored Core 6 from Crashing? 7 Working Fixes
Armored Core 6 often experiences crashes due to the use of the Ray Tracing feature. Many games utilize ray tracing to achieve more realistic scenes, and Armored Core 6 Fires Of Rubicon is no exception. This feature increases the demand for VRAM as it simulates real-world light reflections, yielding a more immersive environment than what older games offer.

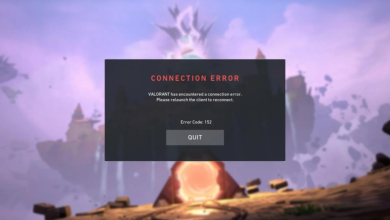
However, crashes in Armored Core 6 are not solely attributed to the Ray Tracing function. Game file corruption and out-of-date GPU drivers are also common culprits.
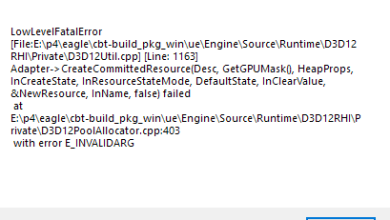
Having identified the primary causes, let us explore the solutions that have proven effective for many players.
But before we begin, ensure your PC meets or exceeds the minimum system requirements for Armored Core 6. If your computer barely meets the requirements or falls short, you may need to lower game settings or upgrade your hardware.
1. Turn Off Ray Tracing
Before the advent of Ray Tracing, games had to rely on evenly placed artificial light sources for illumination, which often resulted in less lifelike visuals. With the progression of GPU technology, Ray Tracing was introduced to enhance game realism significantly.
However, Ray Tracing is known to cause game crashes, including Armored Core 6, as it utilizes substantial GPU VRAM resources. As confirmed on the official Microsoft forum, this occurs even on high-end PCs.
If you prefer not to disable ray tracing entirely, you can mitigate VRAM consumption by setting the Ray Tracing to Medium or Low.
- Navigate to System > Graphics Settings > Quality Settings Detailed (Edit).
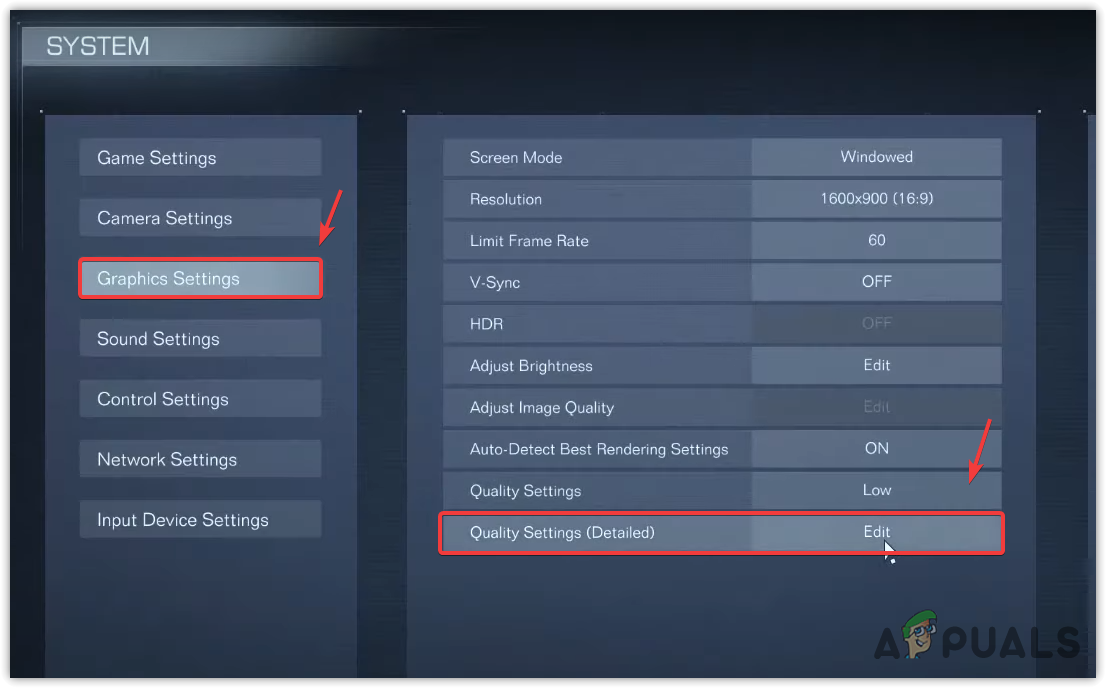
- Set Ray Tracing to OFF.
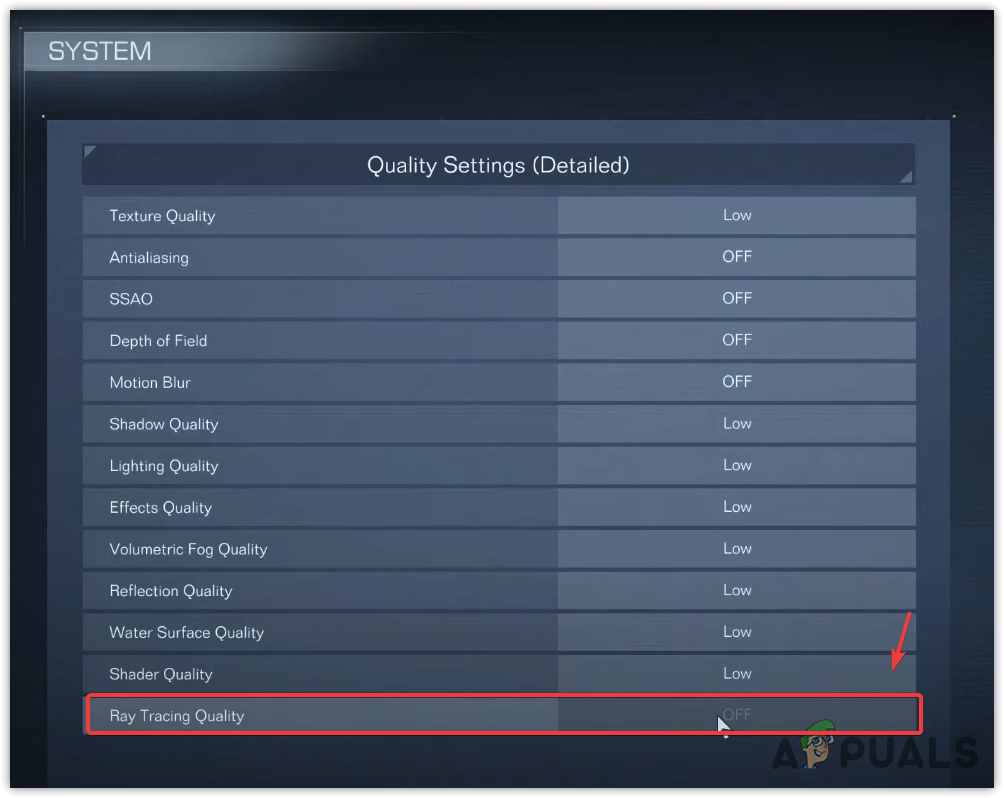
- After applying these changes, Armored Core 6 should stop crashing.
2. Verify the Game Files
File corruption can also lead to crashes. This often happens after updates that may corrupt essential game files. Thus, verifying the integrity of game files through your game platform often repairs or replaces corrupted or missing files.
- Open the Steam Launcher and head to your Library.
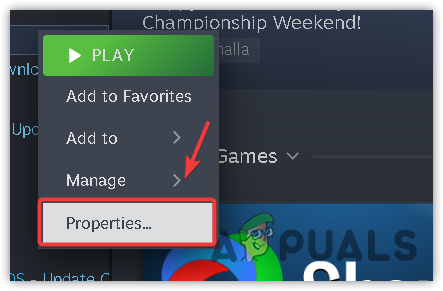
- Right-click on Armored Core 6 and select Properties.
- Choose Installed Files on the left and click on Verify the integrity of game files.
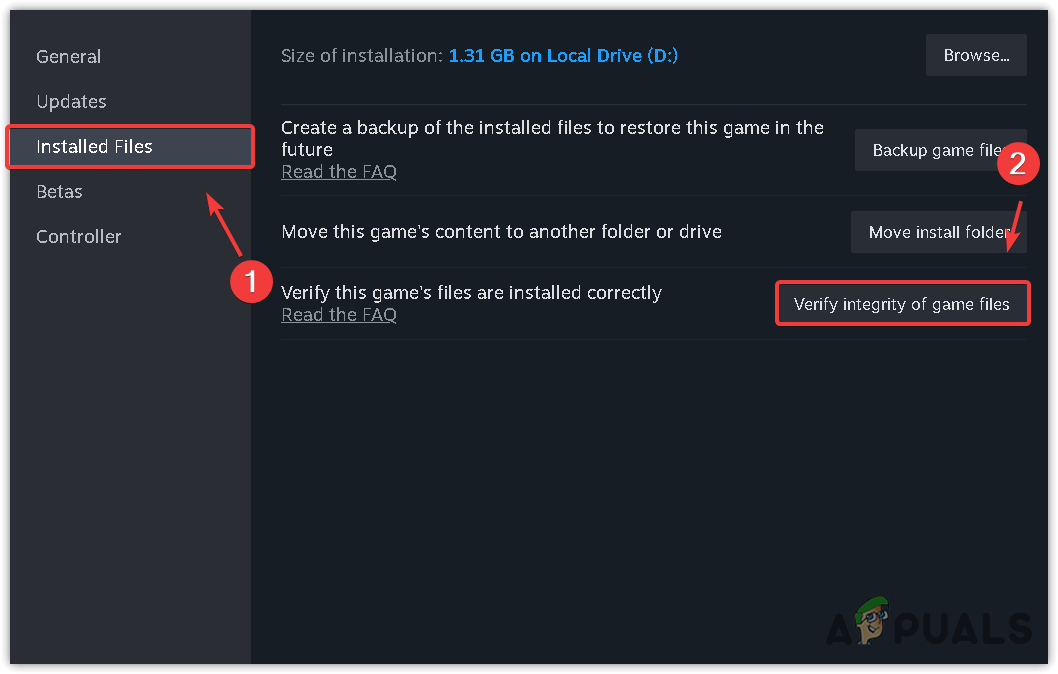
- Once verification is complete, launch Armored Core 6 to see if the game is now stable.
3. Run the Game and Launcher as Administrator
Applications typically run in non-administrative mode to prevent harmful system changes; however, some require admin privileges for crucial operations. Granting Armored Core 6 administrator privileges could potentially eliminate crashes.
- Open Steam and visit your Library.
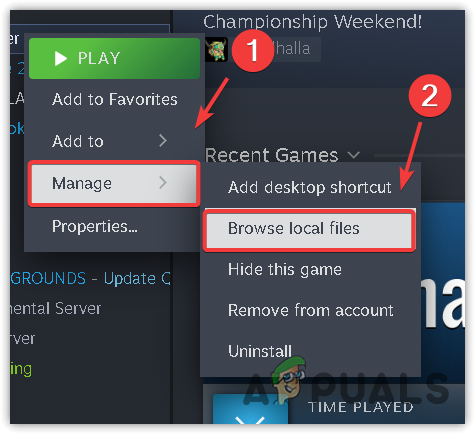
- Right-click on Armored Core 6, hover over Manage, and choose Browse local files to access the game directory.
- Right-click on the armoredCoreVI executable and select Properties.
- Switch to the Compatibility tab.
- Check the box to Run this program as an administrator.
- For additional compatibility, select Windows 8 in the compatibility mode options.
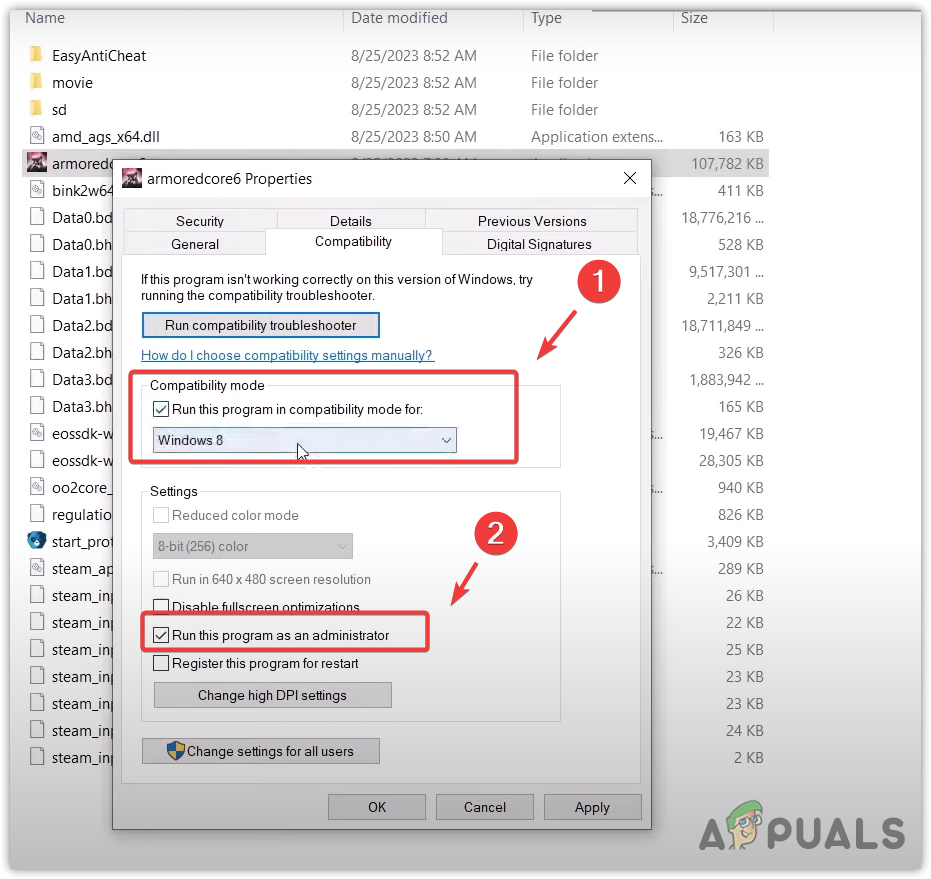
- Click Apply followed by OK.
- Repeat these steps for the start_protected_game launcher file.
- Relaunch Armored Core 6 from Steam and verify if it’s still crashing.
4. Enable Vsync
Vsync (Vertical Synchronization) targets screen tearing issues, which occur when a monitor’s refresh rate isn’t in sync with the GPU’s FPS output. By limiting the FPS to align with the monitor’s refresh rate, Vsync can alleviate stress on the GPU and potentially prevent crashes.
- Go to System > Graphics Settings from the Main Menu.
- Activate the Vsync option within the Graphics Settings.

- Test the game to confirm if the issue has been resolved.
5. Cap the FPS at 60
Capping the FPS at 60 can sometimes resolve crashing issues by preventing the GPU from overexerting itself to produce higher frame rates. If you haven’t tried capping your FPS, it might be worth a shot.
- Navigate to System > Graphics Settings.
- Set Limit Frame Rate to 60.
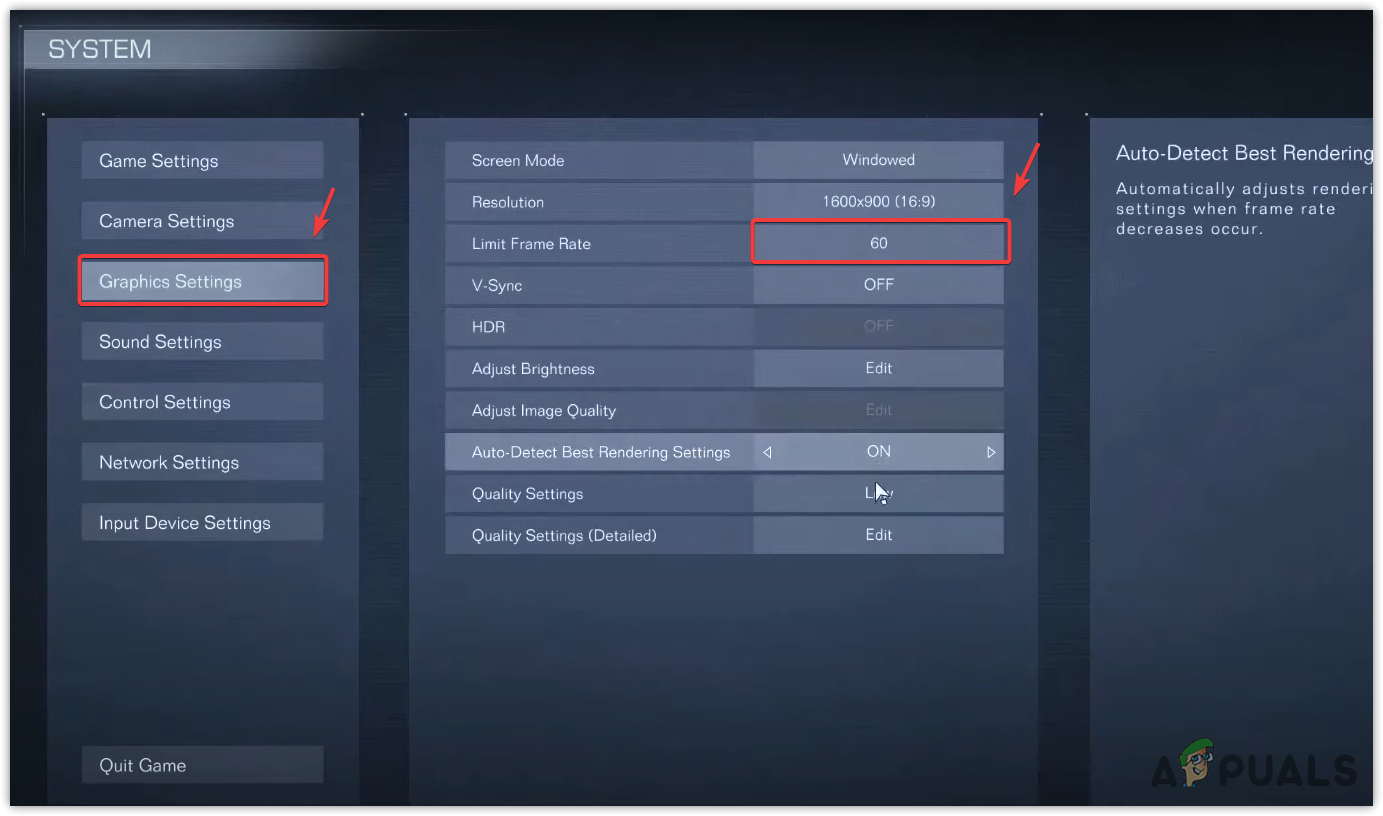
- Monitor the game for stability afterward.
6. Install Studio Drivers
Studio drivers, known for their stability, are often more thoroughly tested and released less frequently than game-ready drivers, which update often and can sometimes cause instability.
- Launch your browser and search for Download Studio Drivers.
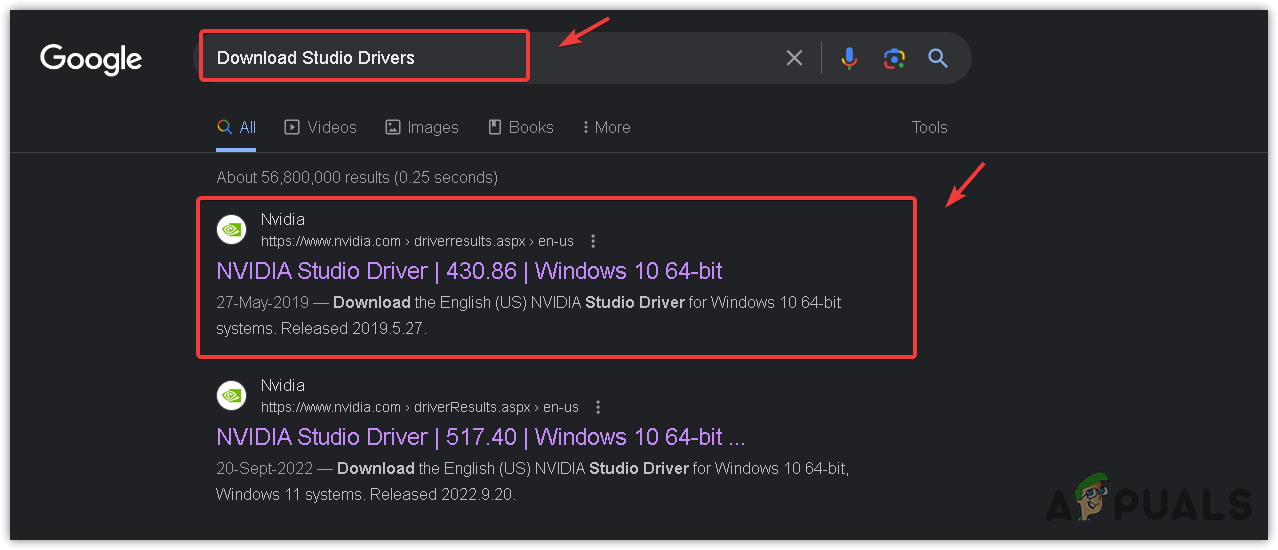
- Click on the first search result and proceed to download the recommended studio driver.
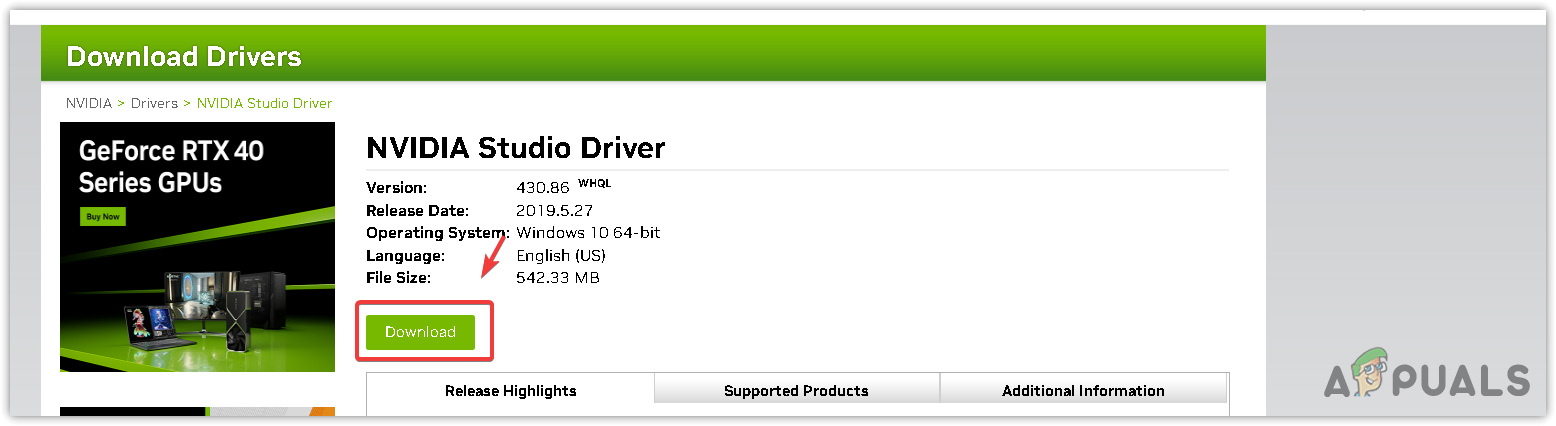
- Run the downloaded installer and follow the instructions to complete the driver installation.
7. Reinstall the GPU Driver
Keeping your Graphics Driver up-to-date is crucial for gameplay without crashes, particularly in action games like Armored Core 6. If updating doesn’t solve the problem, consider a full driver reinstallation. We suggest using DDU (Display Driver Uninstaller) for a thorough removal, followed by a fresh driver install.
- Download Display Driver Uninstaller.
- Extract the zip file of DDU.
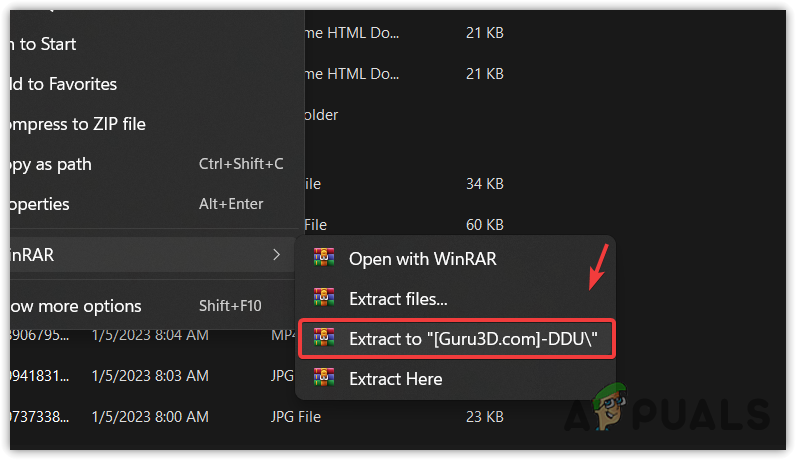
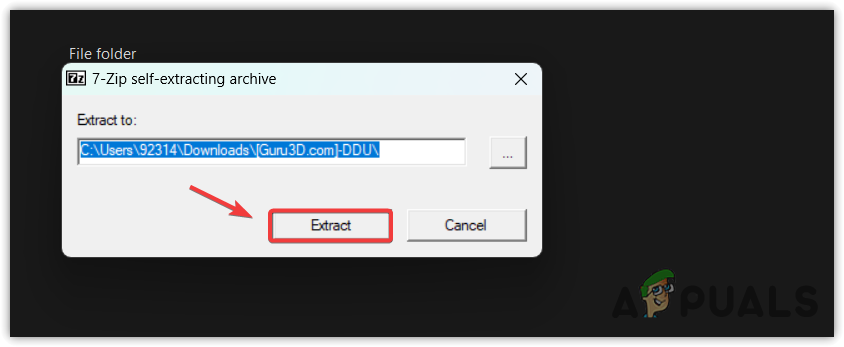
- Launch the DDU 7zip file from the extracted folder.
- Click Extract and then open the resulting folder.
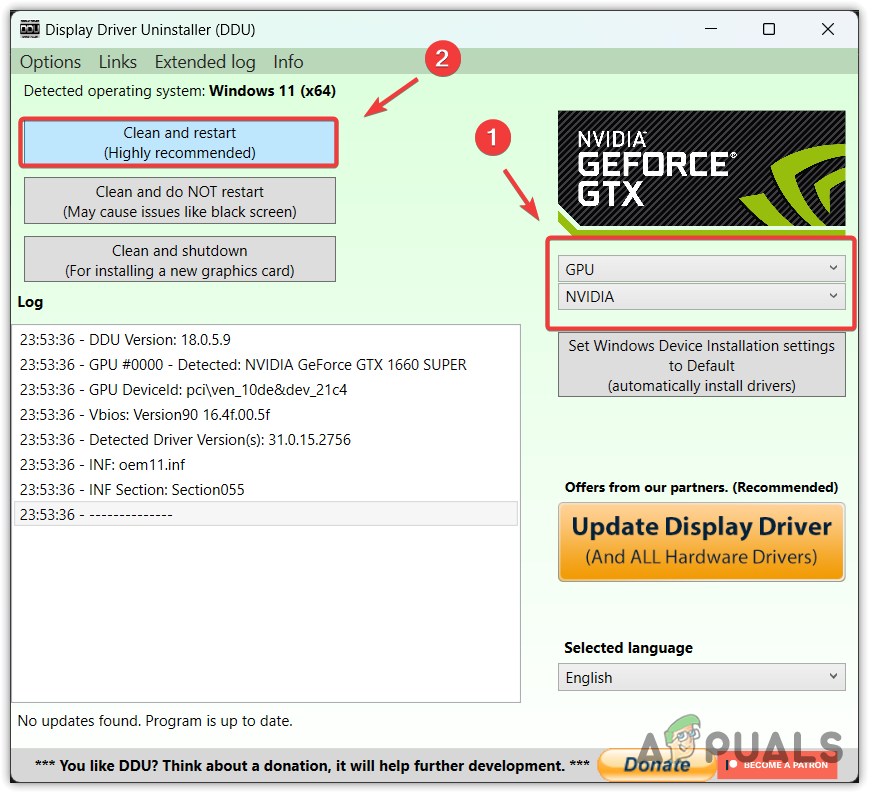
- Run the DDU application within.
- Select your Device and the Device type.
- Choose Clean and Restart.
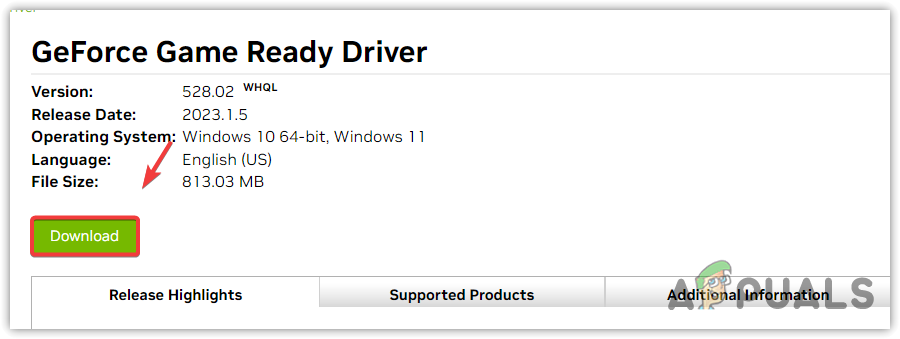
- After the restart, visit the GPU manufacturer’s website to download the latest driver.
- Lookup the driver that matches your operating system and download it.
- Install the downloaded driver.
- Test Armored Core 6 for stability once the new driver is installed.